Yay! I’ve finished planking the boat! I’m pretty excited that I’ve been able to complete what many consider to be the most difficult part of building a model ship (next to the rigging, I suppose).
I recently realized that I’ve just been posting pictures of the completed parts of my project and I thought I’d like to post more about the process. Below are some pictures of how I went about finishing the planking. Use your imagination, everything up to this point went pretty much the same way.
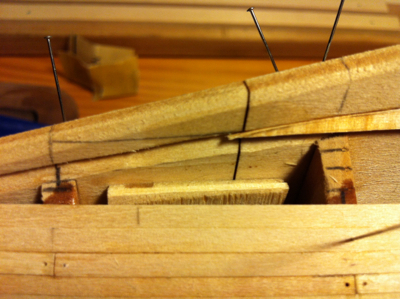
This is a close-up of the bow-end of the last belt. I need to fit six planks in that little space (it’s less than an inch wide).
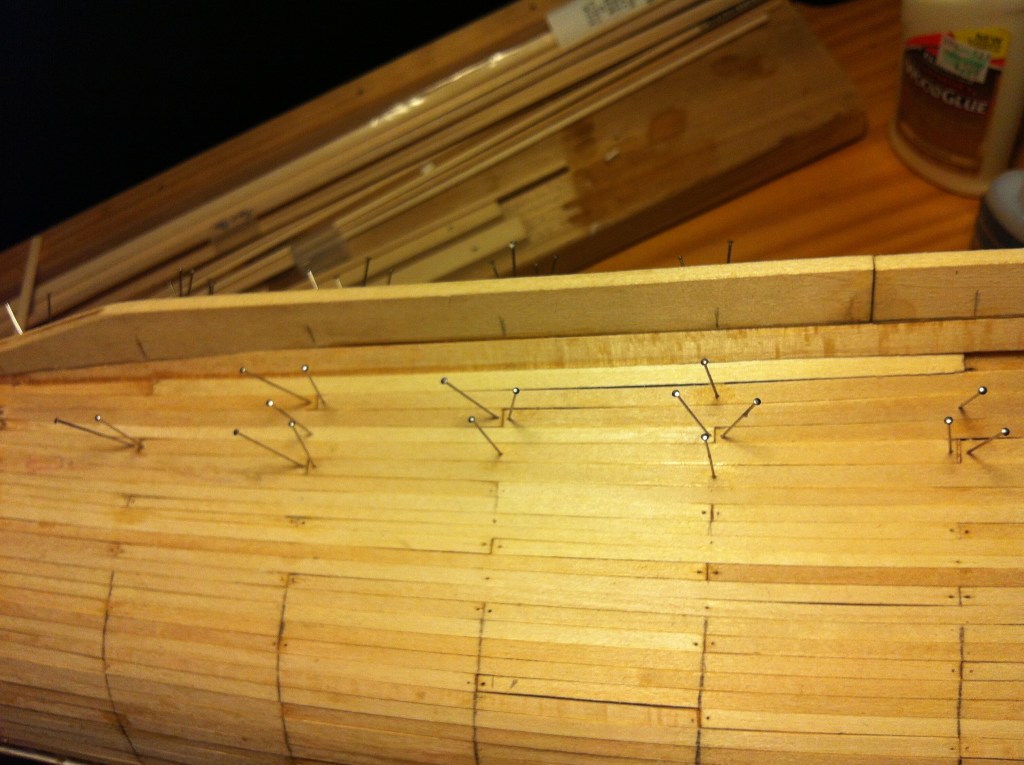
This is the middle section. Notice the pencil lines on each bulkhead. Prior to starting each belt, I measured the width of the belt at each bulkhead, divided that amount by the number of planks needed to fill that space and then marked out those widths on each bulkhead.

As I plank, I use those lines to make sure each plank is the proper width stem to stern. First, I measure the width needed at that particular point. Here the width is .09 inches (the calipers are upside-down).
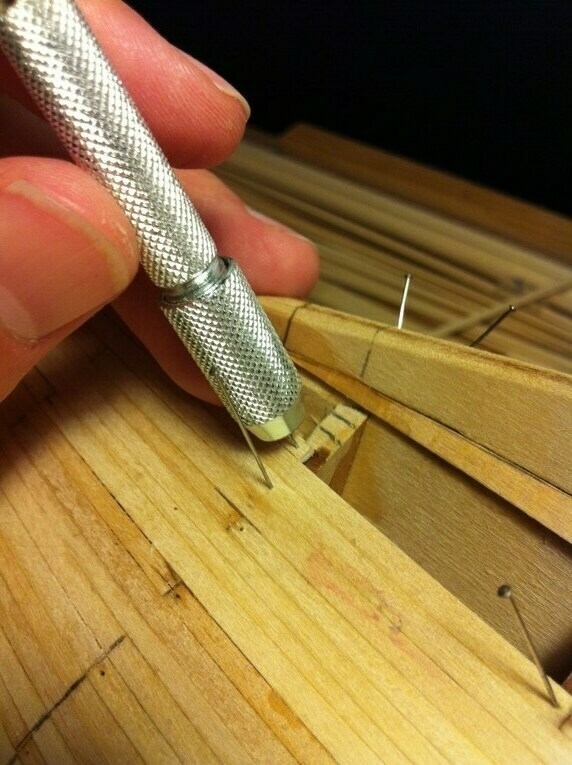
After measuring and cutting the plank to length (I try to span three bulkheads with each plank), I then drill a small hole (.02 inches) at each end of the plank for the pins to hold it in place while the glue dries.
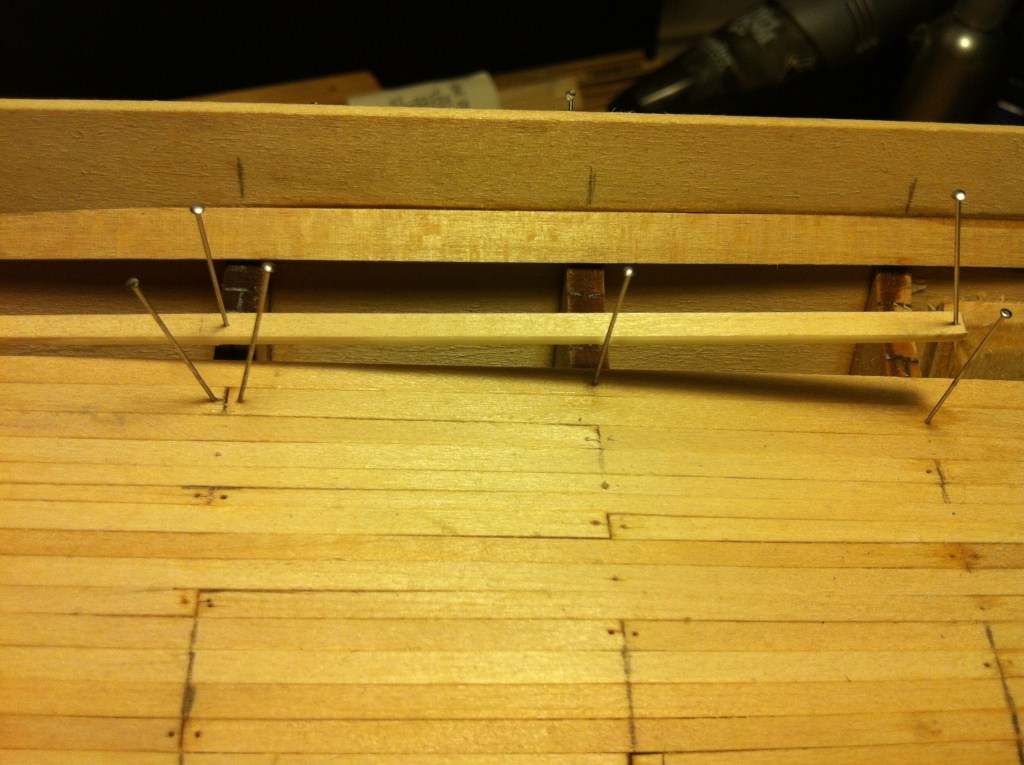
Here, the plank has been glued along the bottom edge with wood glue and then pinned in place. After pinning, I then use a few drops of cyanoacrylate glue (super-glue) to finish holding the plank in place. I sometimes used pins in the middle to hold the plank tight against the previous planks due to the natural curvature of the hull.
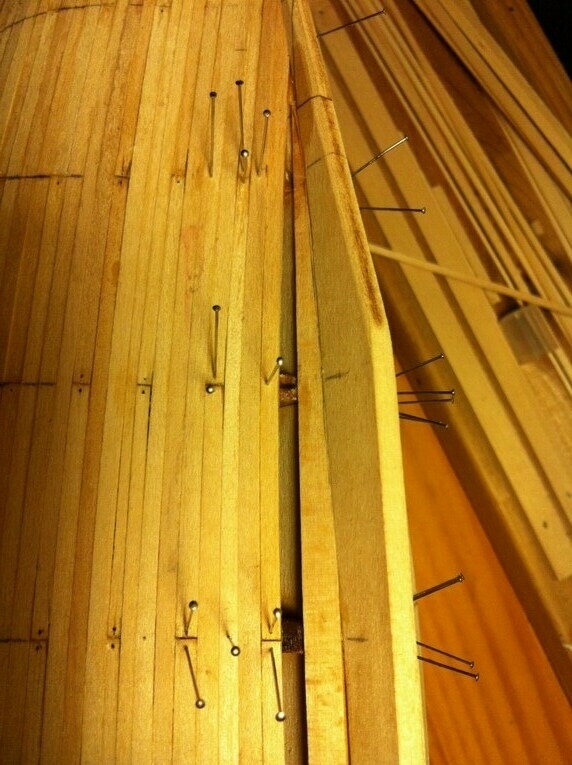
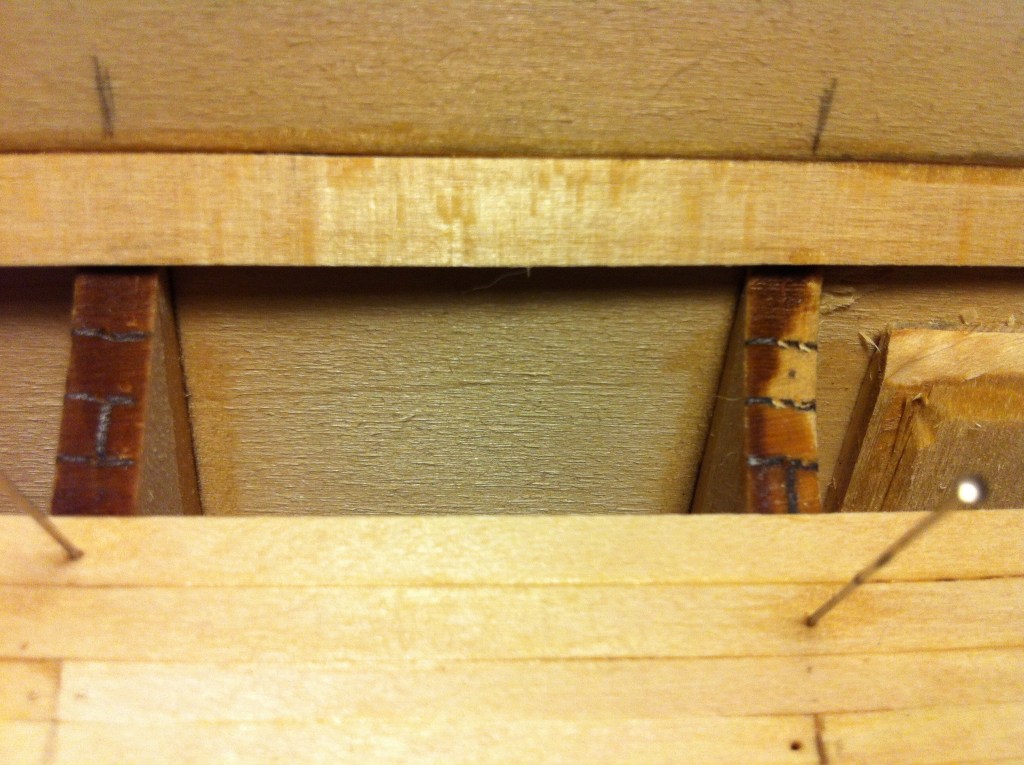
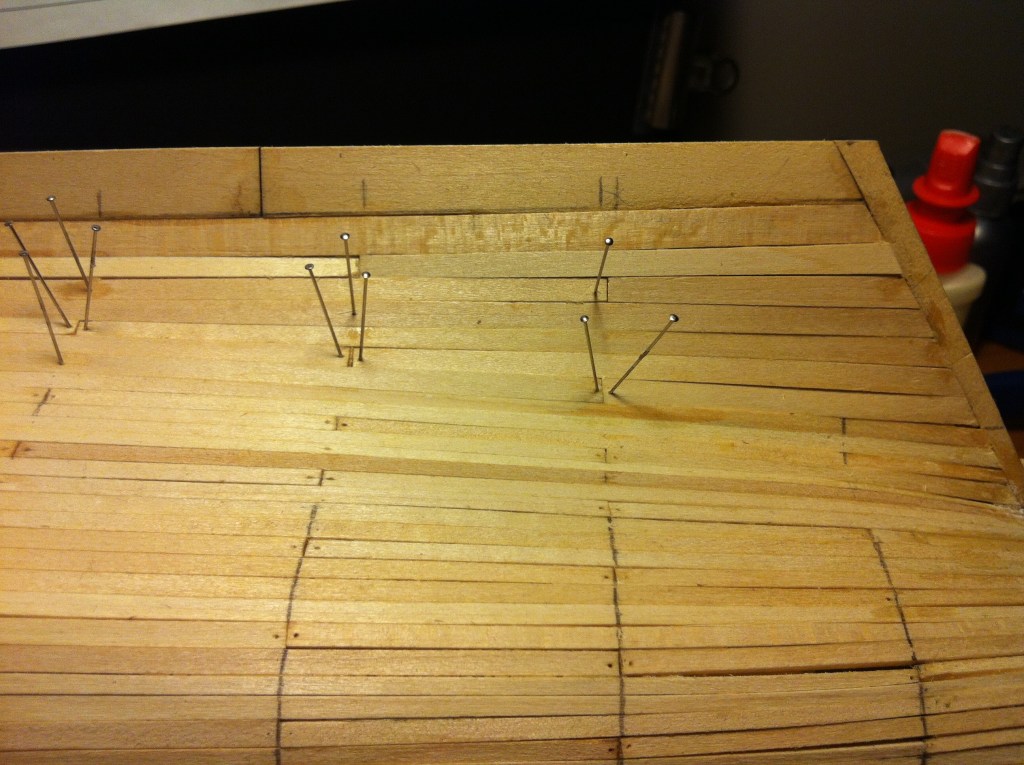
Repeat the process. Here I’m down to the last row of planks. Unlike previous belts, this belt ended in the “garboard strake” the final plank that runs up against the keel. I installed that strake first and now I need to fit in the final plank in the remaining space.

I read about this technique online. I took a piece of paper and lined it up with the previous strake and then used a pencil to trace along the garboard strake to measure exactly how wide the plank needed to be.
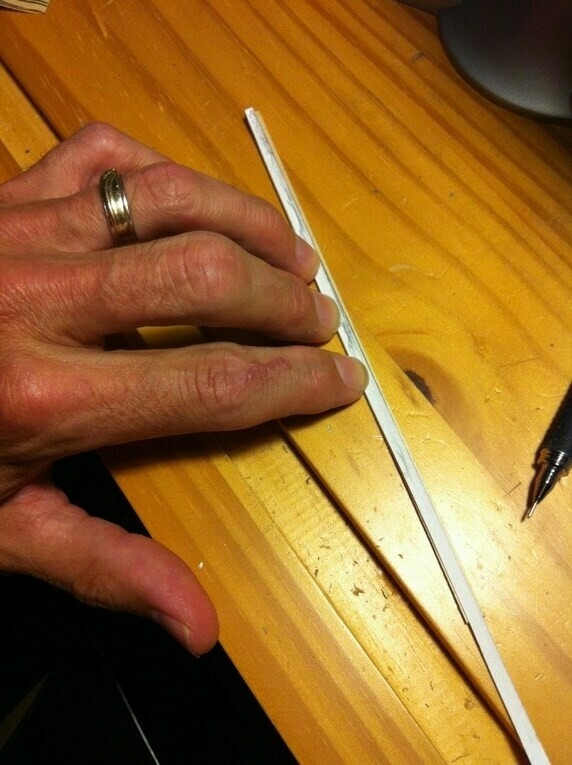
I then cut the paper along the line I drew and laid it out on the new plank. I then cut along that line to get a plank that would fit the spot exactly (supposedly!).
Ta da! Well, OK, I still had to sand, carve and fudge a bit to get it to fit. But it was pretty close.
Last piece!
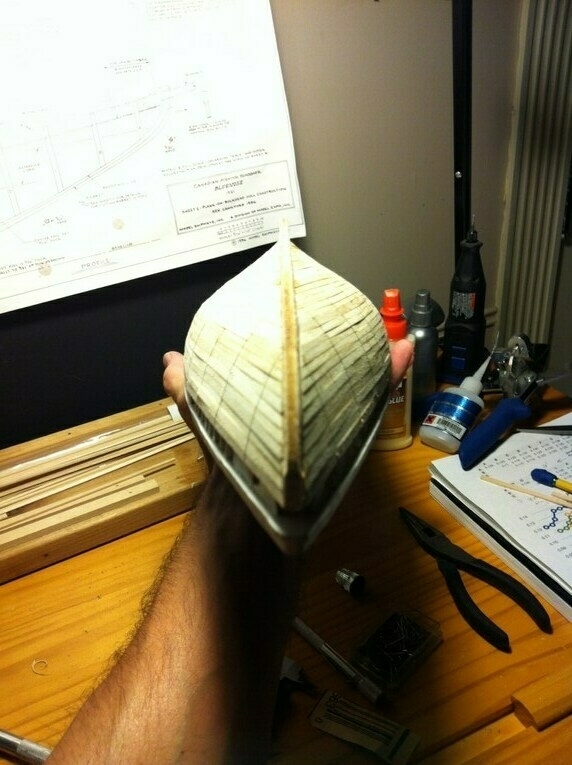
Stern view of finished hull. I like how the planks all sweep around and meet up along the center beam.
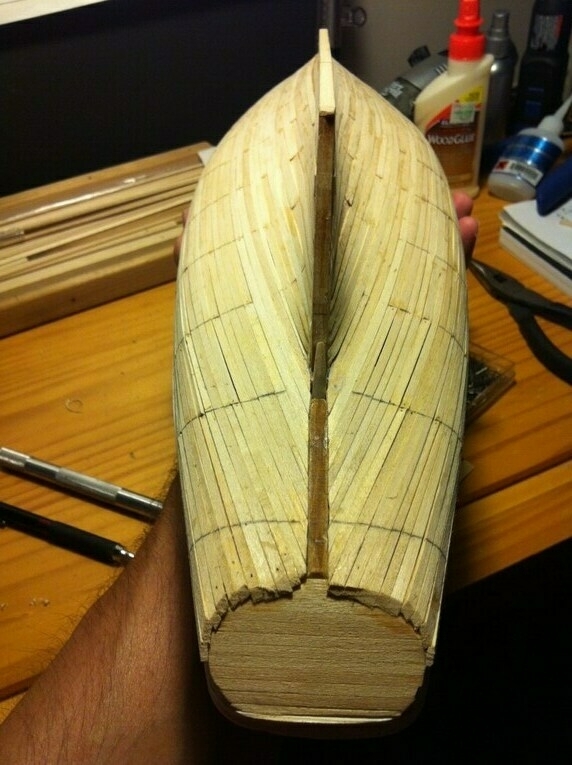
And a view from the bow.
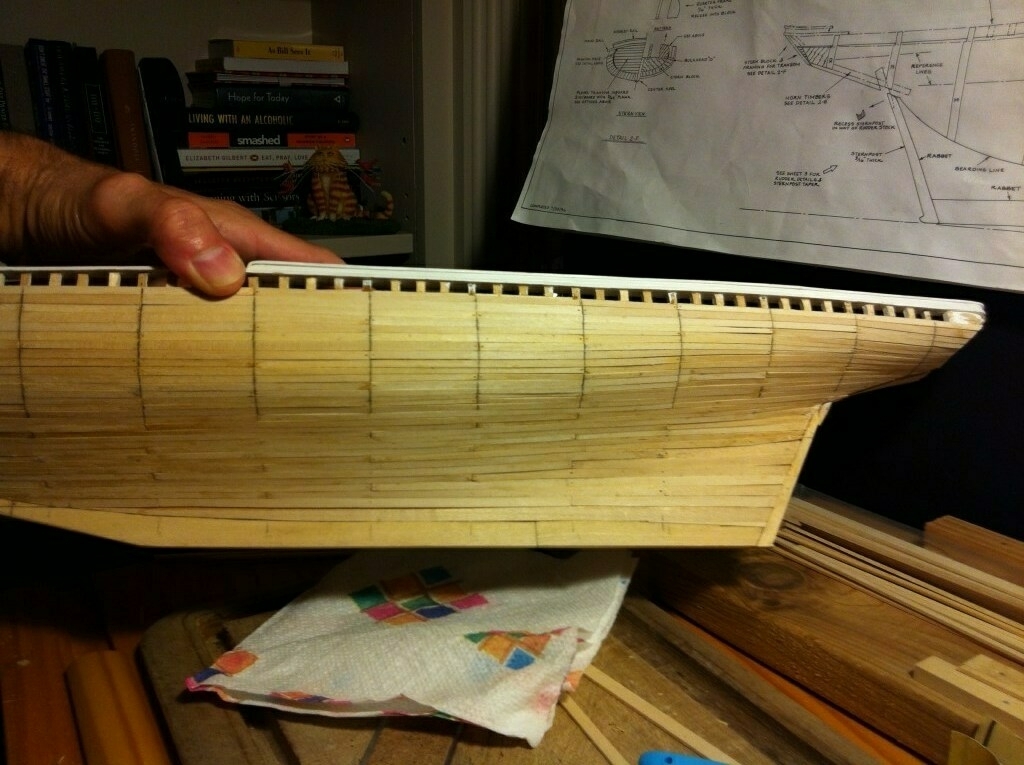
Finally, a view of the finished hull right side up!
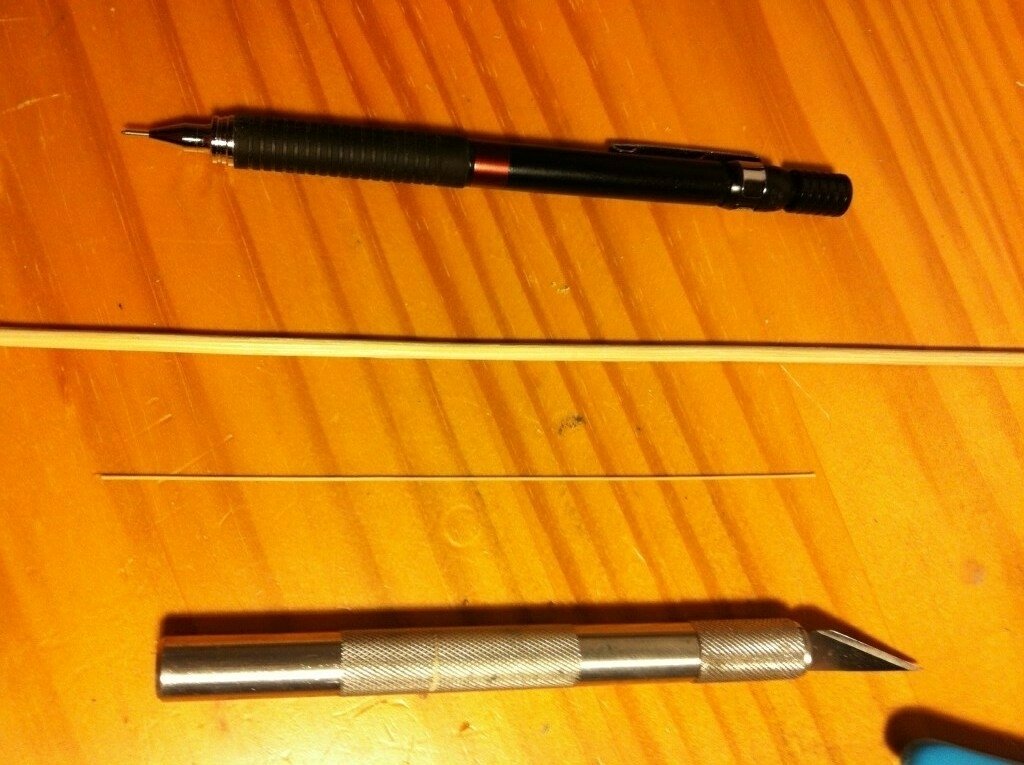
Next step, trenails! I need to drive wooden dowels into all the planks—one at each end of each plank and one at each bulkhead. To do this, I need to turn the bamboo skewers at the top of the picture into dowels the size of the one below (about .02 inches in diameter). I’ll show you how I’ll go about that in my next posting.
Stay tuned!