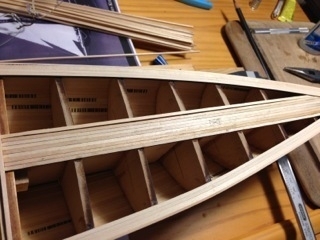
Now it’s time to move on to planking the deck! I’ve decided to start with the fore deck (the front half of the boat).
Unlike the outer hull, when planking the deck, you work from the inside out.
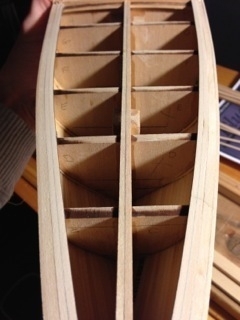
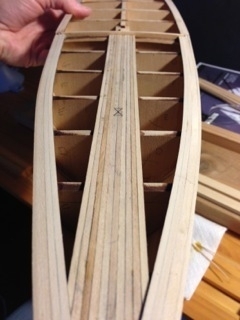
Here I’ve laid the first two deck planks right down the middle over the center keel of the boat frame. Luckily(?) the width of the two deck planks together equal the thickness of the boat framing so that made it easy to lay two deck planks side by side and make sure they line up exactly over the center of the hull.
From there the process was pretty easy. Just keep cutting and laying on some planks.
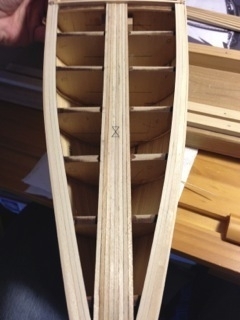
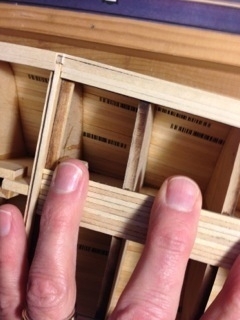
What is that big “X” in the middle of the deck you say? Well, there are going to be two masts on this boat: a fore mast and a main mast. The masts must go through the deck and fit into slots in the hull frame.

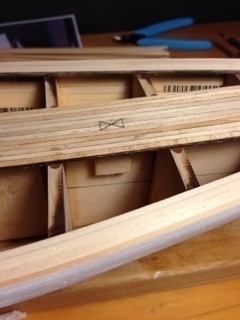
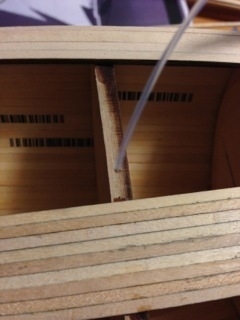
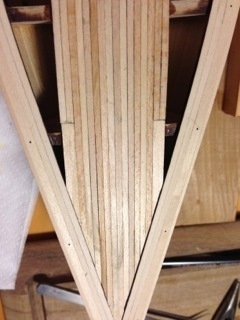
Above is a picture of the slot where the main mast will fit. The big “X” on the deck marks where the slot for the fore mast is below deck.
So when I’m all done with planking the deck, I’ll have to drill a hole in the deck right at the “X” for the mast to fit. Hopefully I’ll get it right!
Back to planking, first I lay out a new plank next to the existing planks and mark where it overlaps the waterway.
Then cut on the marks and make sure it fits.
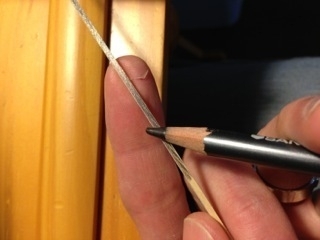
Like before, I then color one edge of the plank with a pencil. Recall, this is the way I’m simulating the caulking that would normally go between the deck planks. When I’m done planking, sanding and varnishing the lines will show up and look like caulk.
Then a little Elmer’s glue along the other edge and fit the plank in place.
A drop or two of super glue on the bulkheads to hold it in place. I’m trying real hard not to get any on the deck itself. The super glue ends up discoloring the wood and hardens it some too. Later when I sand, it won’t necessarily sand smoothly. I’ve not always been successful in avoiding that. You can see a bit of it in the picture.
Keep working outward.
Here’s a close up of the plans I’m following. Each sheet is about 2 x 3 feet and is drawn actual-sized. Notice the weird double-width plank on the plans marked “7” in the picture. Those are there because there is going to be a big winch mounted on the fore deck and this double-width plank is where the winch legs will be mounted.

Well, I’ve got those in place.
That’s it for today. The decking is going much quicker than the hull planking. The next step is the nibbing strake! If you look up above a little bit at the picture of the plans, you’ll see after that double width plank there is another plank along the waterway that is notched out to accommodate the deck planks. This is called the nibbing strake and will be the topic of my next post!
Stay tuned!
JIm