You may recall, when we last left off I was about to embark on making the nibbing strake.
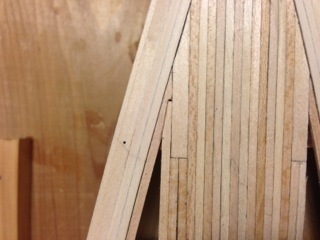
To refresh your memory, take a look at the picture below:
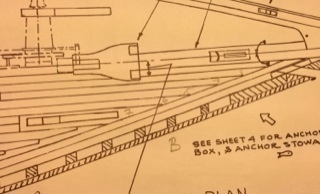
You see how in the bottom left corner the planks no longer run smoothly into the waterway, but instead are notched in. That notching is called nibbing, and the plank into which the deck planks are notched is called the nibbing strake. Why is this done? Well, on a real boat, as the angle between the deck planks and the waterway becomes more acute, the deck planks would be coming to sharper and sharper points. Attaching and sealing such narrow strips of wood would have been too much trouble on a real boat, hence they just cut them off square and notched them into the nibbing strake. So, to maintain realism, I am supposed to notch them in the same way.
I was a bit stumped at first. I didn’t quite know how to measure and cut them to size so that they would look good. Well, Google to the rescue! I was able to find a site that described the process well enough for me to copy it. That’s what I’ll describe here.
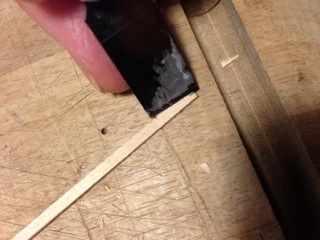
Step one is to lay out the next plank over the top of the nibbing strake and mark where it should end. Cut it off there.

Then, lay the plank back down and mark where it just begins to overlap the nibbing strake.

Now, on my boat, I wanted the end of each plank to be one-half the width of a full-sized plank, so I marked the mid-point of the plank and then cut the plank on a straight line from where it overlaps the nibbing strake to the end. (After I completed all this, I found another post that suggested making a jig you could lay the plank in that would cut them all to the same width. Darn! Should have found that one earlier!)
Next, lay the newly cut deck plank back over the nibbing strake and mark where it overlaps.
Now, carefully cut the nibbing strake along that line. I was so nervous doing this the first few times. I did not want to mess this up because then I’d really want to rip it out and start all over again. You should then have a nice notch where the plank will fit perfectly!
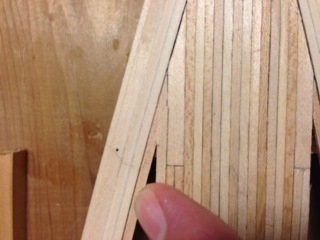
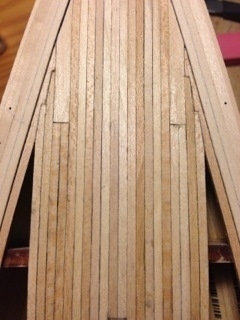
Here you can see I’ve gotten a couple planks done on both sides of the boat. Looking pretty good if you ask me!
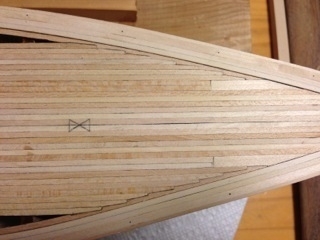
Making more progress. As you can see, I didn’t do such a good job on a couple of them and the gaps between the planks and the nibbing strake are a bit wide. Hopefully a little wood filler will take care of that.
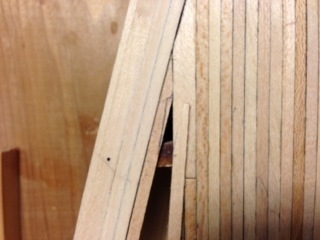
Finally, the fore deck is complete!
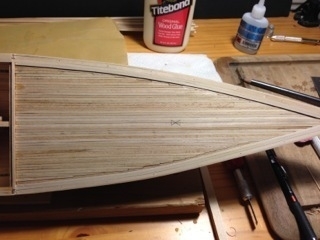
Notice how the last two planks are just little wedges. Those were kind of a pain to put in place properly. They took a bit of cutting and sanding to make sure they fit right and could be glued in place. Overall I really like how it turned out.
Sanding and staining come next. Stay tuned!
JIm