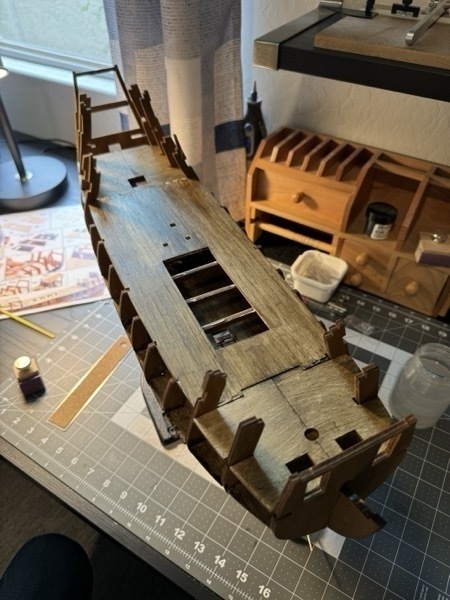
Step D is complete.

For this step I had to attach cross-pieces to the bulkheads (you can see them through that big rectangle hole in the deck), then cut out and install the upper deck. Before doing that, the center portion had to be planked just like I planked the lower deck. Lots of 65mm long pieces of wood all glued down. The portions in the front and back of the ship aren’t planked because those will be rooms and you won’t see inside them when it’s all finished. Finally, I stained the deck with Judea Bitumen just like the lower deck. Actually, staining the deck is part of Step F, but I learned from doing the lower deck that it’s better to do that while it’s not attached to the boat. I think this staining job went much better than the lower deck.
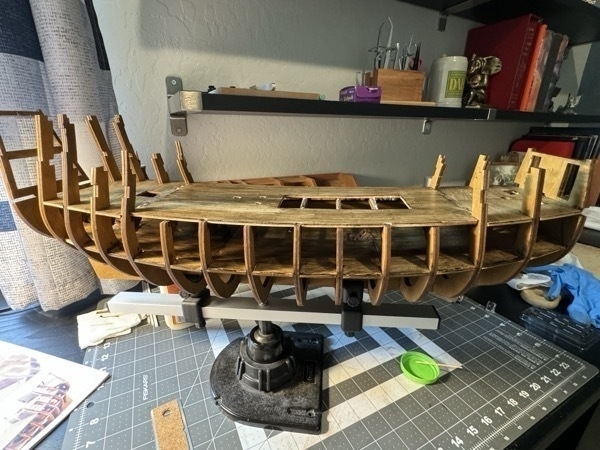
Here’s another view, more from the side.

That’s it for now. Stay tuned for Step E where I attach some of the upper-upper-decks and even some walls!
JIm