And I was able to finish Step H as well!
After getting the mahogany from Australia, I was able to finish outlining the grates that go on the deck. Step H, you may recall involved building that deck house and attaching the grates to the ship.

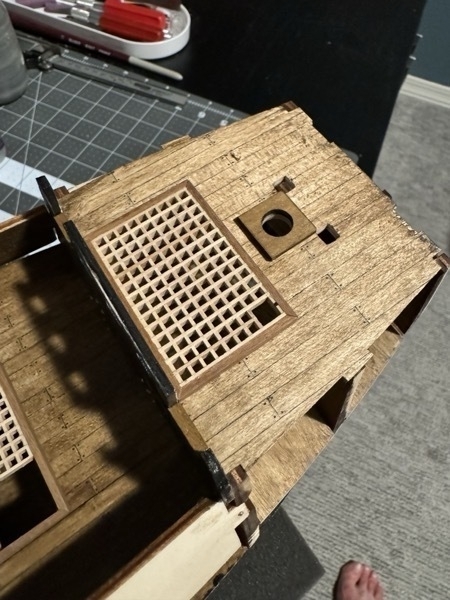
Here is the grating on the fore upper deck (oh, and my toes in the distance)

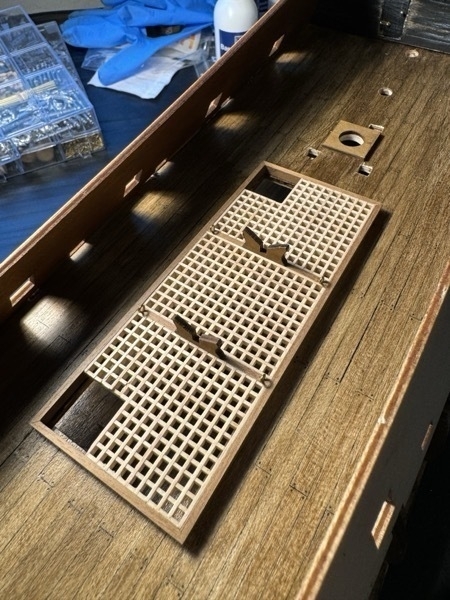
Next is the grating in the mid-ships. Those large holes in the corners are where ladders/stairs will go later. Those y-shaped pieces will hold a small row-boat. You can kind of make out the eye-bolts on the corners. That’s where the boat will be tied down. This part isn’t glued down yet, it just has some flanges on the bottom to hold it in place. This will let me remove it later to add stuff like cannons to the lower deck.

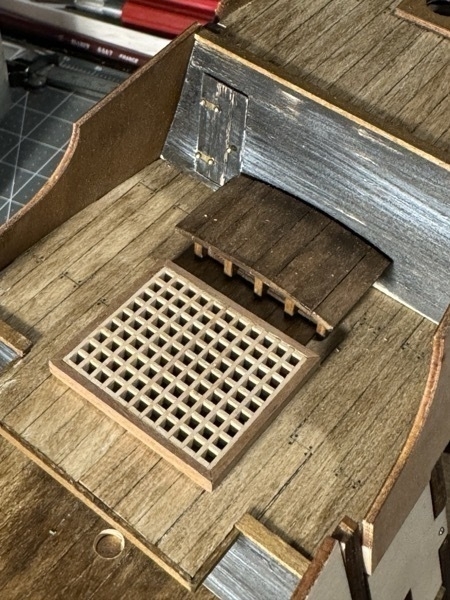
And finally, the aft-upper deck where the final grate went right up by the deck house installed earlier.
And that’s it. I’m now on to finishing up Step I which primarily involves me sanding and shaping the hull in preparation for planking.
Stay tuned!
JIm