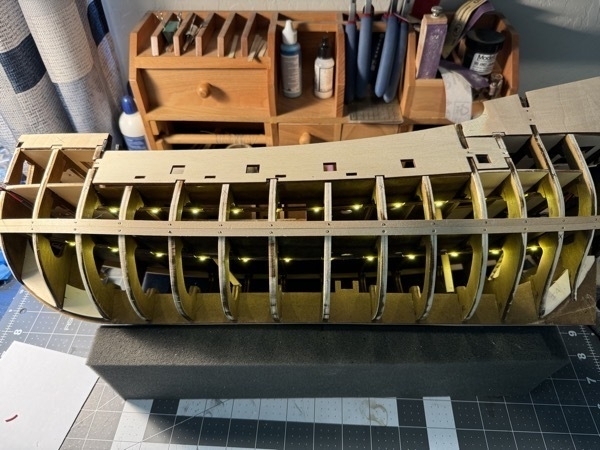
Yay! It’s finally finished. I’ve been at this for almost two months. Step L involves installing lighting on the lower deck and in the hold. This needs to be done now because the next step is to plank up the entire port side and then I would no longer be able to install any lights. Here it is.

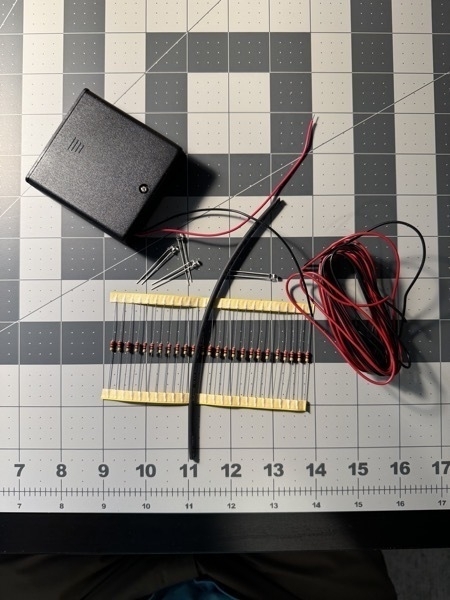
The kit itself came with all the pieces necessary to build the lighting by myself. Here is some of what was in the kit.

The instructions said to build a couple of strands of lights by soldering the capacitors(?) resistors(?) (not sure what those are), to the LEDs, then solder all the LEDs together with short strands of wire, put shrink wrap tubing on most of the connections where possible and tape where it wasn't, and then sandwich all that between a couple of planks of wood and shove it in the ship and glue it in place.
I’ll admit, I’m not the best at soldering having only done it a few times in my life, so I was a bit intimidated, but I figured I could handle that with some practice. More importantly, when seeing what I had to build out, it just seemed sooooo bulky. I really didn’t like what it was going to look like especially given the wealth of LED strip lighting available today.
That led me down lots and lots of searches to find LED lights I would be happy with. I even bought a few things to try out to see how they’d work. I eventually ended up at Evan Designs. They sell a variety of LED strips, kits, pieces, etc. in a whole bunch of sizes. I purchased a couple of strands of micro-LEDs and a few other things I’ll be using in other steps, mounted them on a couple of strips of wood, soldered them all together and voila! I have lighting in my ship. I’m pretty happy with how it turned out.
When all is said and done and all the cannons and cargo are in place, the ship will have a nice back-lighting in the lower decks to show up at night. At least that’s the plan. It’s good to be done with this step. It’s taken me way too long.
That’s all for now. Next up Step M: planking the entire port side.
JIm