While various things kept getting in the way of completing Step N, I decided I can move ahead and work on some of the next steps while waiting for parts or whatever. Steps O & P involved putting what I call “greebles” on the hull of the ship. Here are some pics of the process.
Here is what the ship looked like at the start of this process.
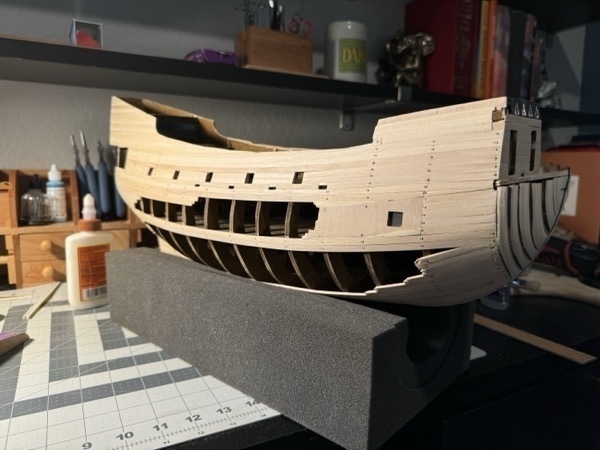
This is how the captain’s cabin started.
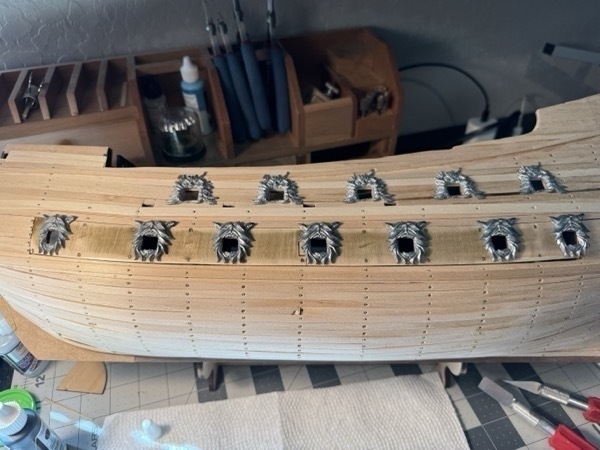
The ship has these cool-looking “demons”(?) decorations on the outside of the ship. These are made of cast metal and were glued on the both sides of the ship.
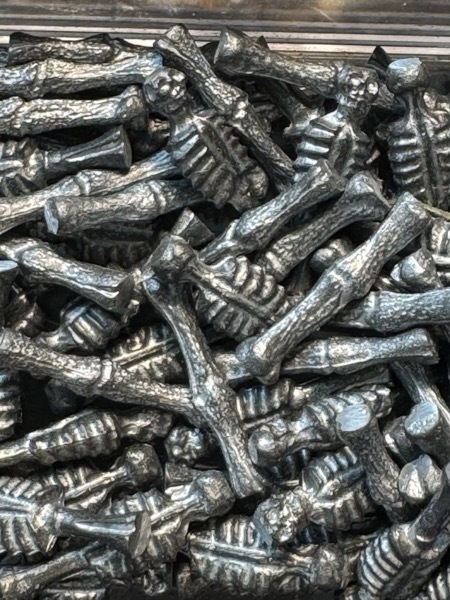
Here is a close-up shot of the balusters (aka spindles) that are used to hold up the railings on the captain’s cabin.
The standard instructions have me painting the entire hull by hand with a brush (actually, that’s part of step S, but don’t tell anyone). I didn’t want to do that, I don’t think bush painting looks all that good so I wanted to airbrush it. With the deck and other stuff already installed, I had to do a careful job of masking off all the openings so I didn’t get any paint on the inside. You can also see some of the other details added to the hull.
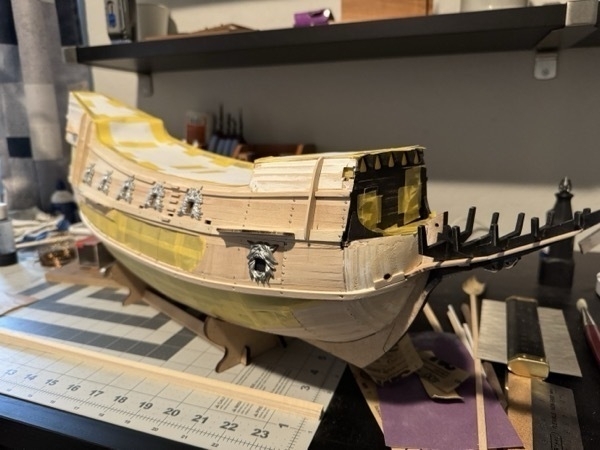
I probably should have included this photo in the previous post about completing Step N. This shows my repair work re-attaching the right (starboard) wall of the captain’s cabin after I dropped and broke it.

And here is what the ship looks like now. All painted black and some additional rails attached to the tops of the hull and ready for the next steps.
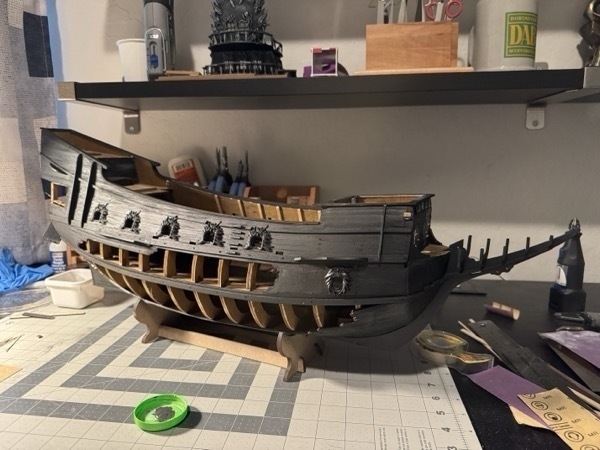
I think today I’ll sand and maybe do some of the white highlight-painting to make it look like the finished captain’s cabin looks. All this painting is supposed to be part of Step S so I may just leave it for then.
Beginning with Step Q, I build cannons and lots of other details that will go on the deck. Hopefully those steps don’t take me 2+ months to complete. But hey, I have until Halloween 2025 to complete this so, plenty of time! (Famous last words, eh?)
See you next time!
JIm