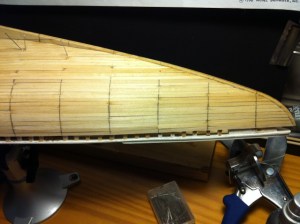
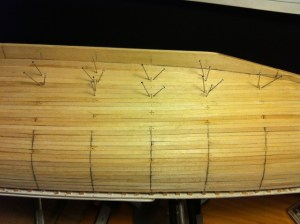
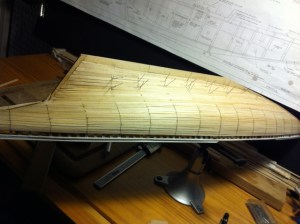
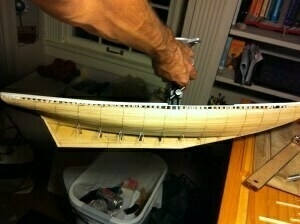
Before & After
Before:
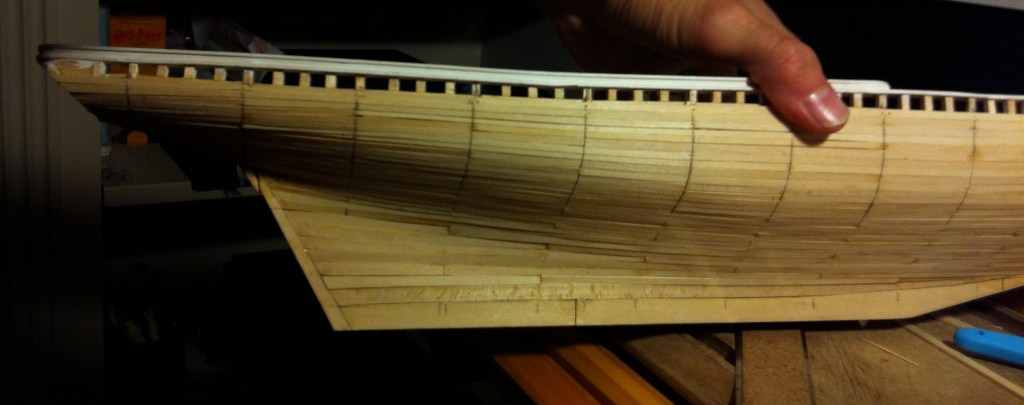
After:
It’s been what, 4 months since I last posted here. A variety of things interfered with my posting, vacations, work on apps, etc. but the biggest reason I’ve not made any progress on the boat and on the blog has been my unwillingness to face reality.
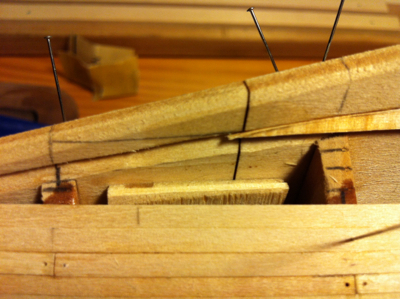
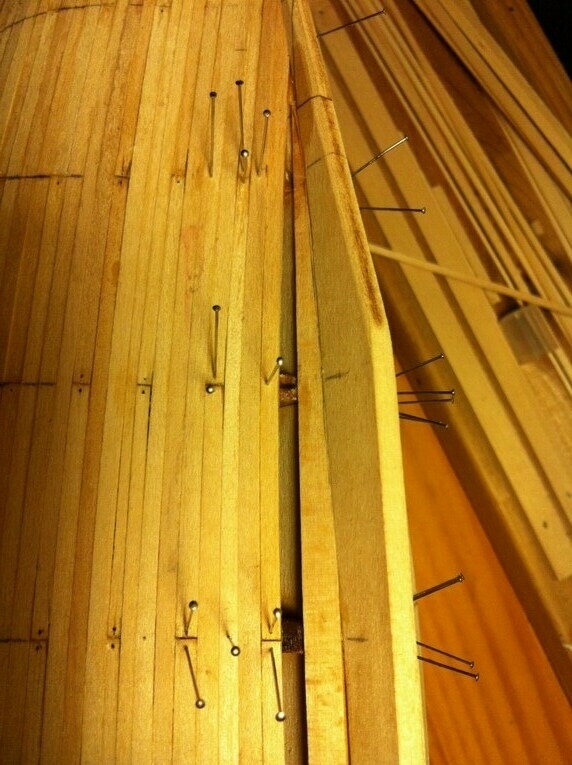
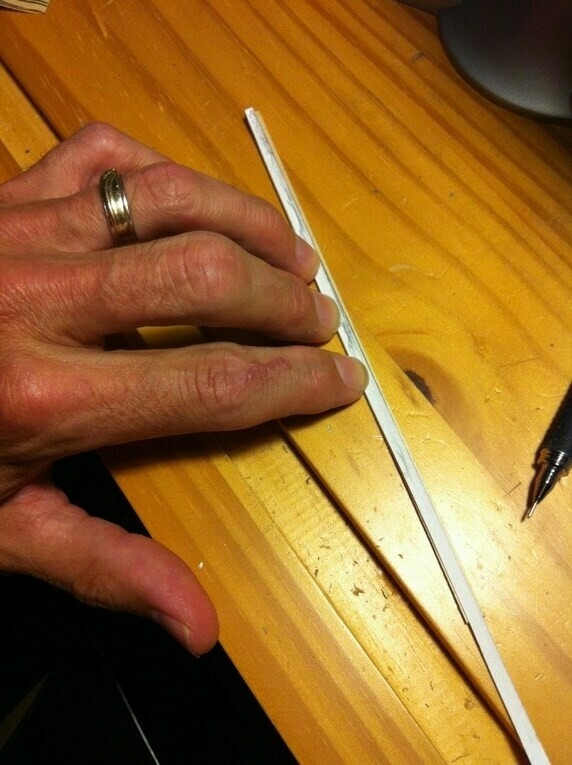
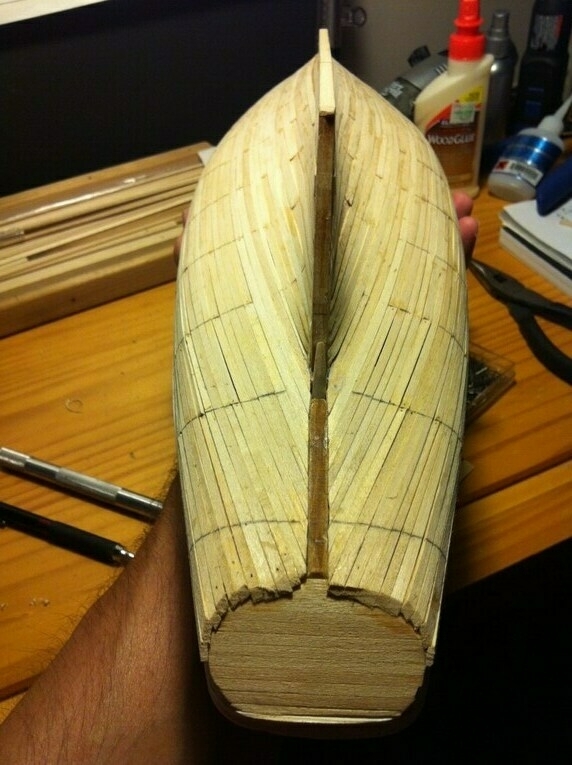
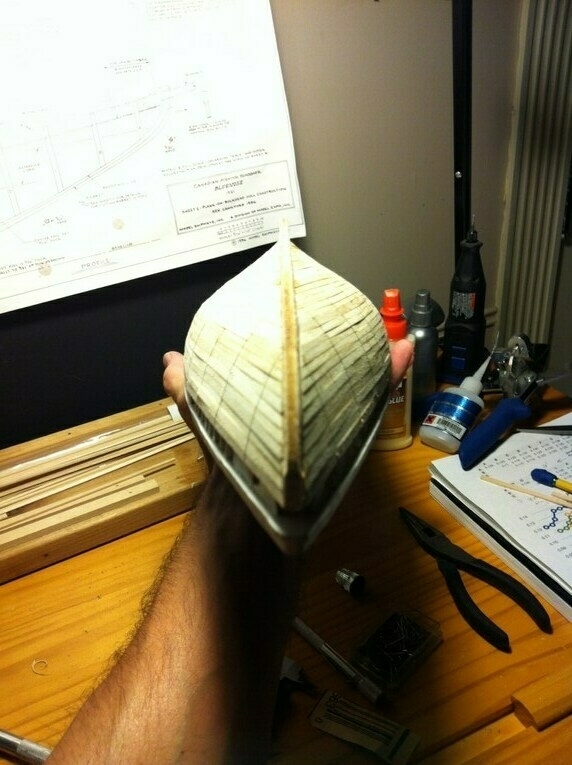
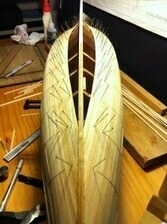
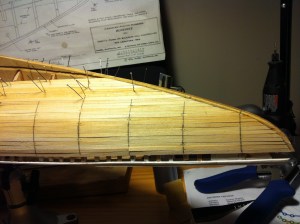
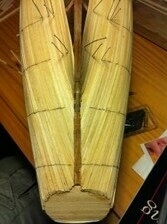
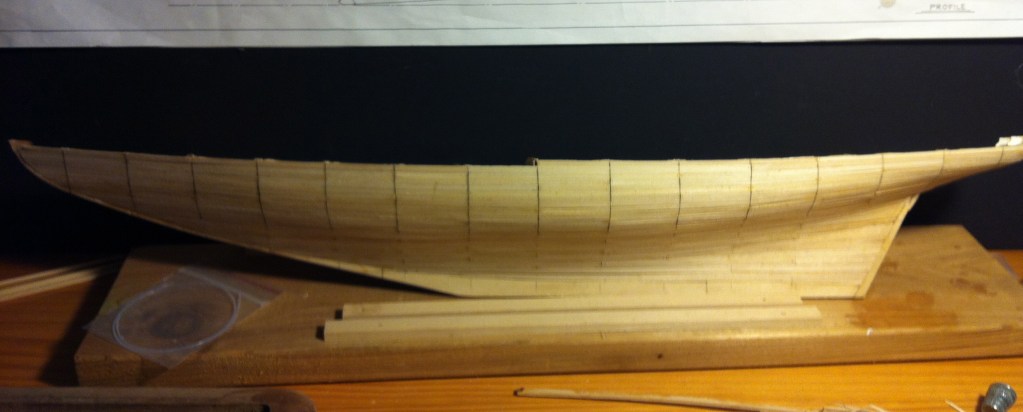
In my last post I claimed I was done planking. Well, that turned out not to be true. I had forgotten about the waist. The waist is a strip of planking that is to go between the rail (the white painted stuff in the “before” photo above) and the hull planking. This planking is half the thickness of the hull planking. The idea was to fit it in between the existing hull planking and the rail similar to what I had done in finishing the planking earlier.
Part of me knew this was going to be difficult at best. Despite how I made it seem in the previous blog post, fitting in that piece of planking was not going to be easy. The big thing was that the rail, the deck planking and the existing hull planking were not all straight and level to each other. When I put the rail on I really wasn’t thinking about how straight and level it needed to be and how it would affect, and be affected by other parts of the boat. I simply followed the directions and put the rail on as I was told. Now that I was at the point where I had to fit in this tiny strip of wood, I realized it just wasn’t going to fit. I knew what I had to do, but didn’t want to do it.
In retrospect, I never should have installed the rail. Being my first boat project, I’ve been diligent about reading the instructions, making sure I understand them and following them to the best of my abilities. I’ve even found places where the actual order of the instructions didn’t make sense and when I was sure they were wrong, I would do something out of order. Well, the instructions called for the rail to be installed before the planking and I saw no reason not to do so. I was actually really happy with the way it turned out. At least until I had to put in the waist.
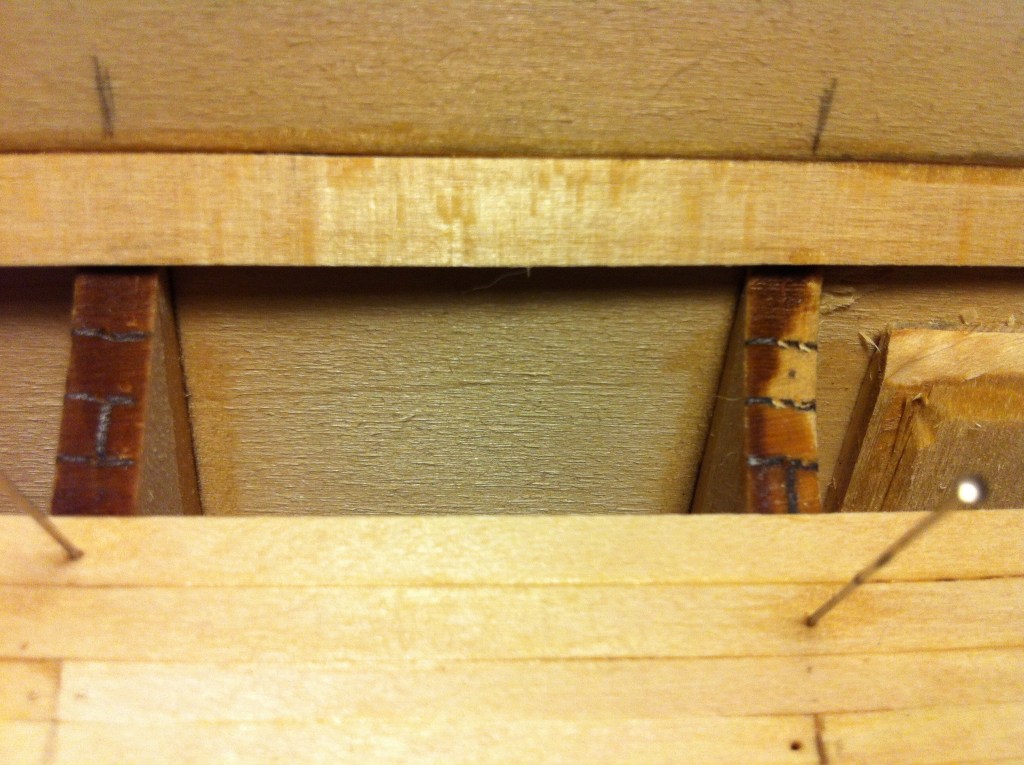
With the little bit of deck planking not really being level, the rail not really being straight and level and the hull planking being mostly straight and level I knew it was going to be nearly impossible to fit in that waist strip. I knew that I would have to remove the rail and take everything down to the bulkheads. So, I walked away from the project and took a break. I went back several times over the past few months and tried to fit in the waist, to no avail. Each time I did so I would say to myself, “You know what you need to do Jim” but I didn’t want to listen. I’d put a lot of work into this boat and the thought of tearing it apart to make it correct was not something I wanted to do.
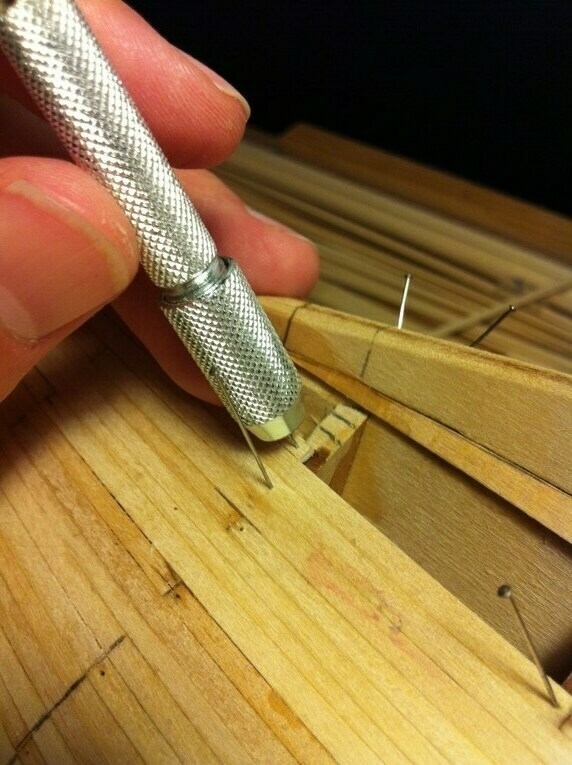
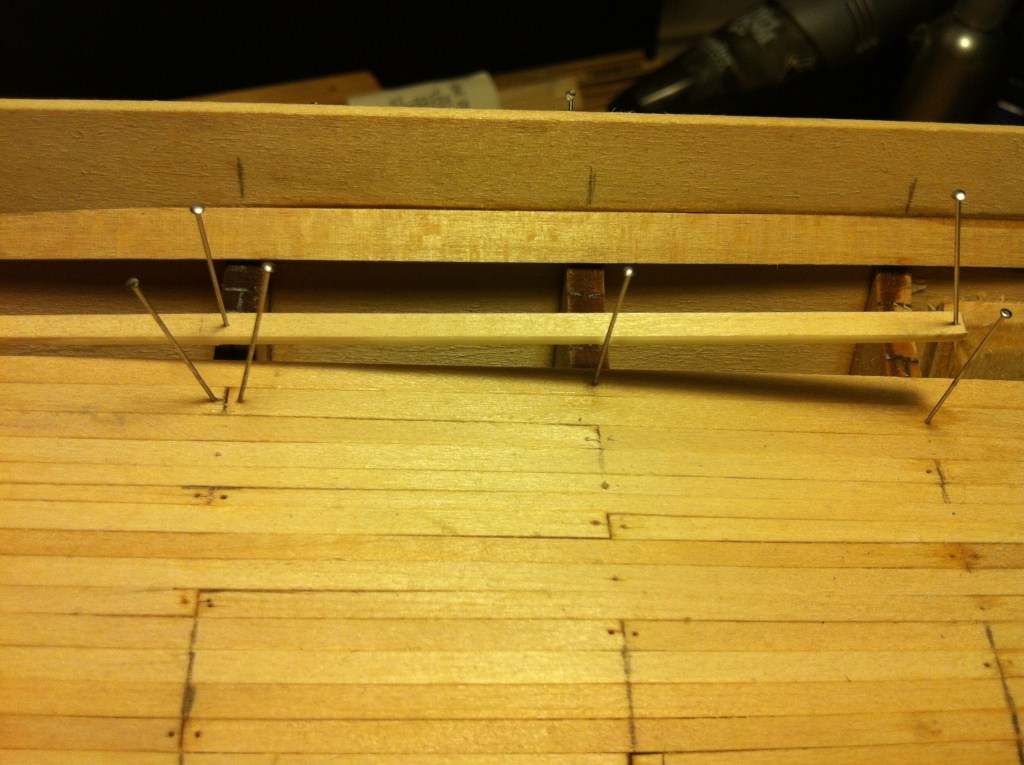
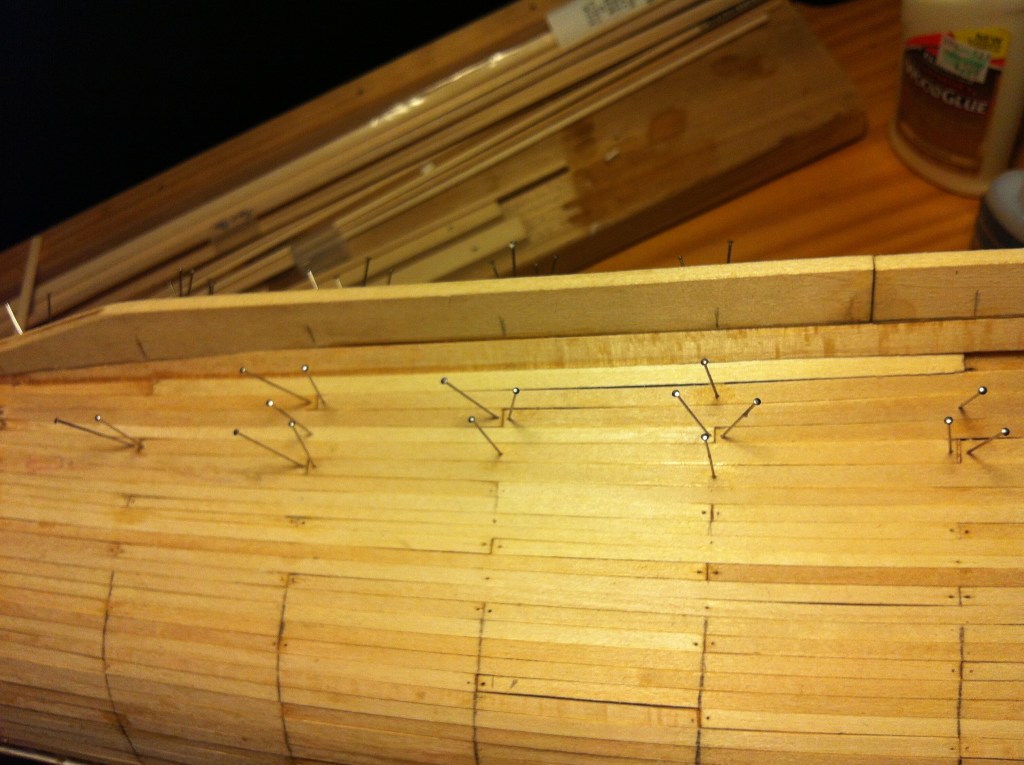
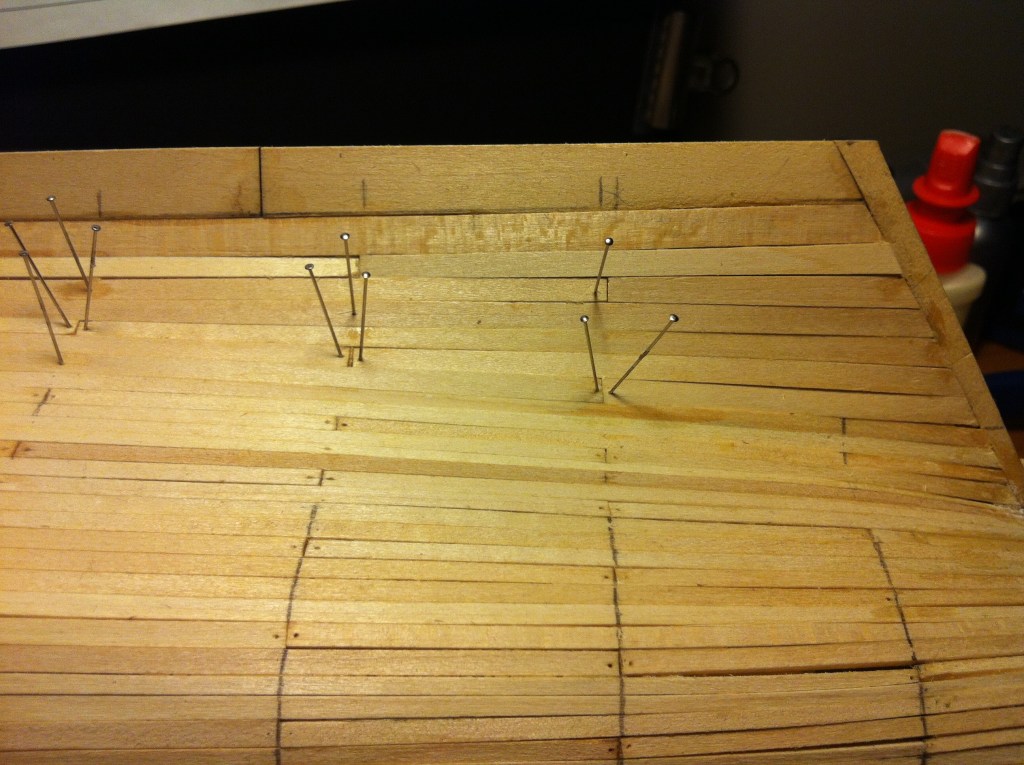
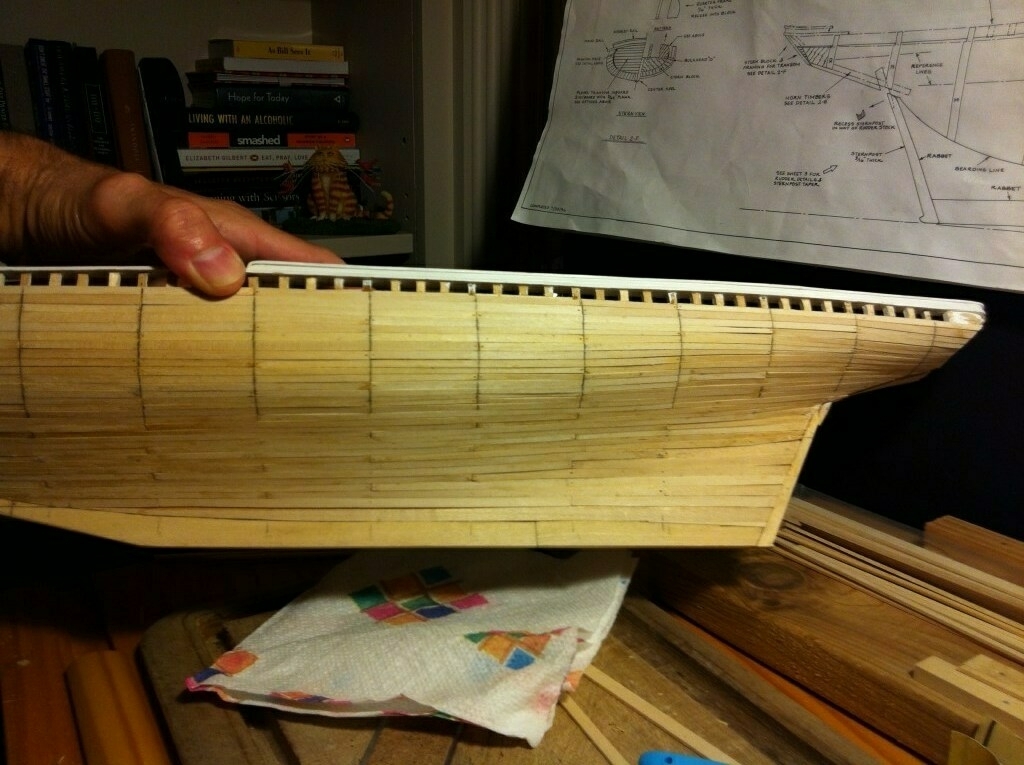
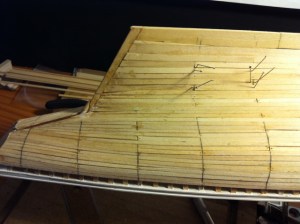
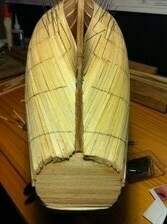
Well, I’m too much of a realist and in the end I faced up to it and started to tear it apart. First, I got off the rail and kept it mostly intact. I hope to re-use it later. I then ripped out all the waterway planking (a small bit of deck planking next to the bulkhead stanchions) and then cut off all the stanchions down to the deck level. Now the boat looks like the “after” picture above.
While difficult, I actually feel pretty good about this. I now know that I will eventually have a more solid foundation on which to finish the planking and then attach the rail and then finally plank the deck and build upward from there. I’ve learned in this project that the littlest error can compound itself over the long run and it is better to get it right from the start than to try to make up for it later. It only gets worse the longer you let it go.
Stay tuned. Now that I’ve faced reality and done what needed to be done, I hope to make more regular progress with the boat.
JIm