West Highland Way Day 2

West Highland Way Day 2
Day 2
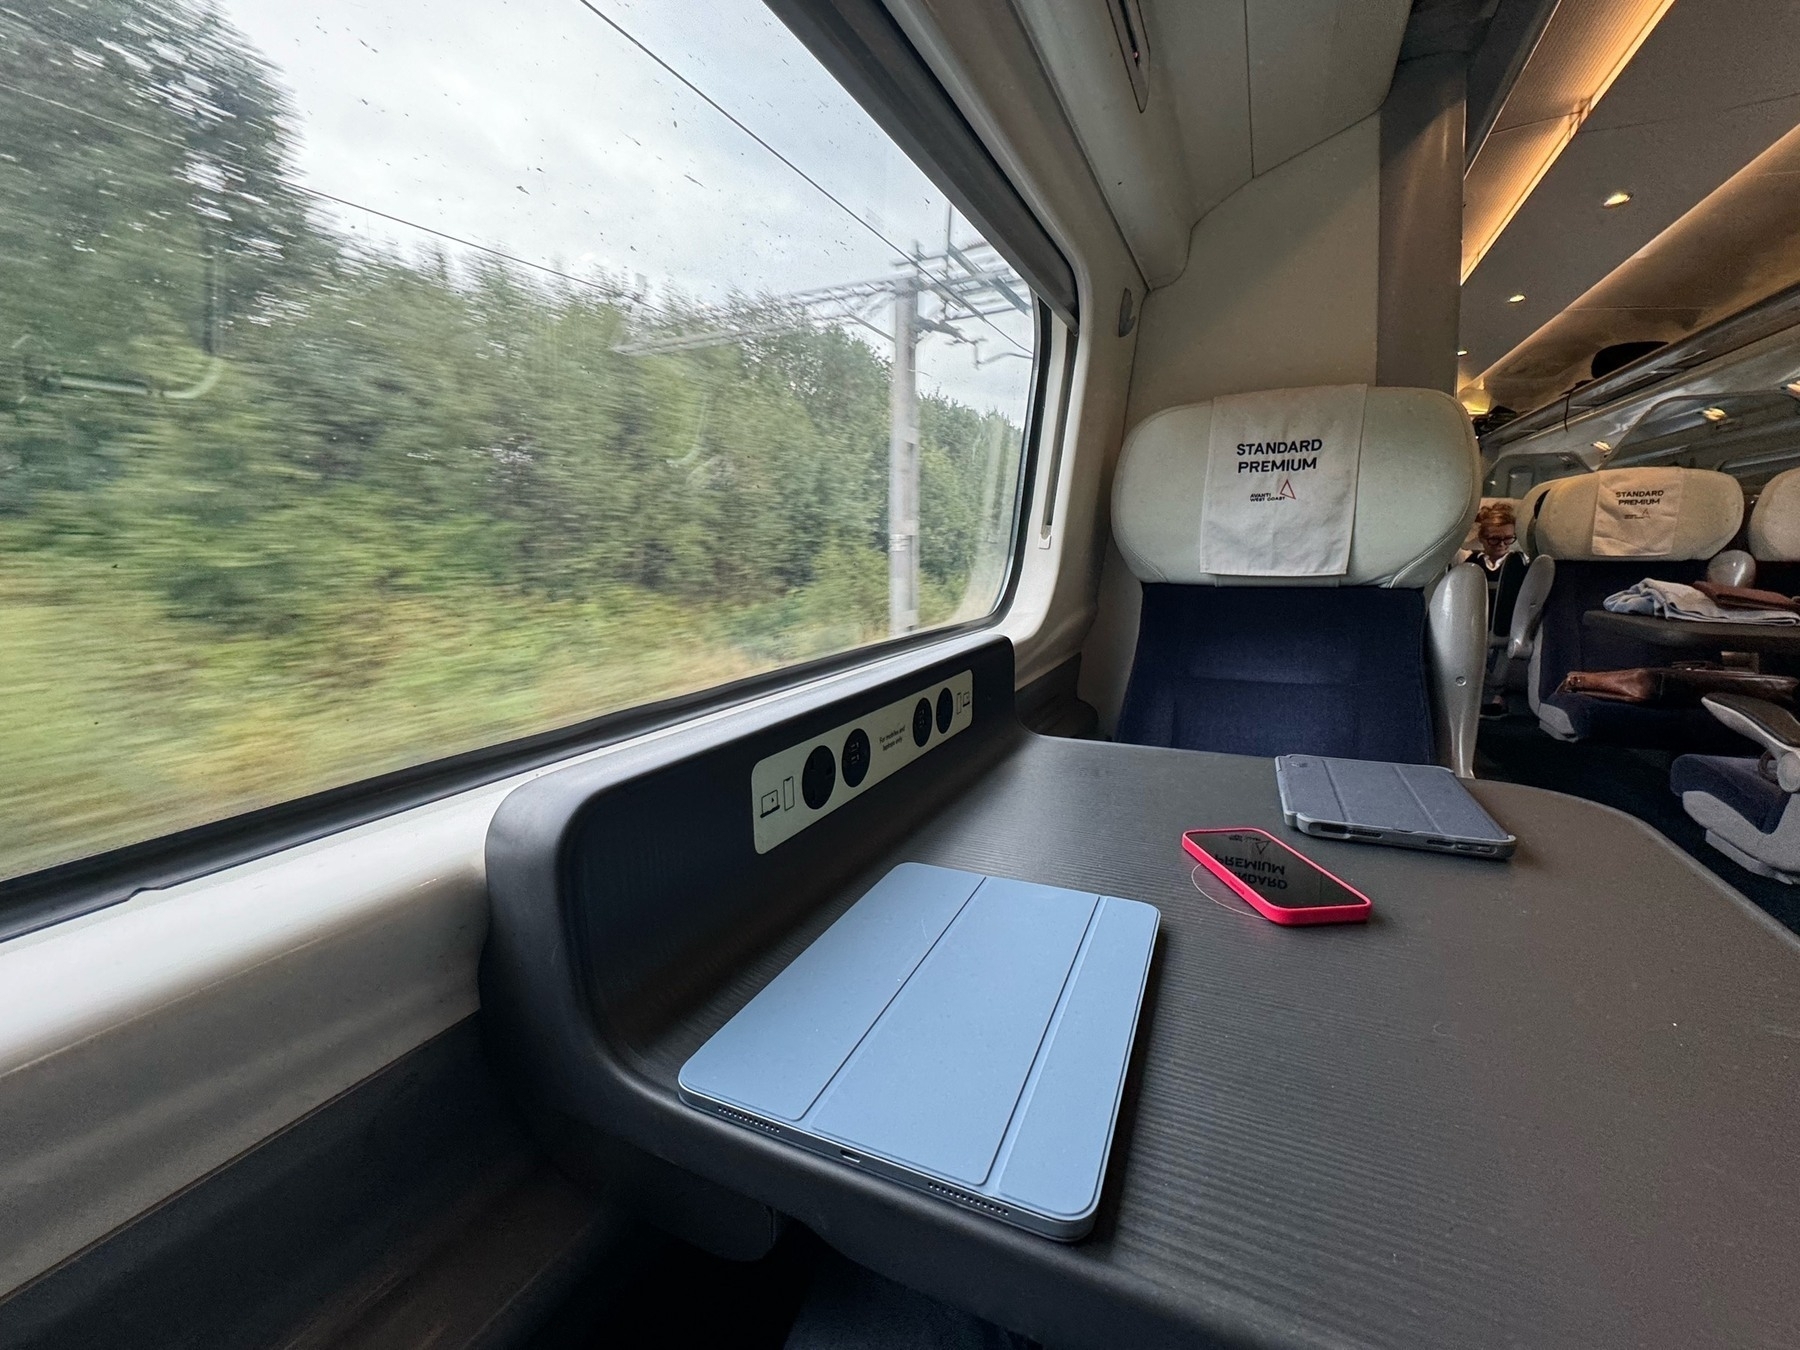
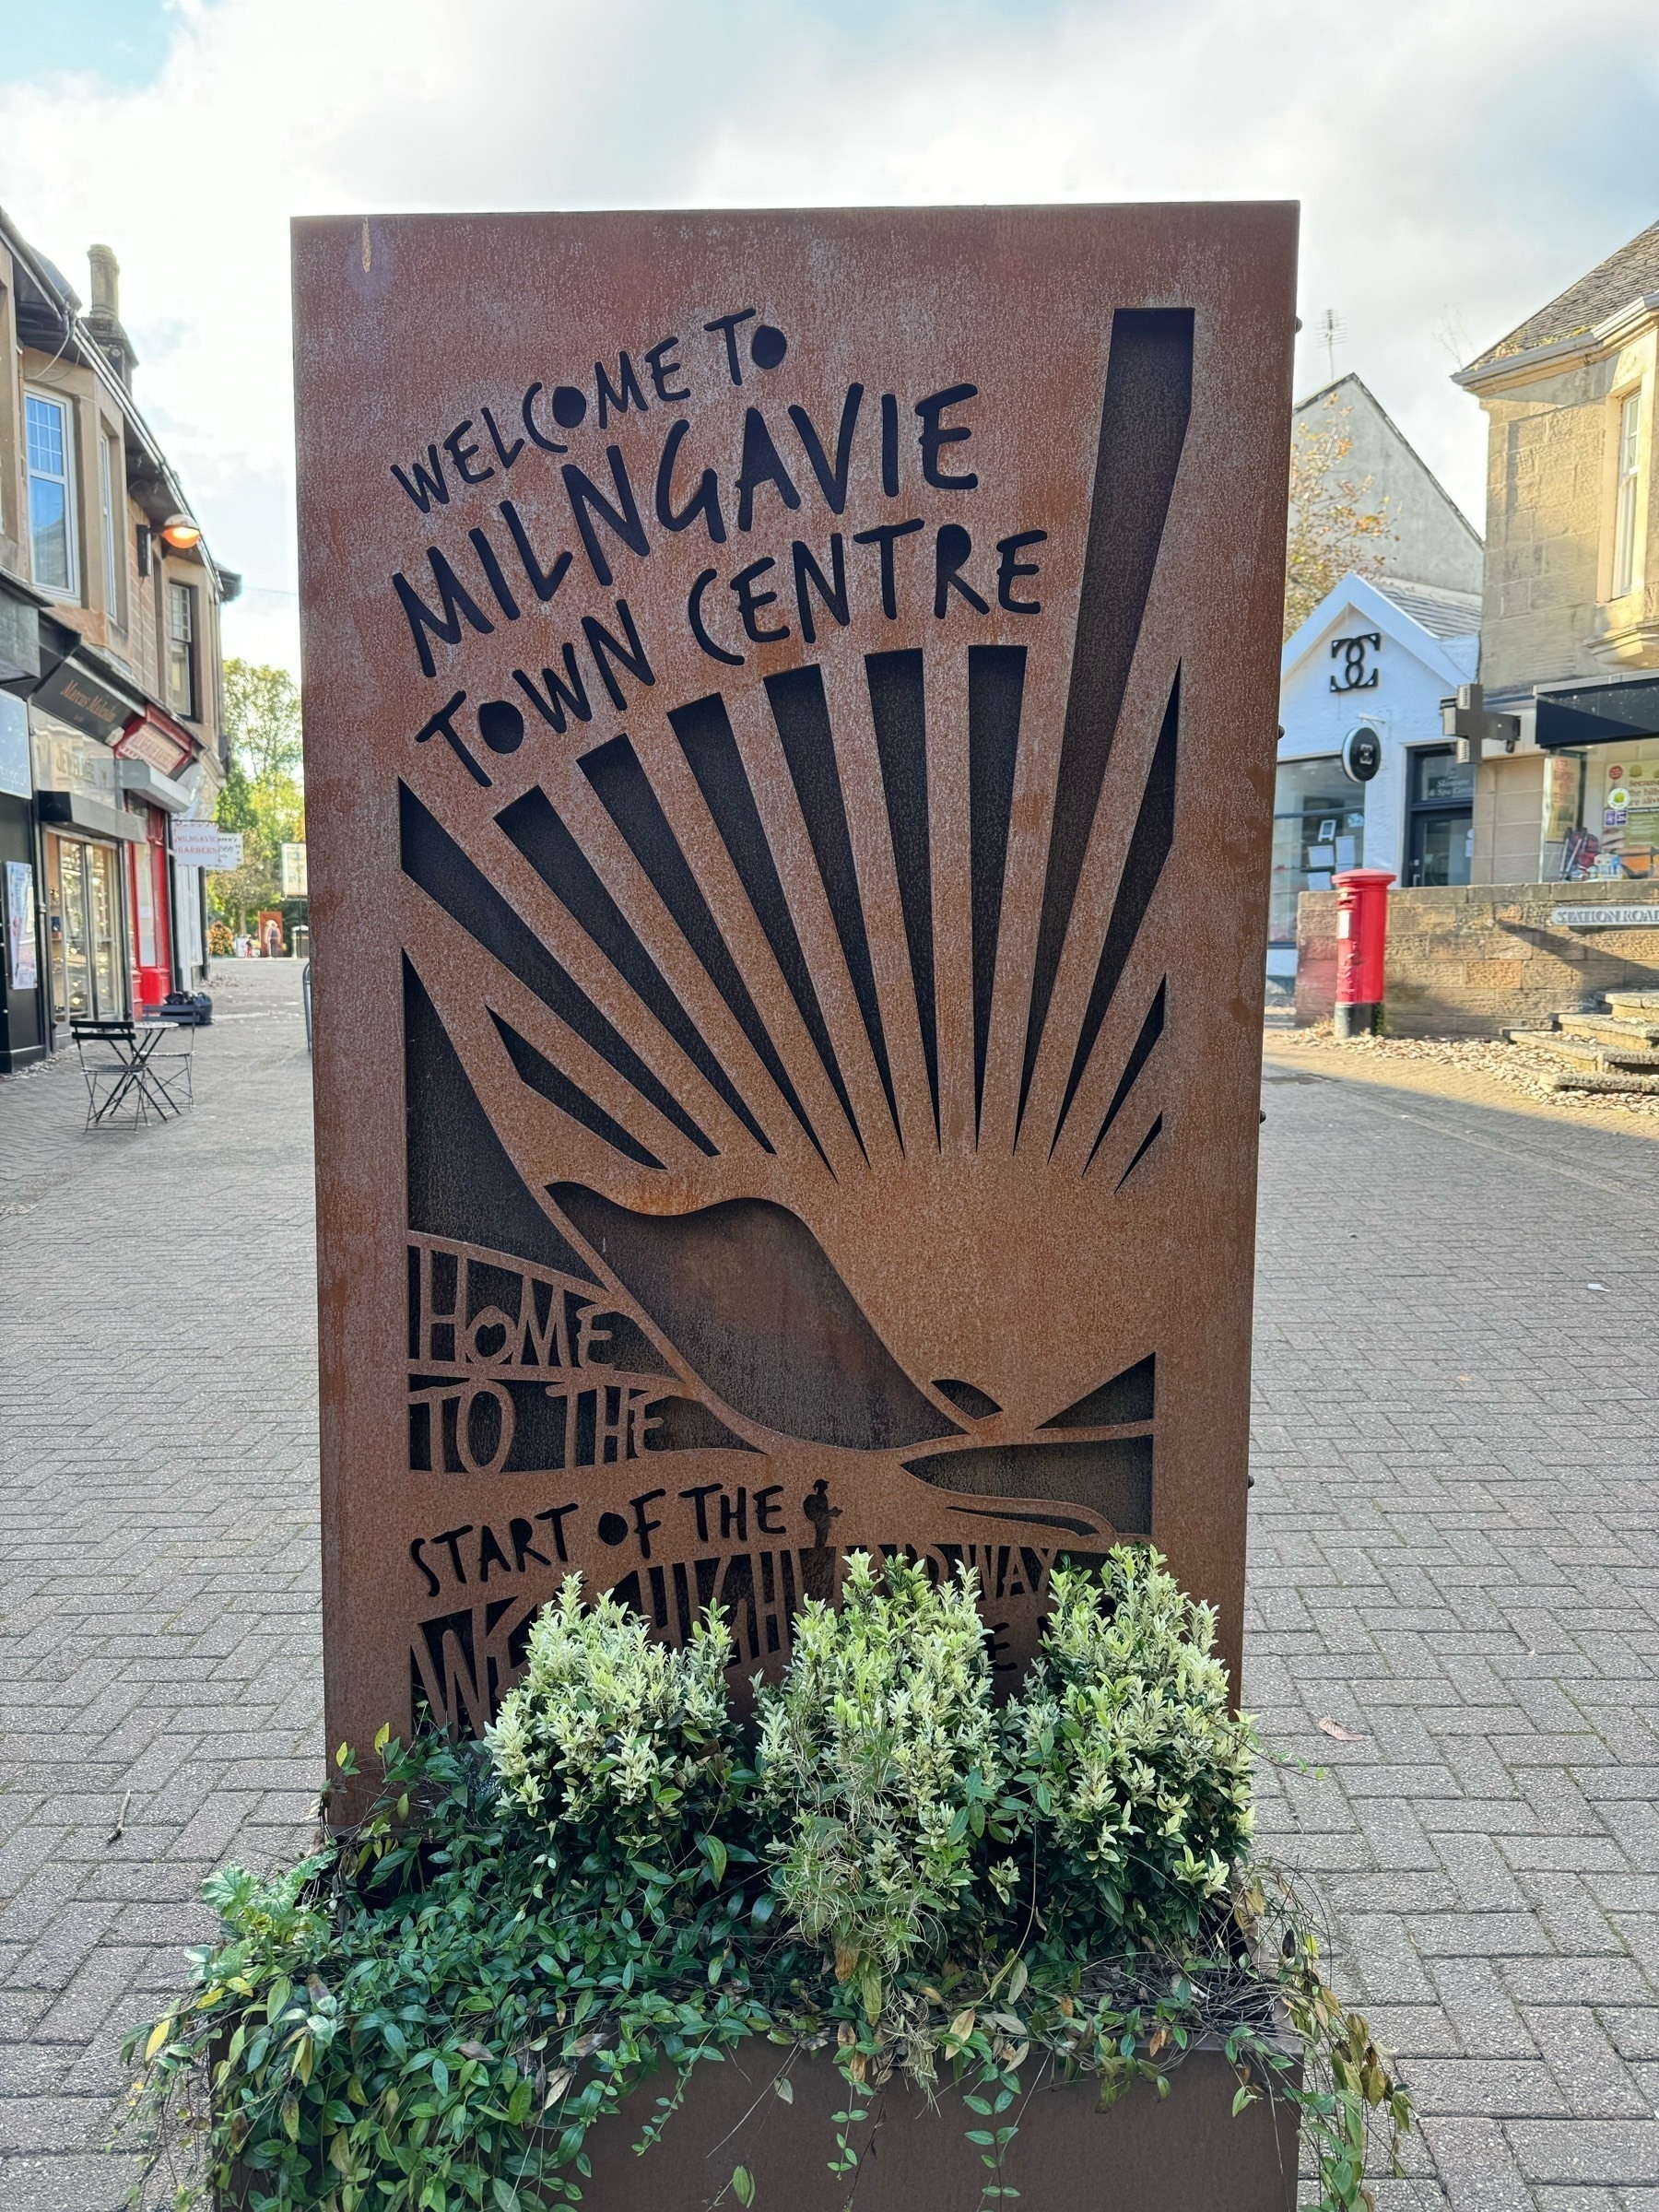
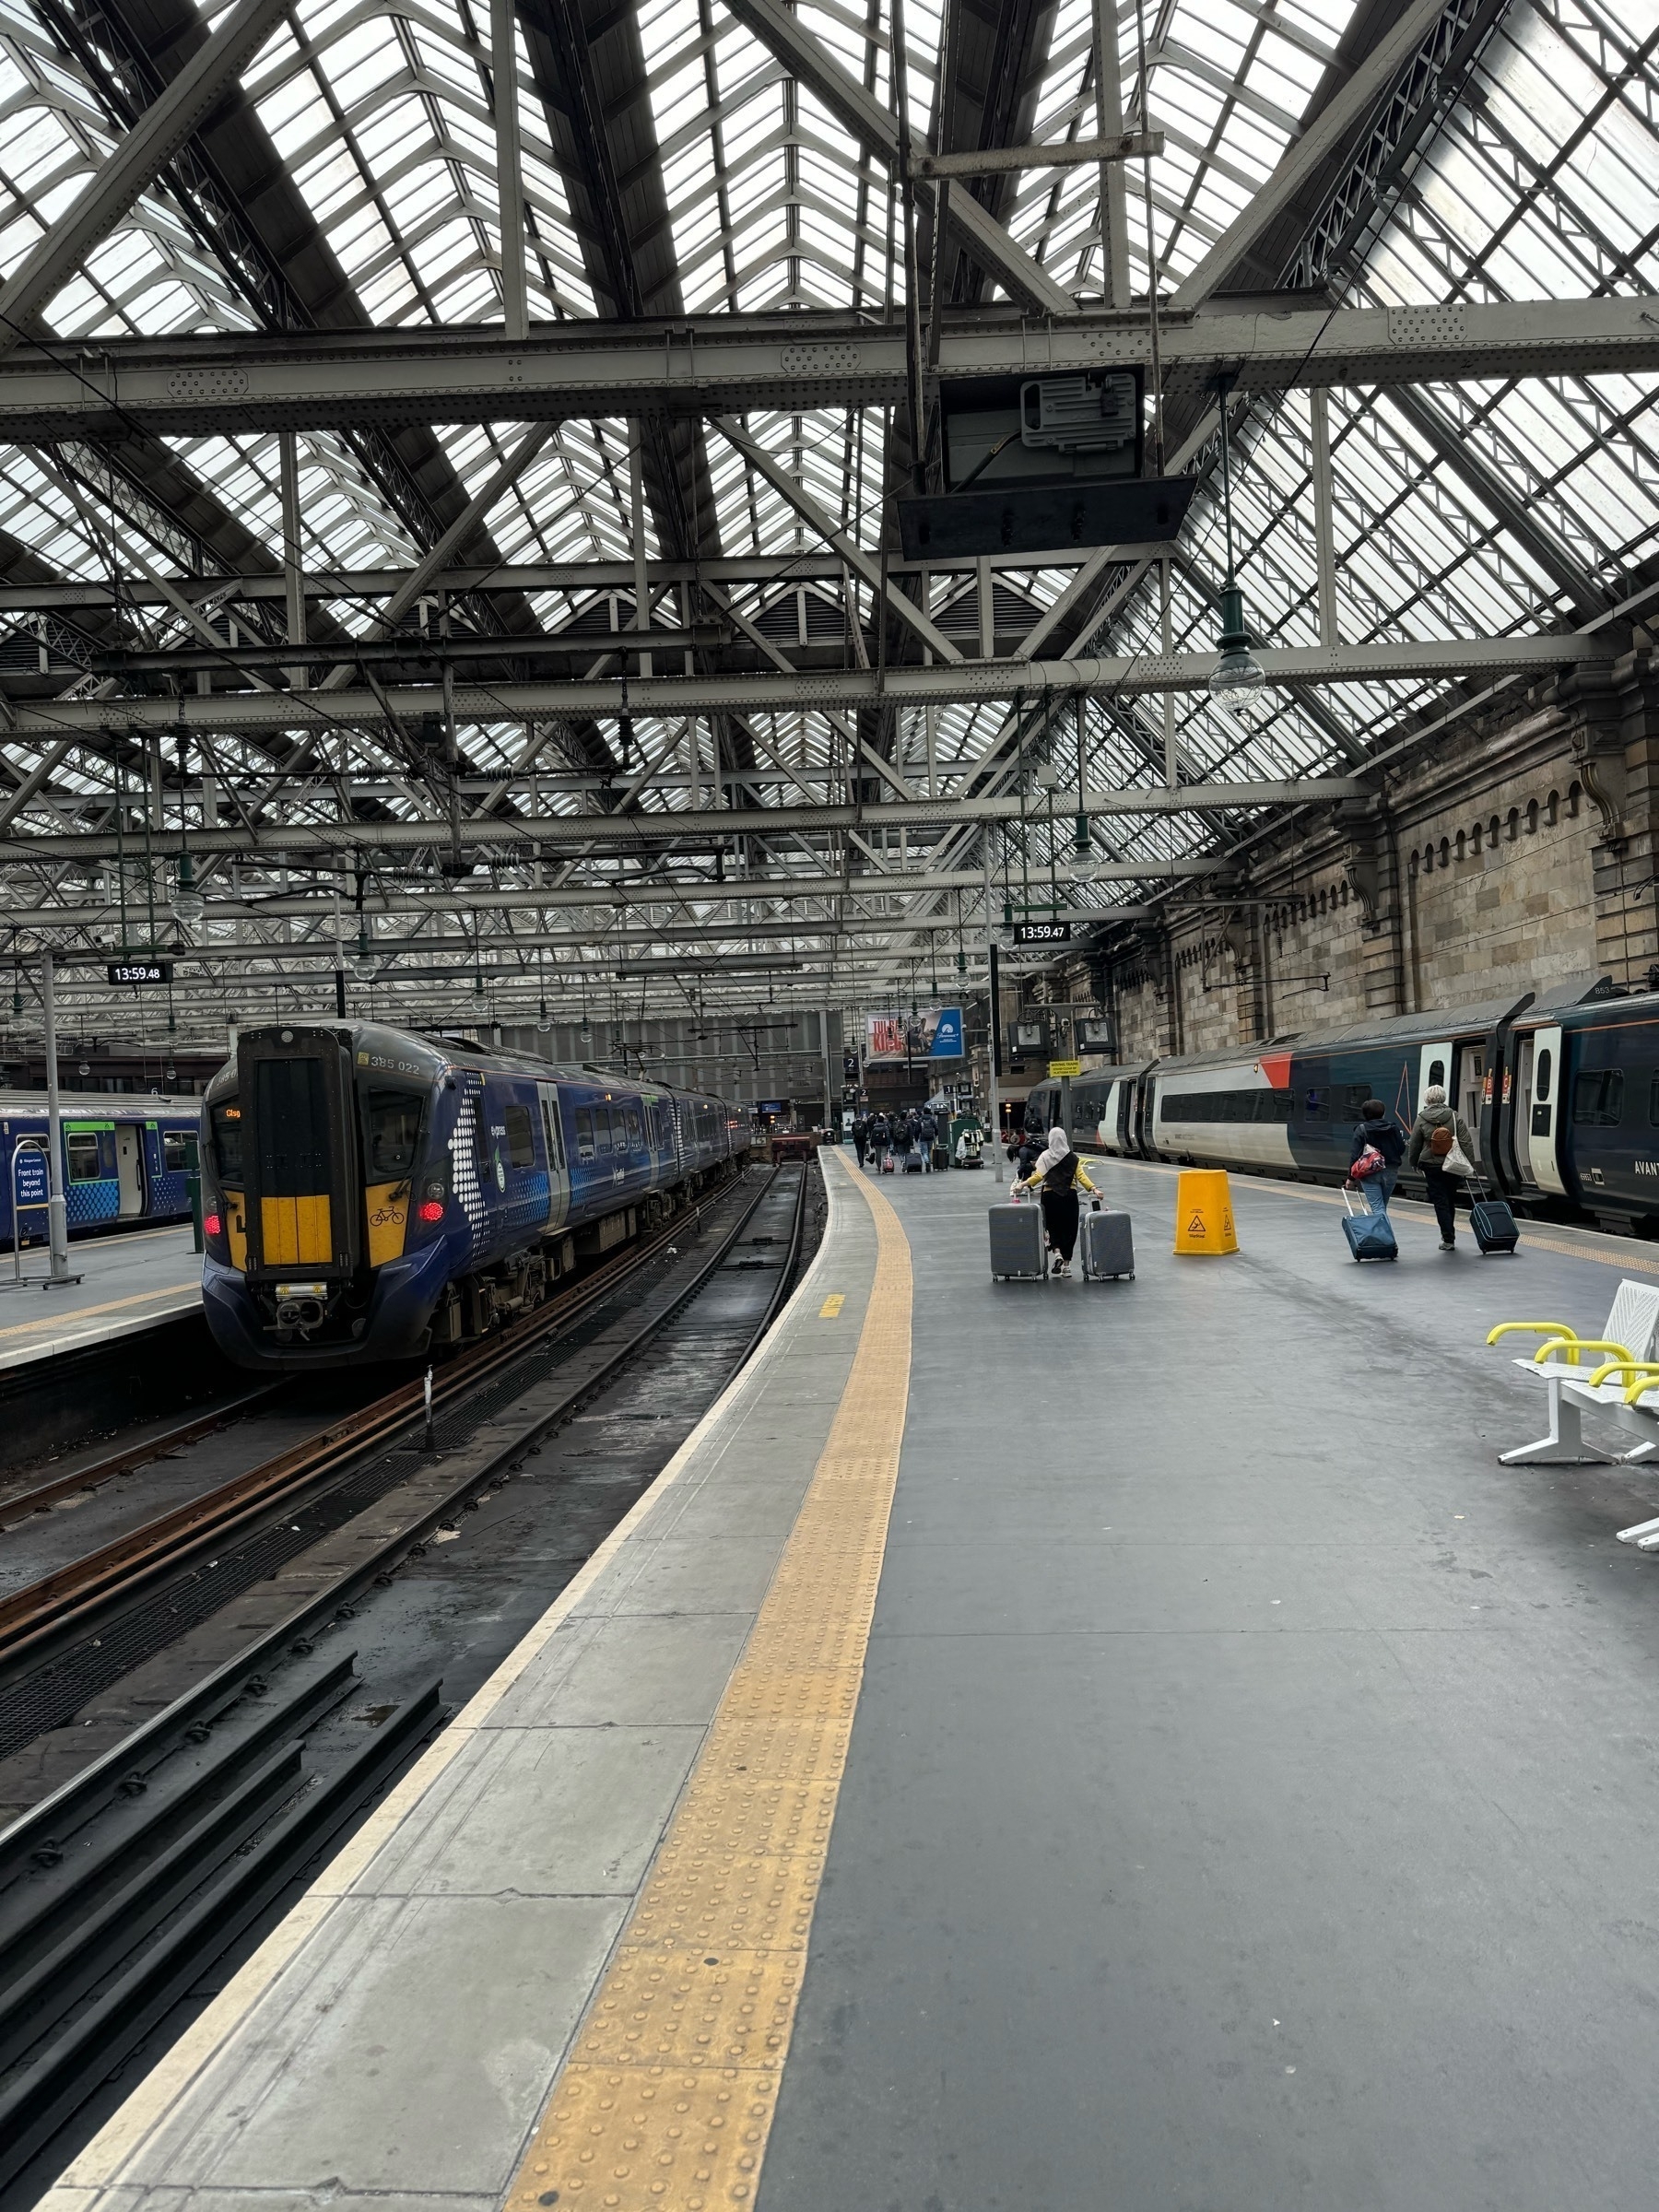
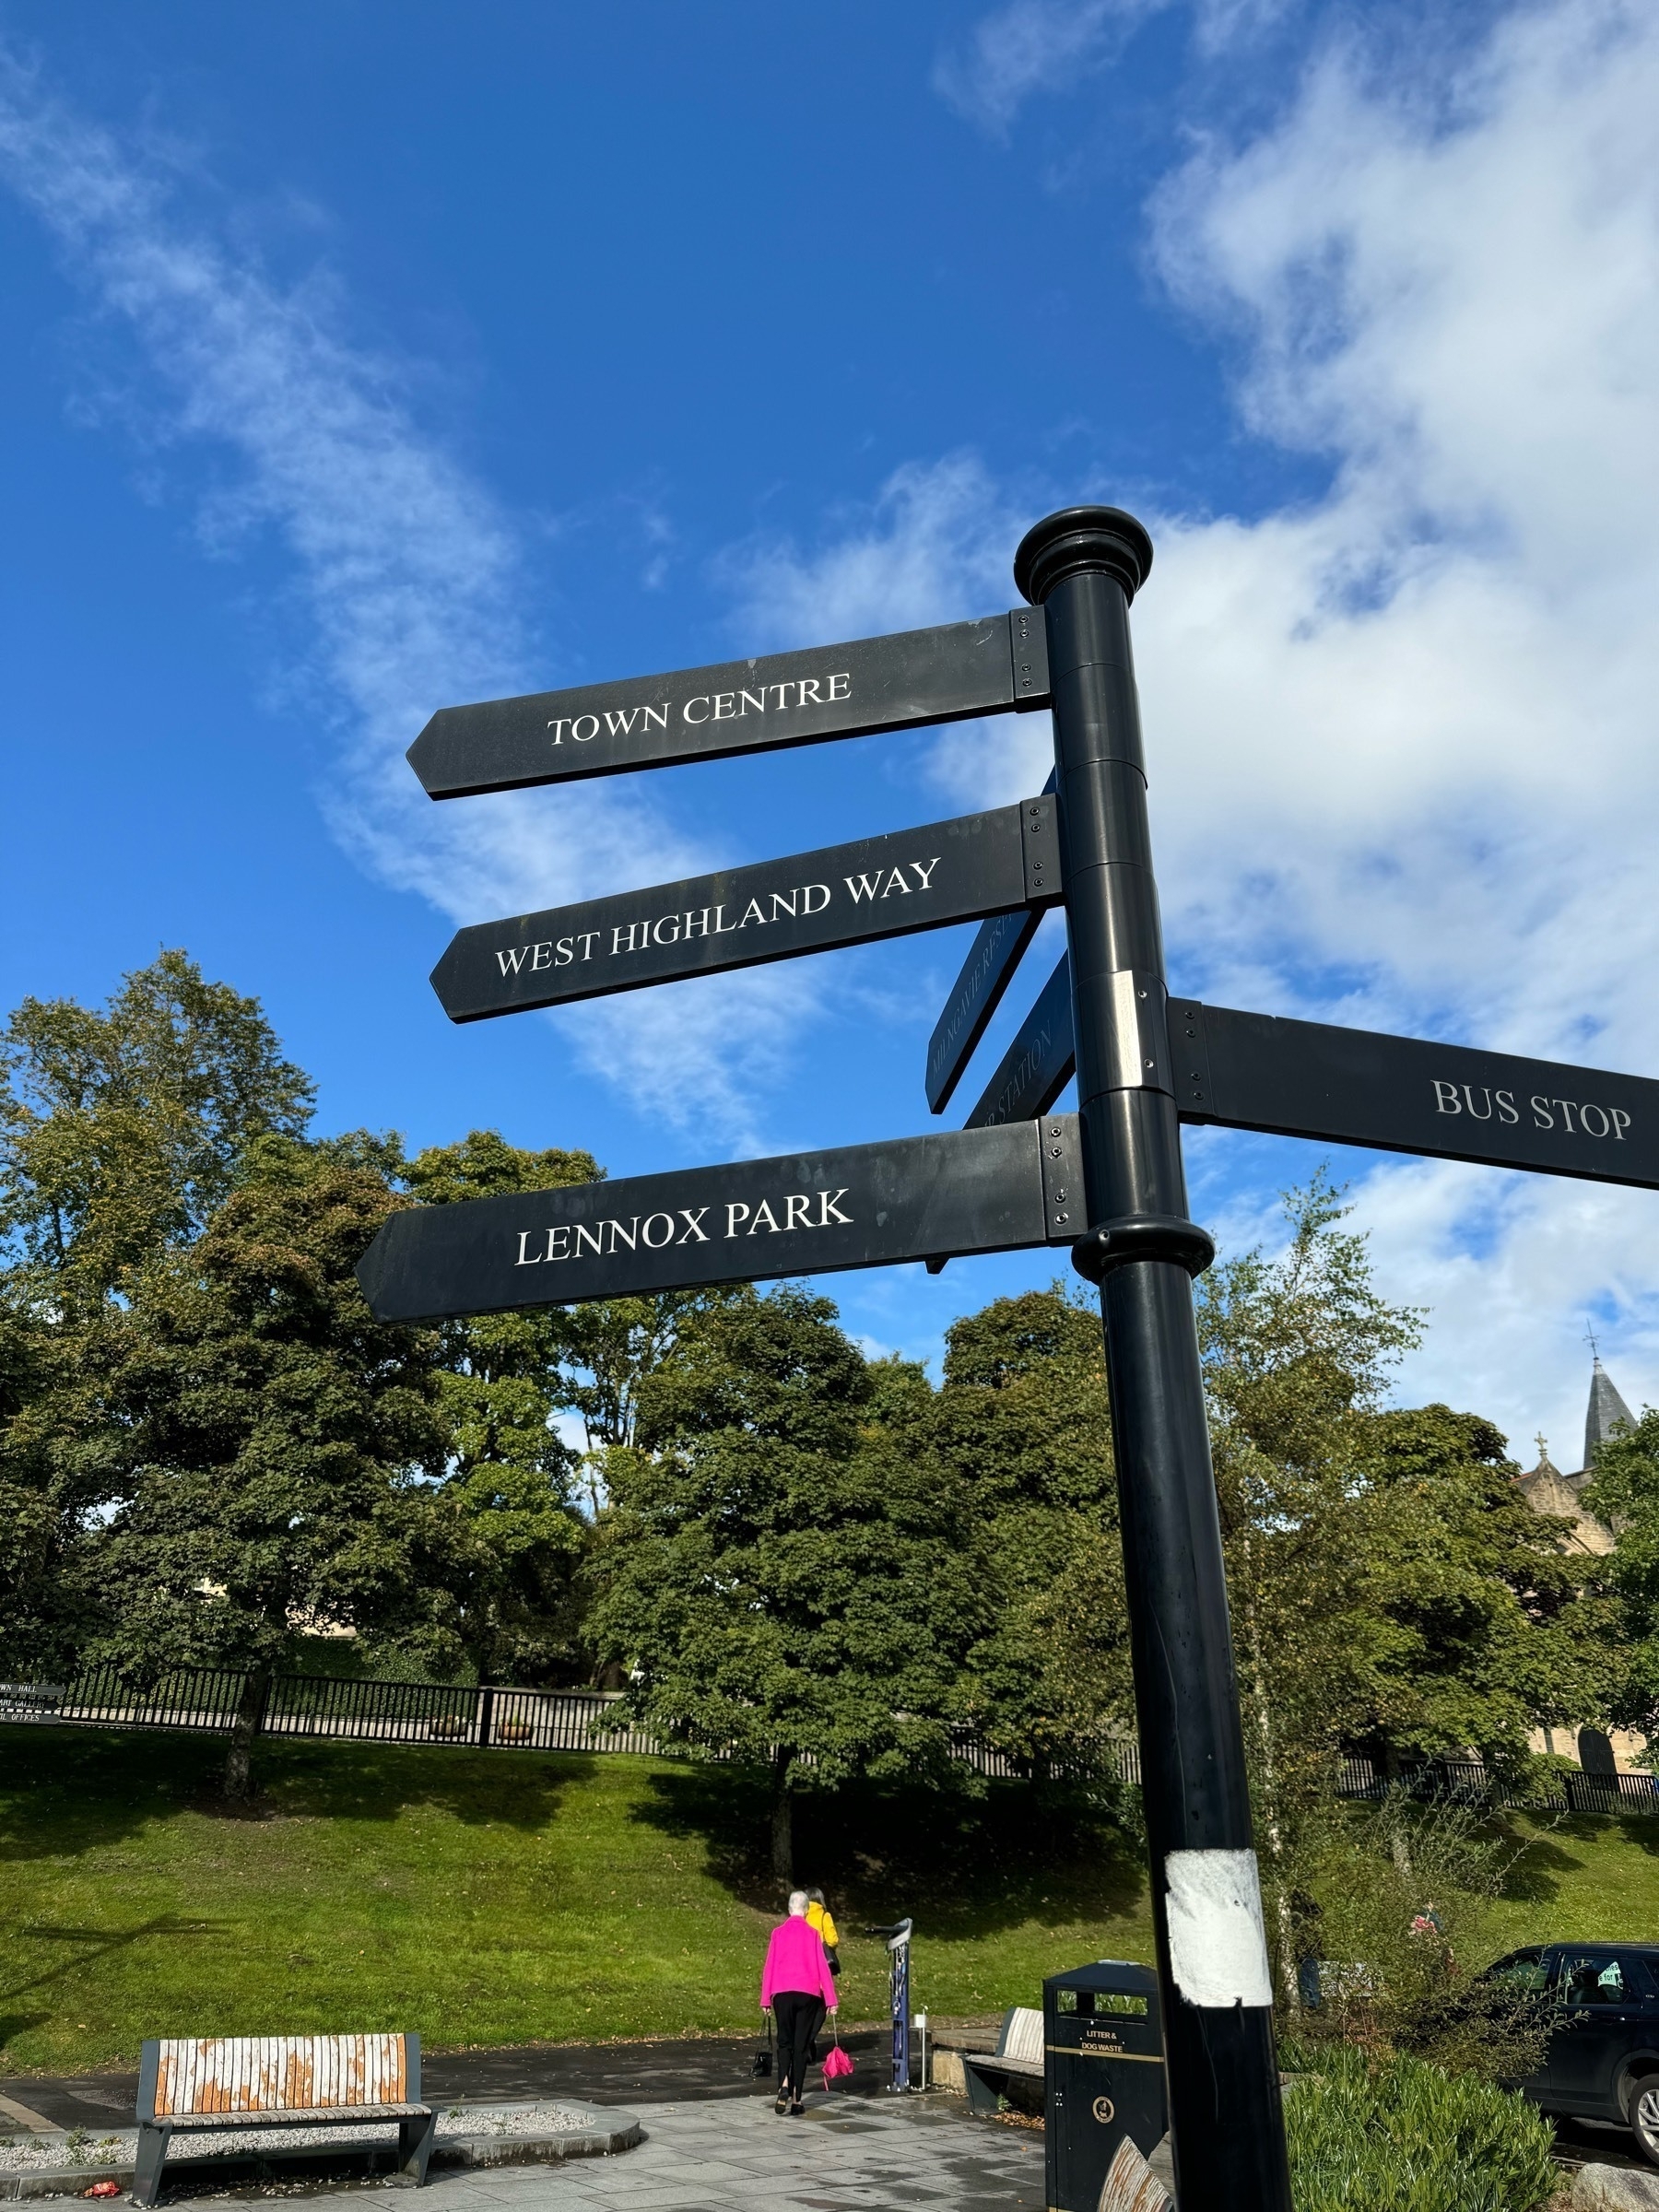
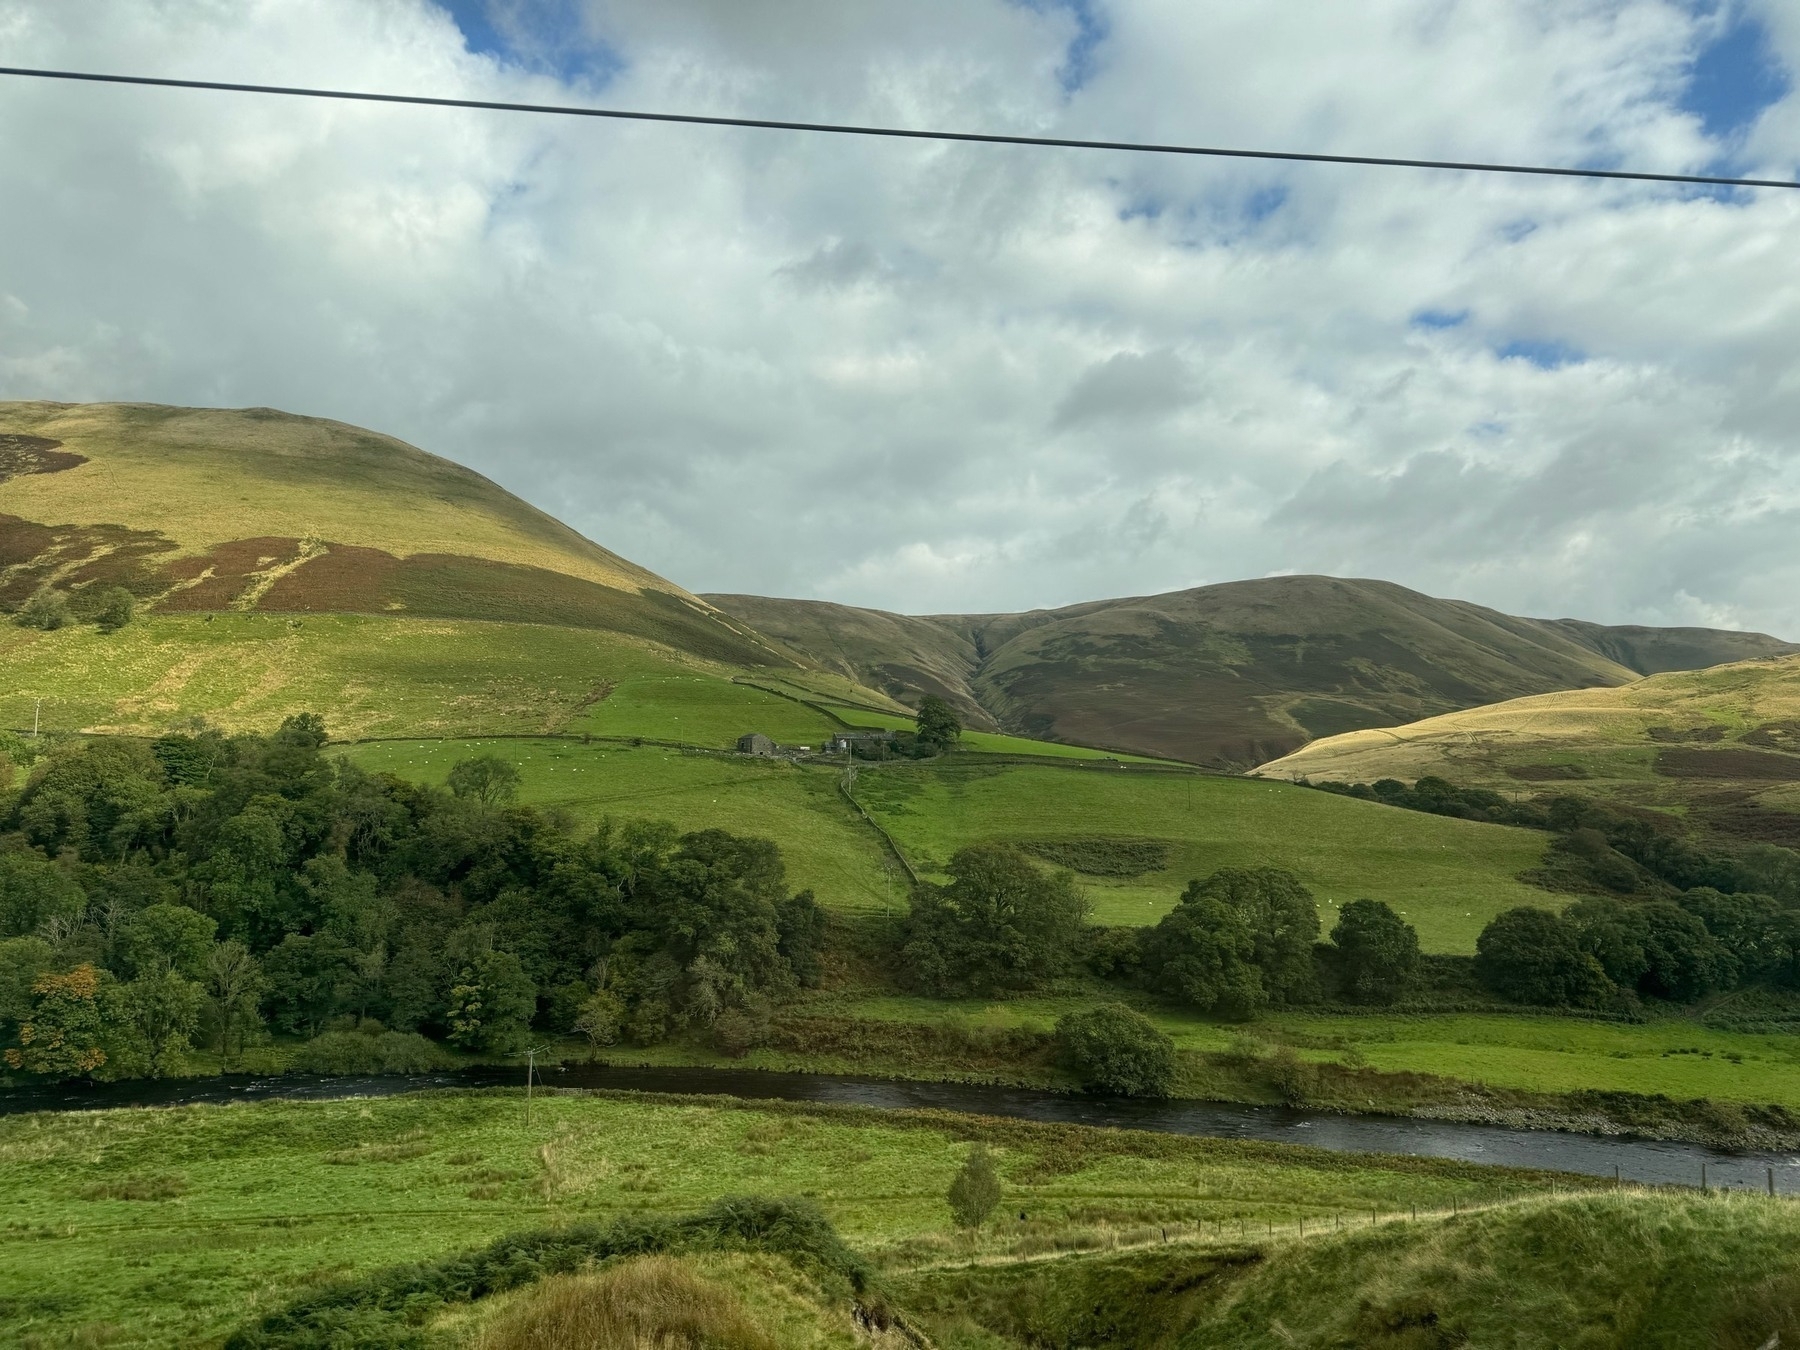
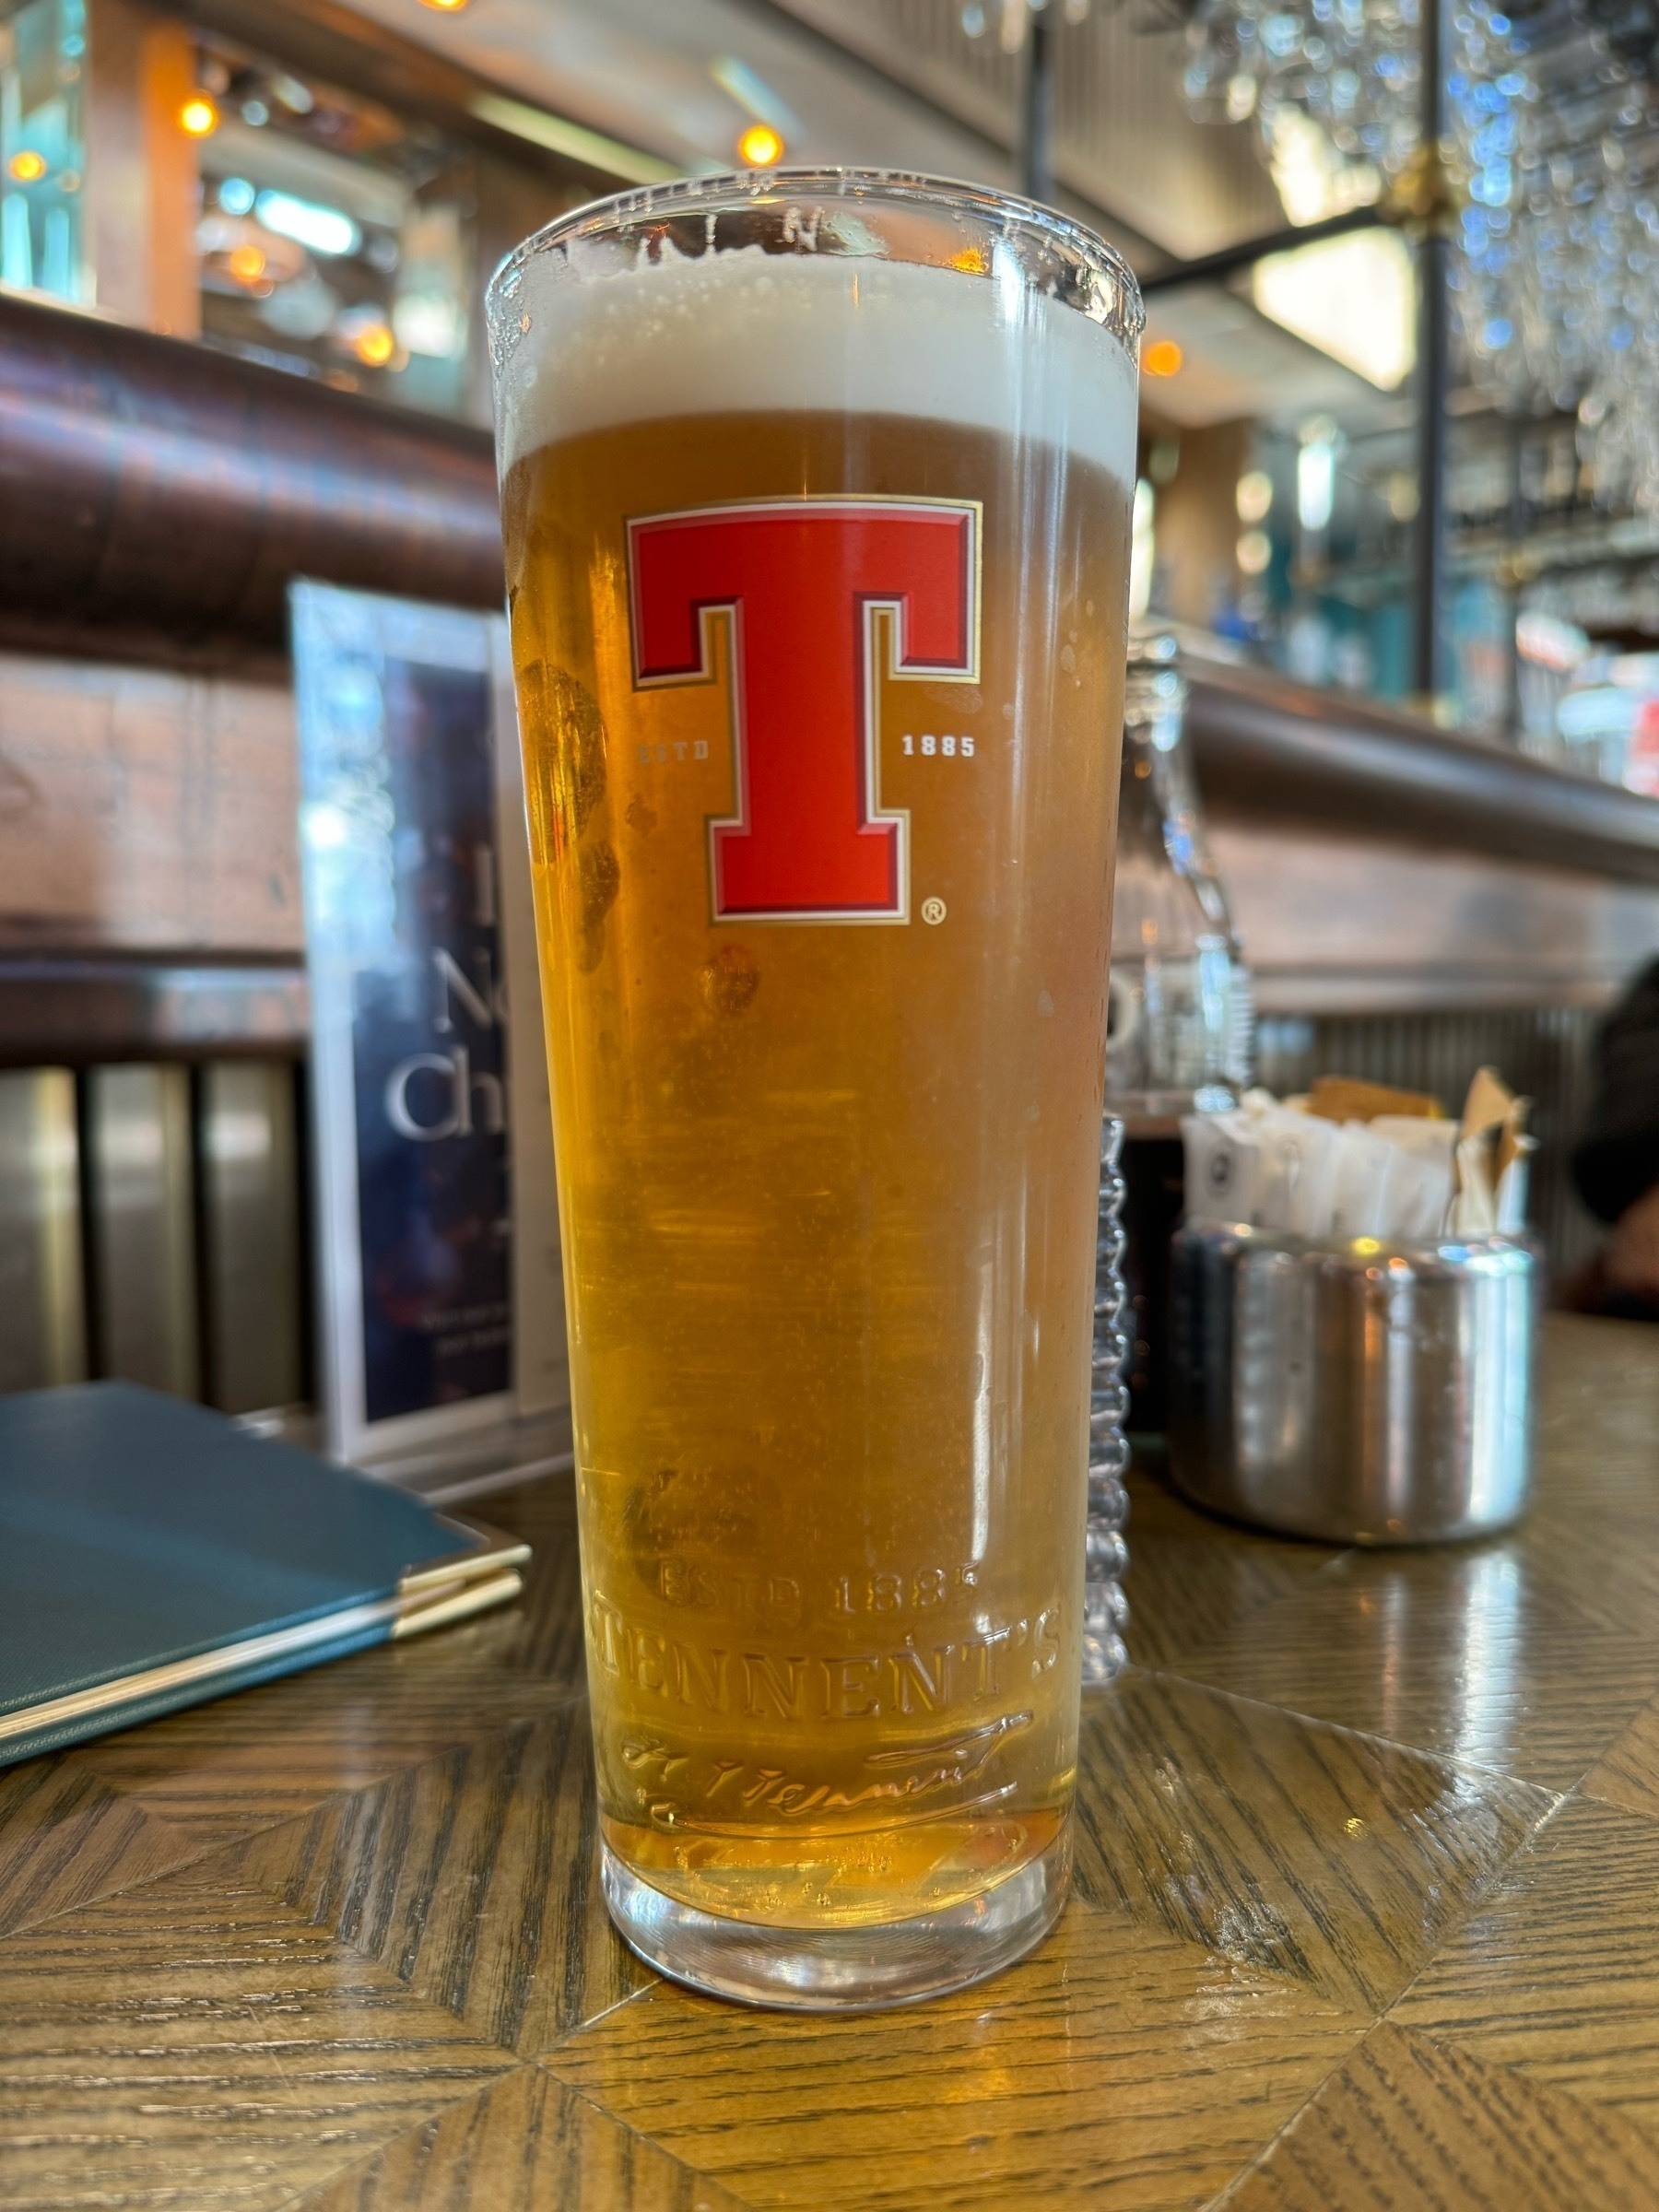
Today was another travel day. This time we traveled from London to Milngavie, Scotland (for those of you in the US reading this, it’s pronounced mul-guy). We booked a seat on the Avanti West Coast train which got us to Glasgow. That took about 4.5 hours. From there, hopped another train to Milngavie. Traveling by rail is real nice. Comfy, quiet, etc. highly recommend. From there, we walked to our hotel, got settled in, wandered around downtown Milngavie, scoped out where the start of the trail is and then had dinner. Back to our rooms where we got all ready for tomorrow’s start to our grand walking adventure. Seems there’s a number of people here all ready to start walking the trail tomorrow as well. We might have some company!
That’s about it really for today. Actually feeling a bit nervous about this. We have been planning it for so long and looking forward to it but now that’s it here, I’m a bit worried. I’m sure it’ll be fine, right? Guess we’ll all find out tomorrow. :)
JIm
Day 1
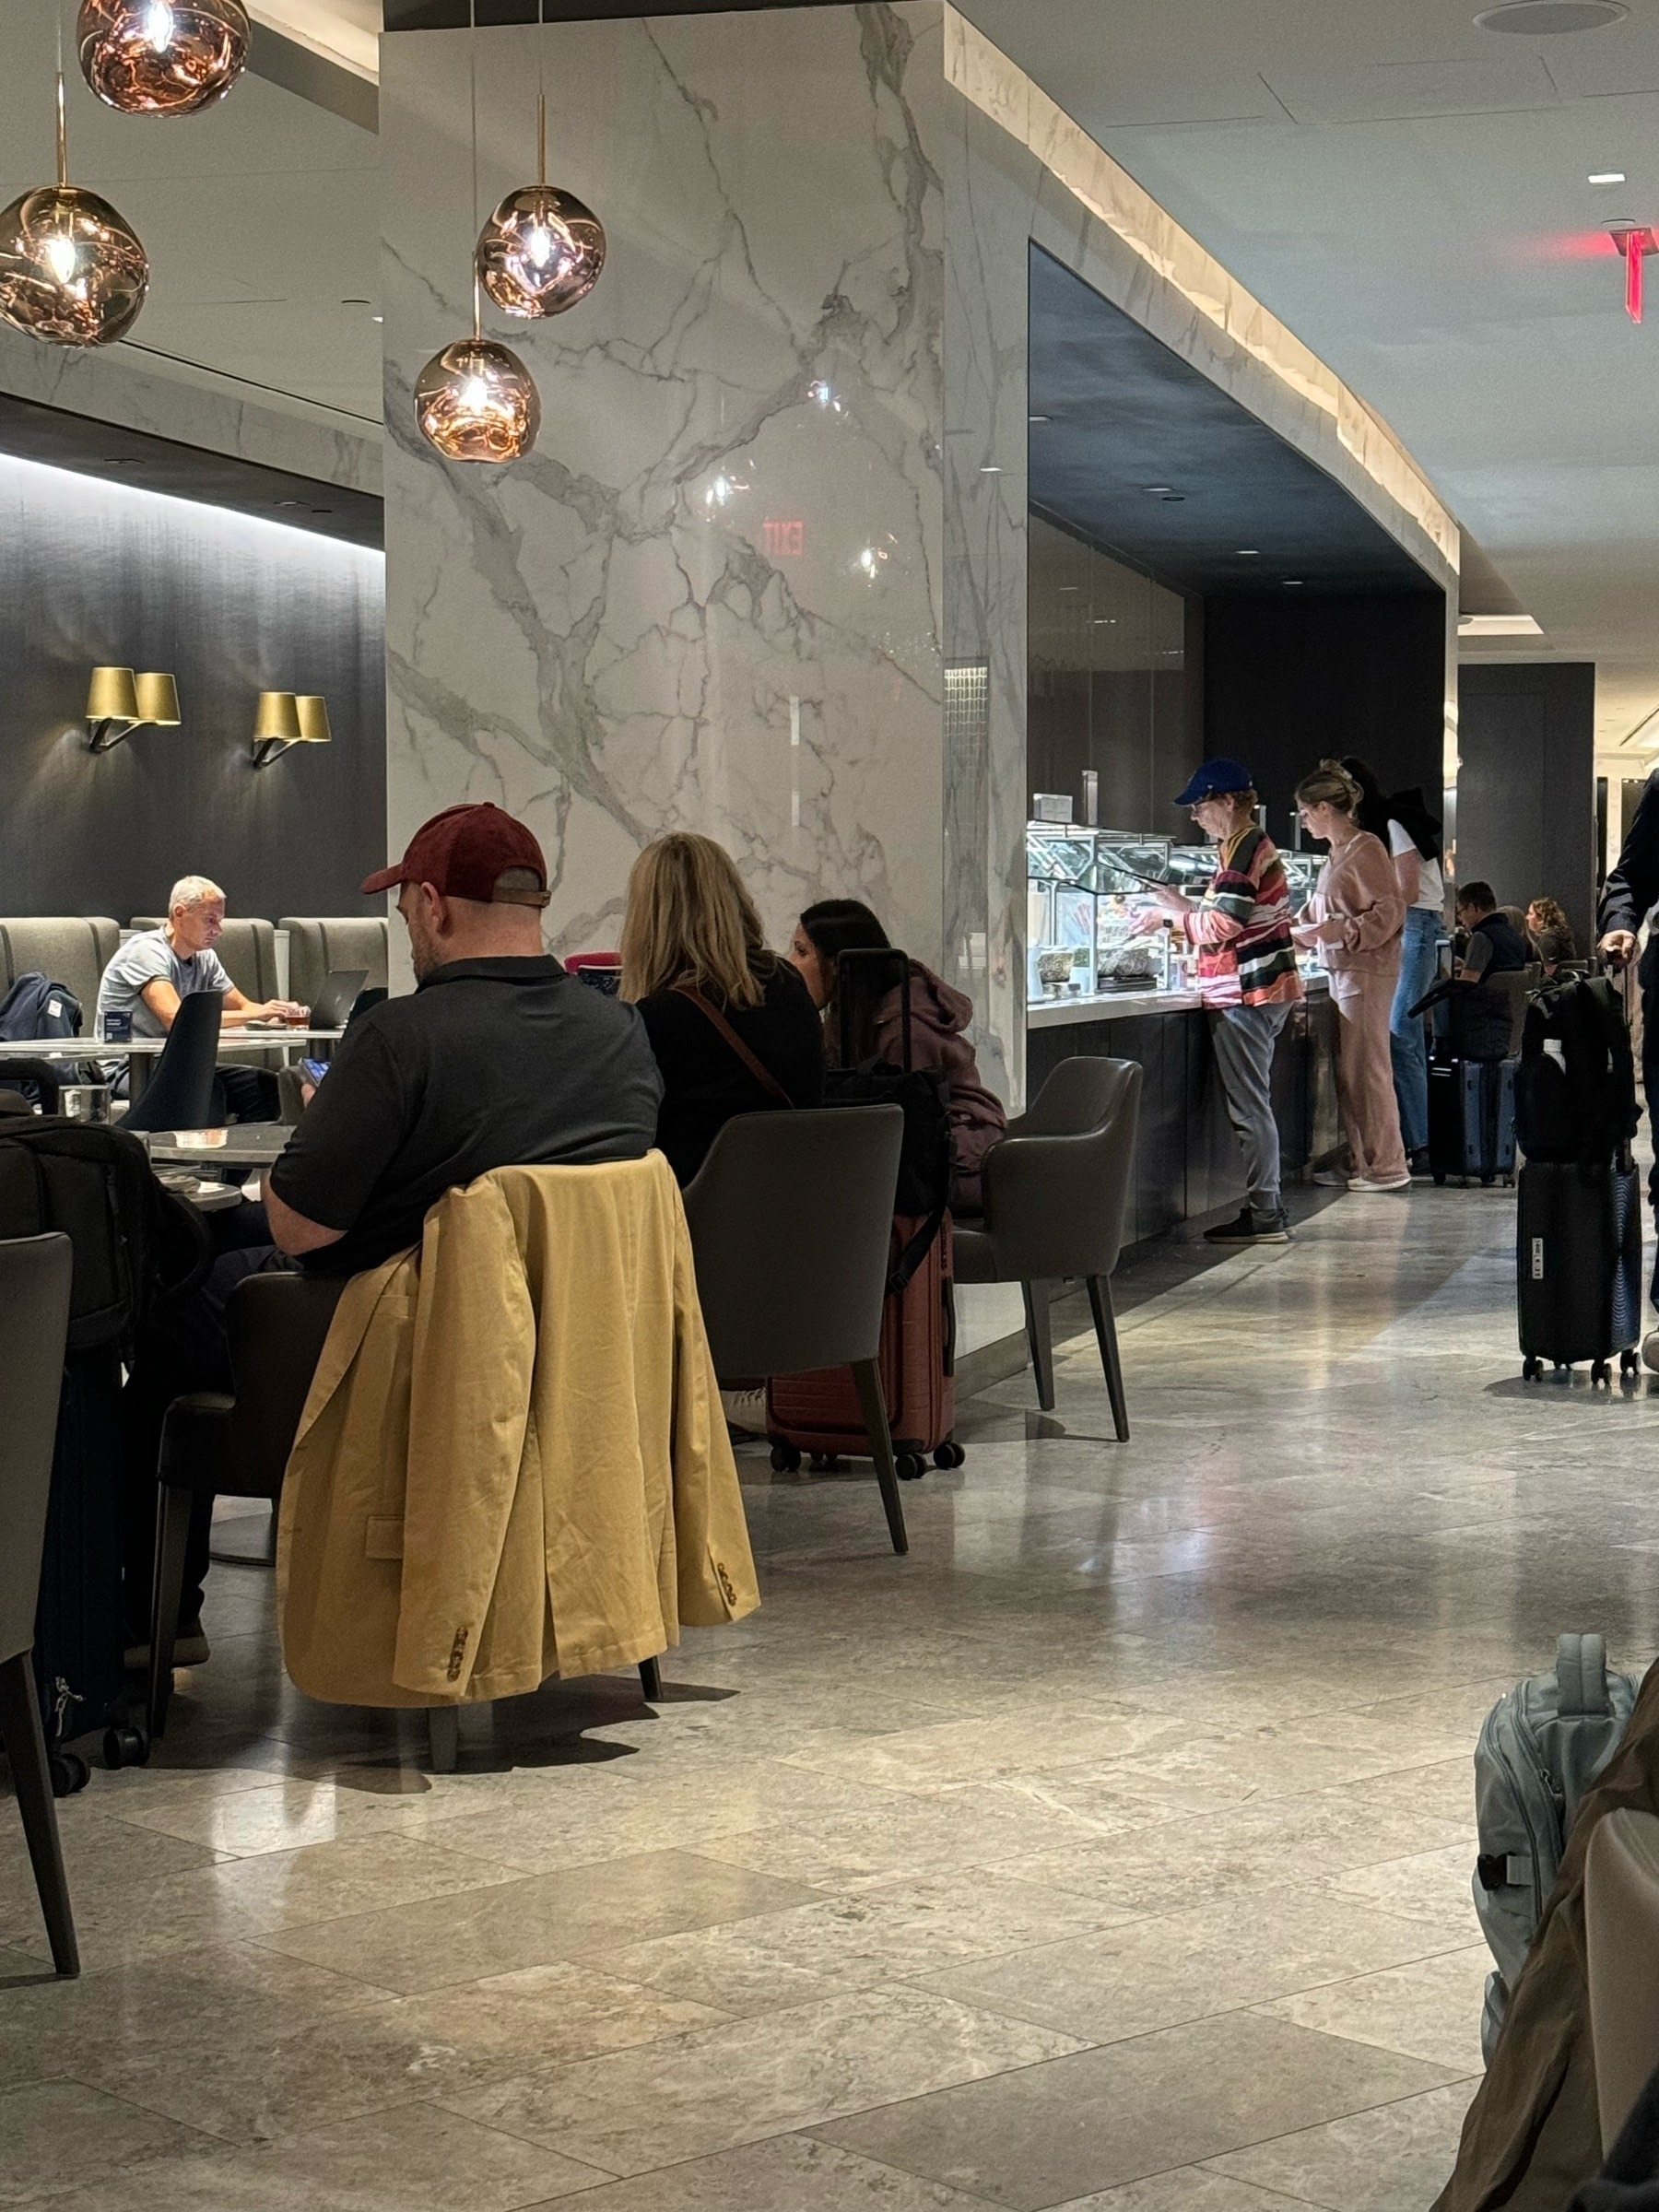
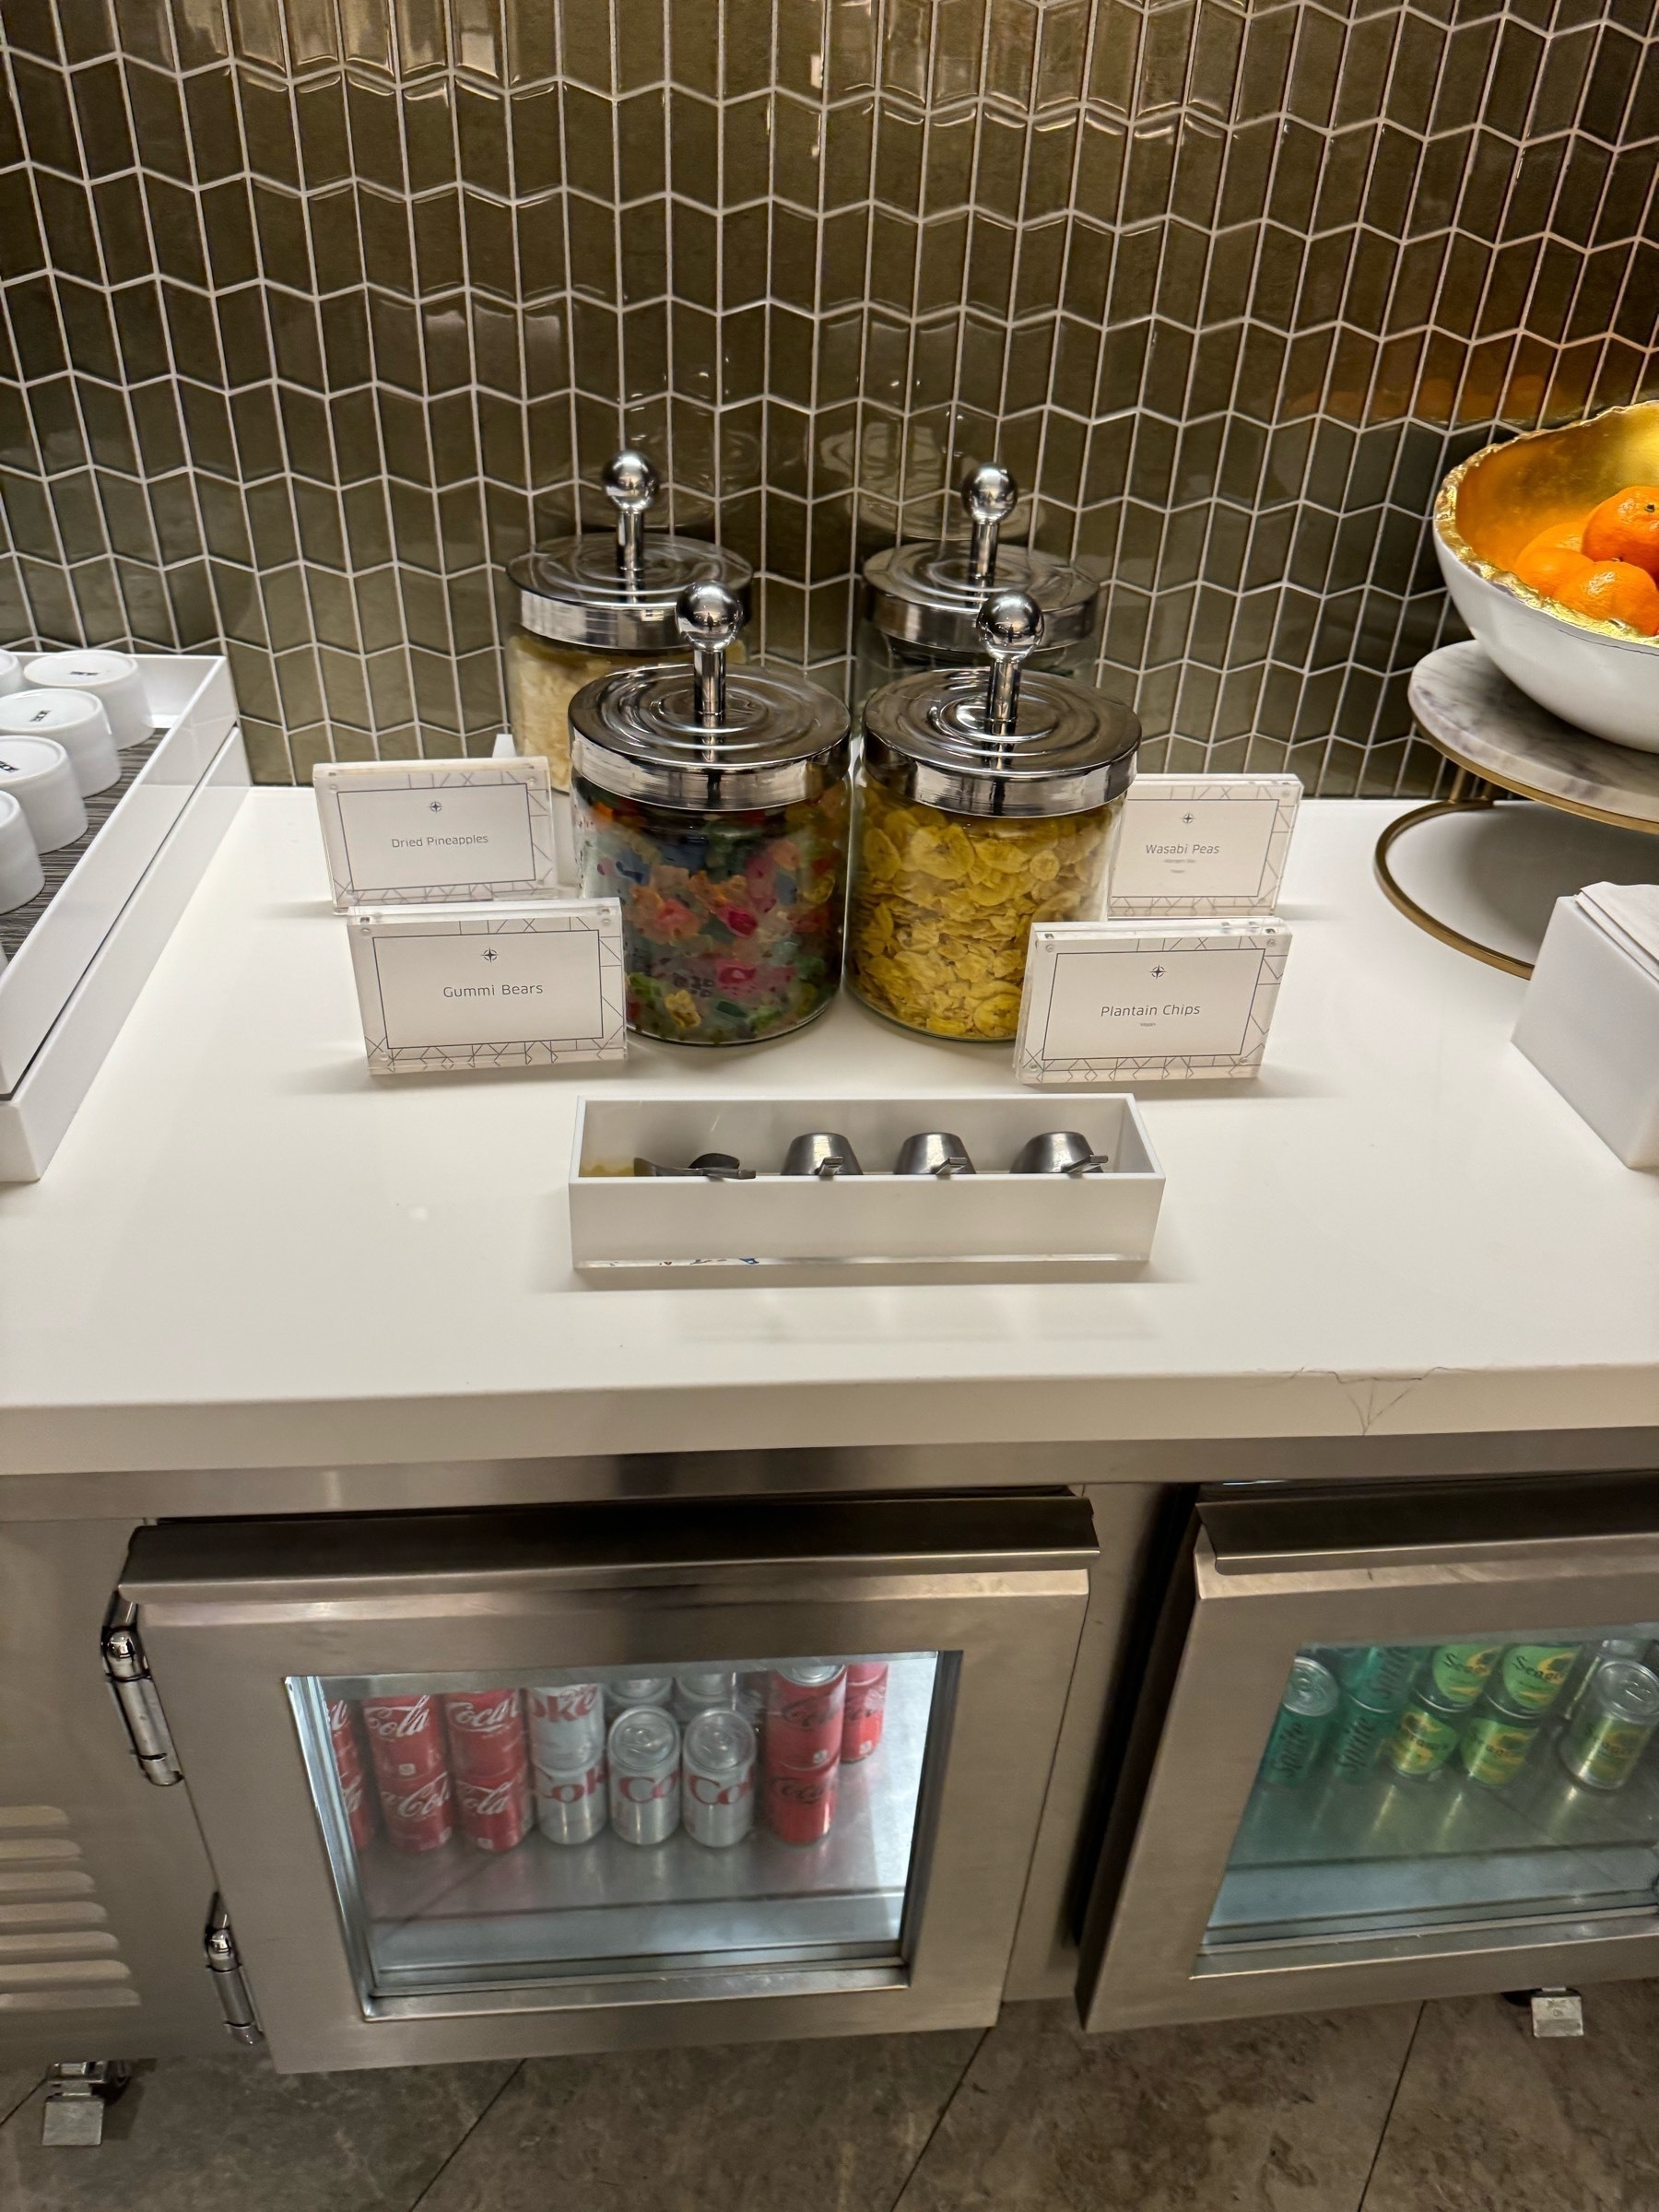
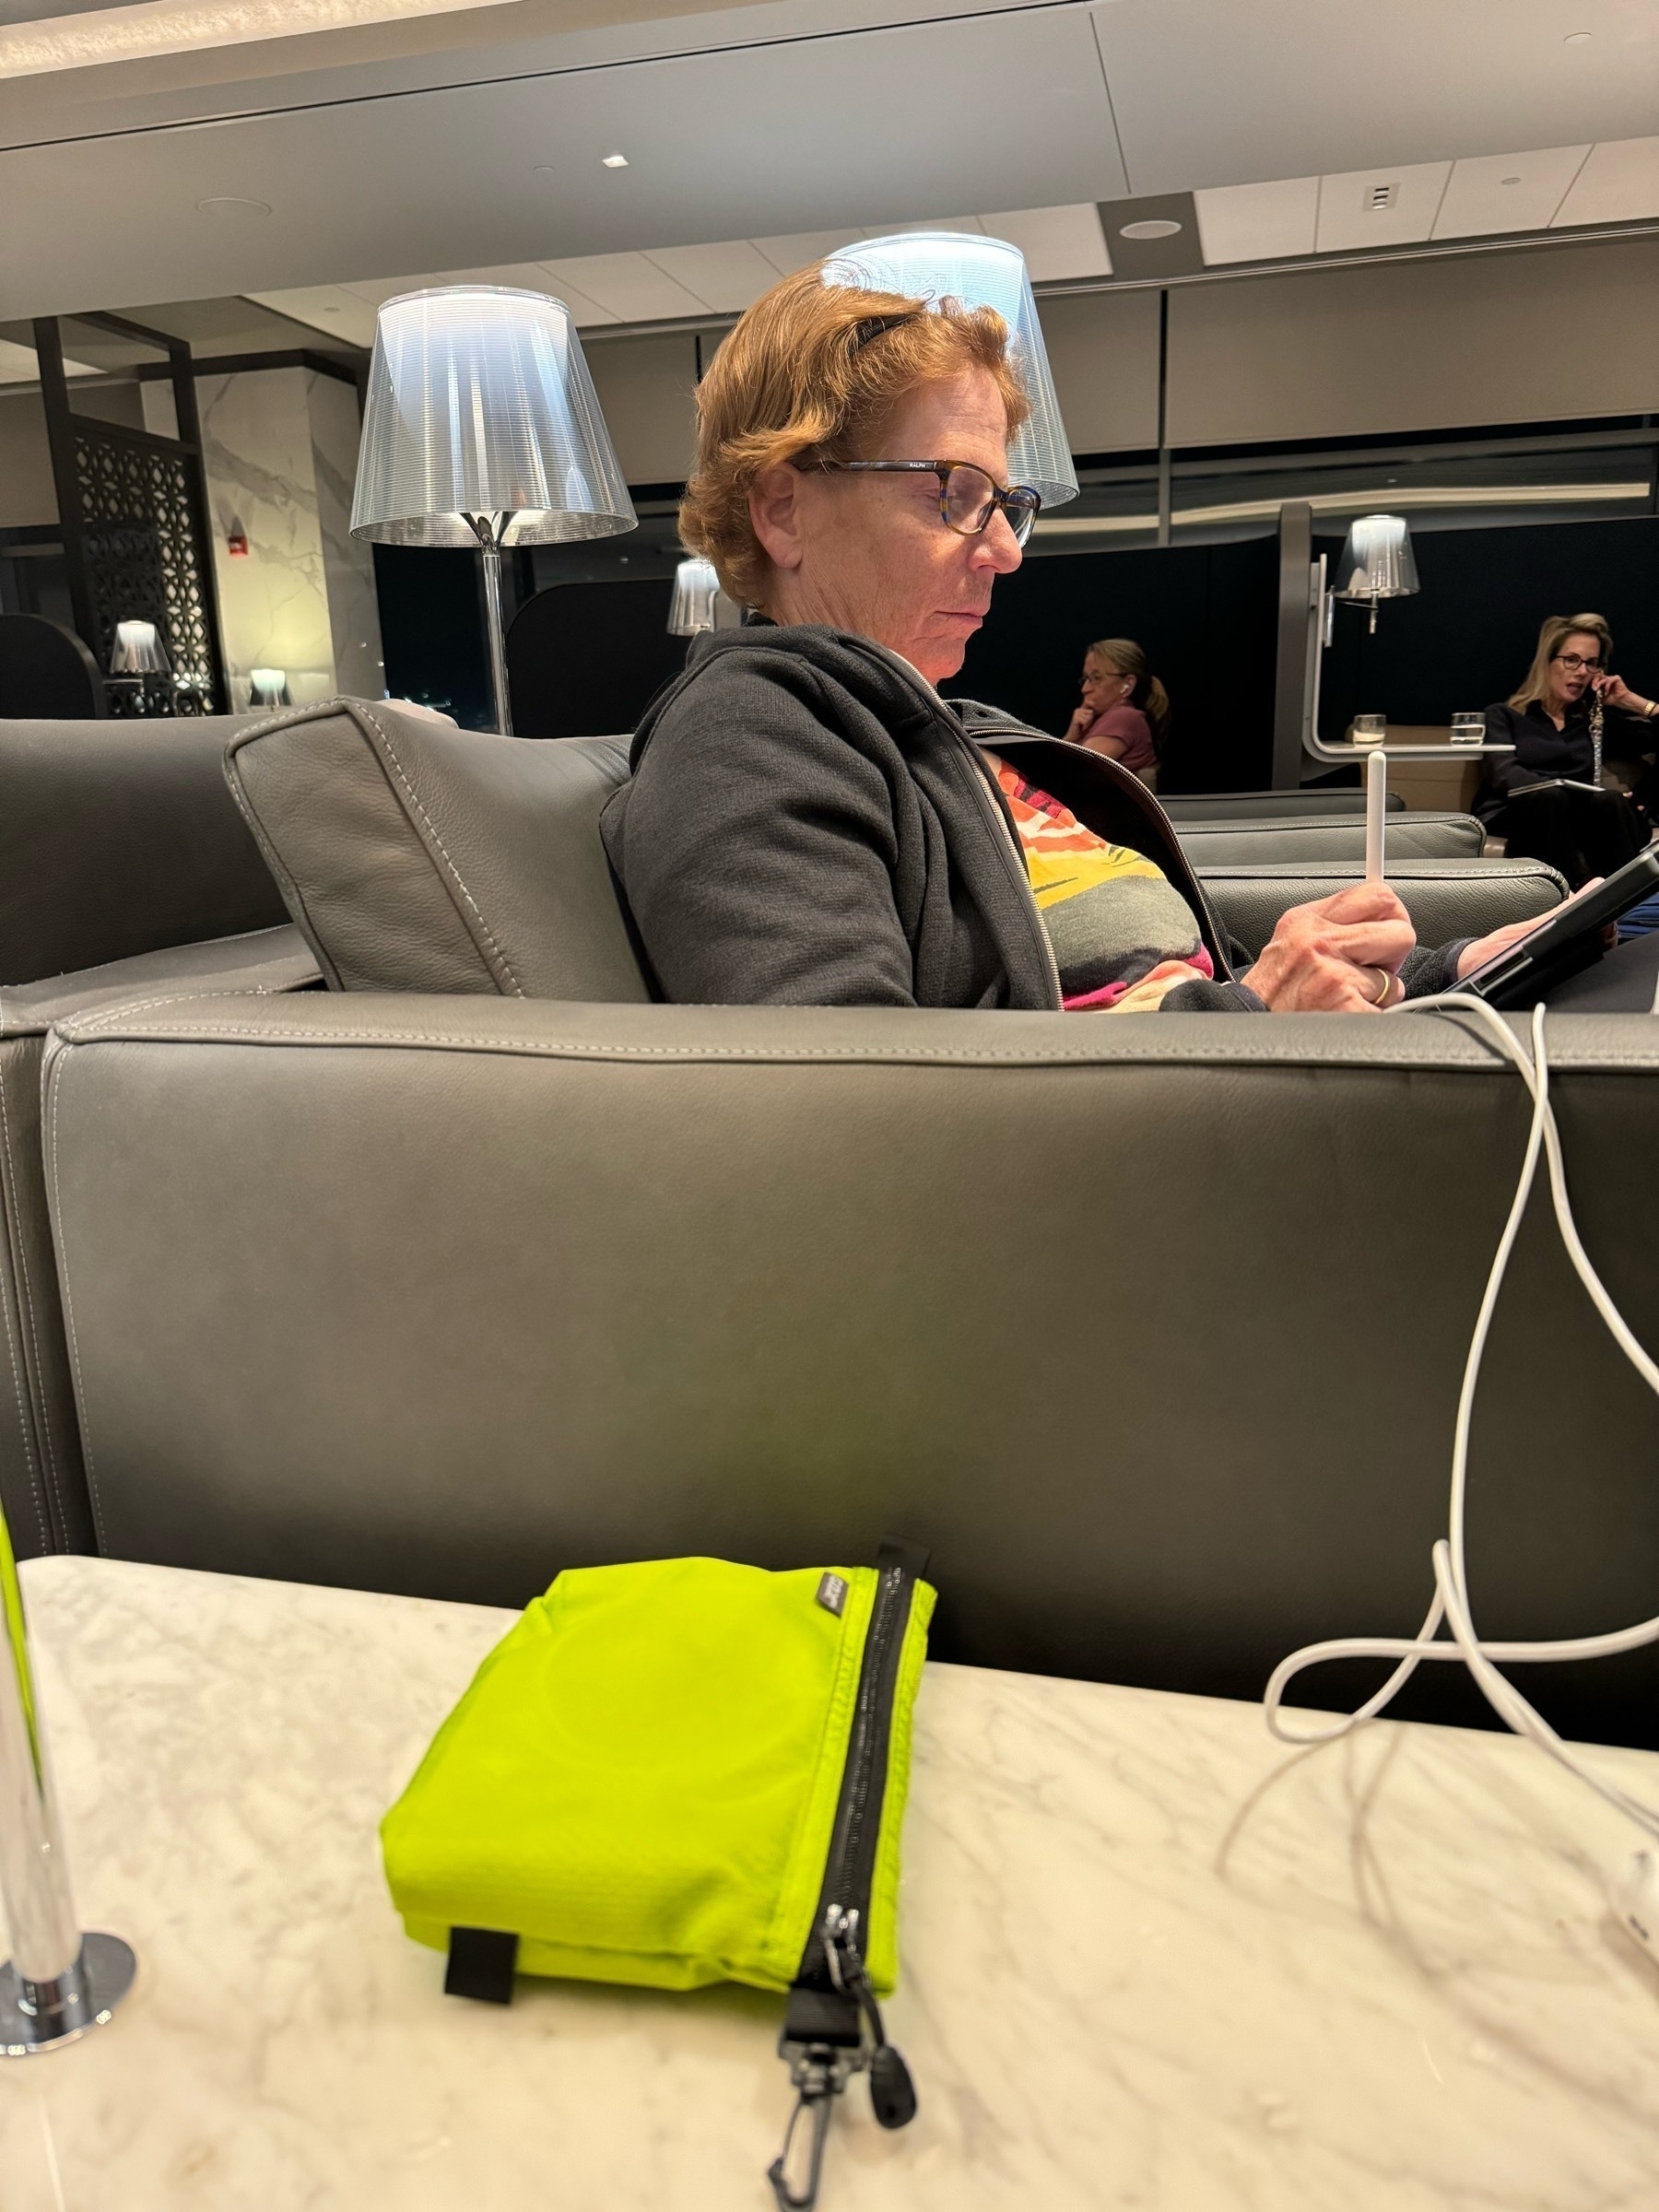
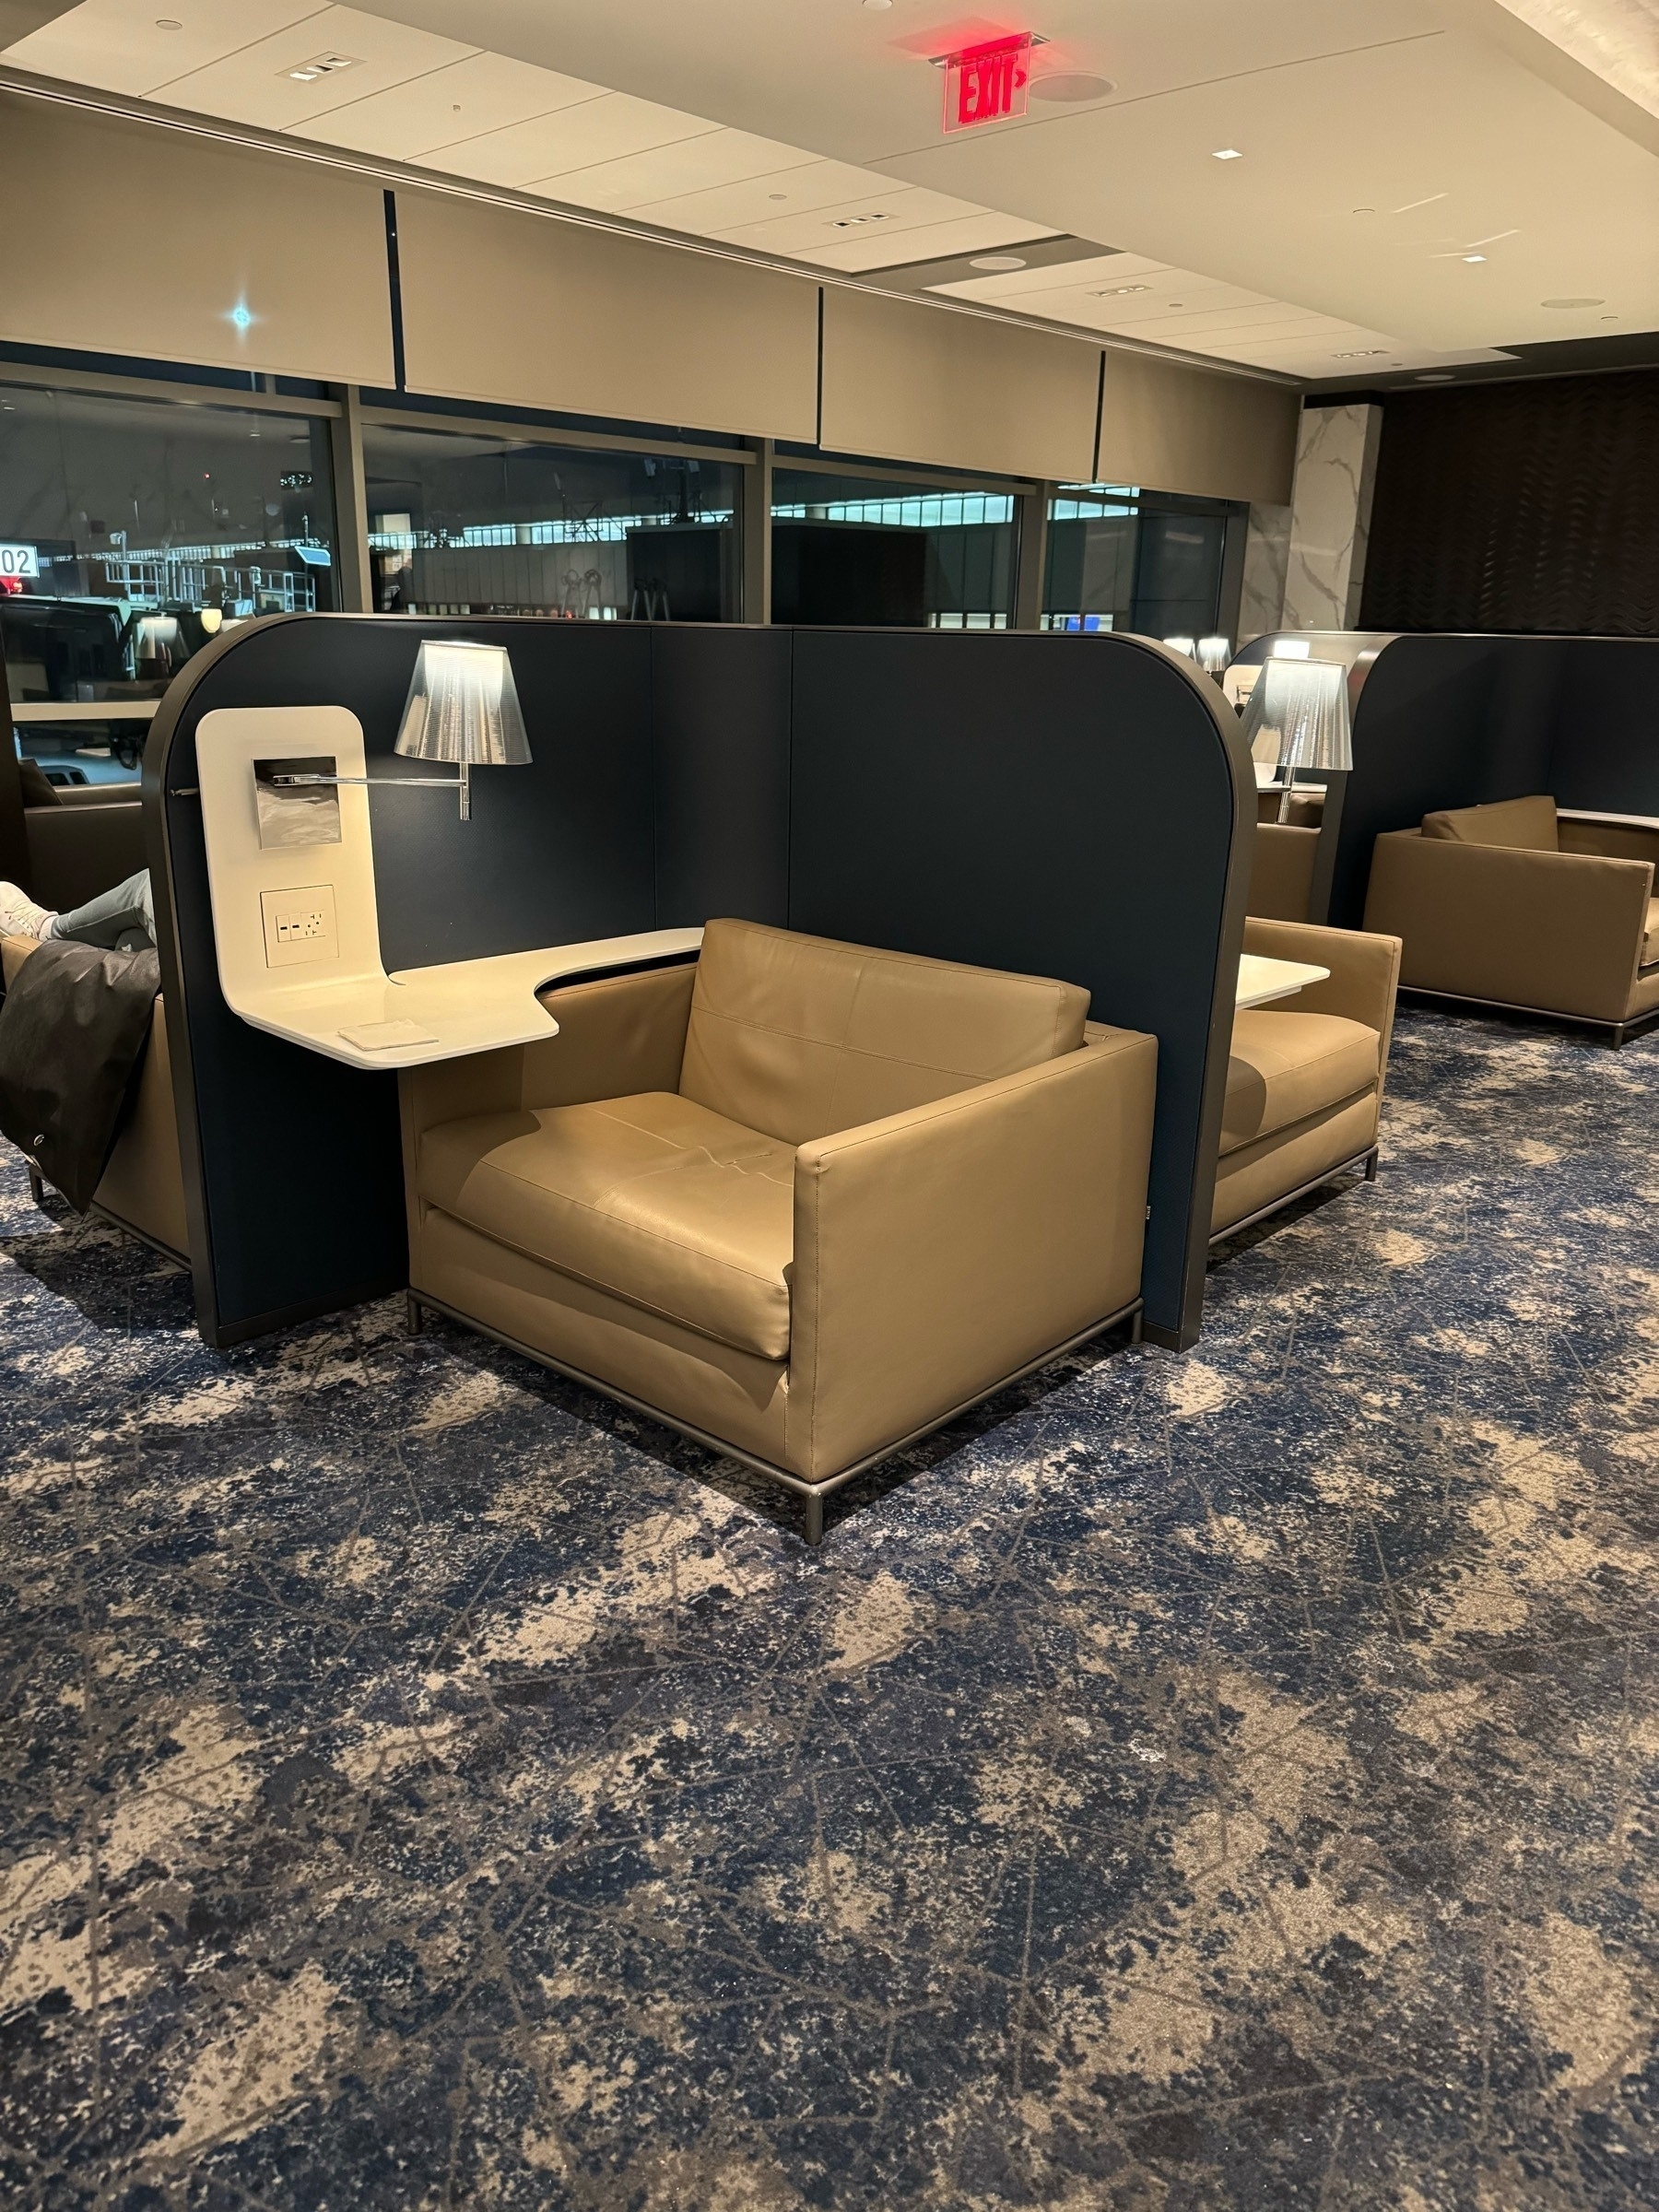
Today was a travel day. Left Spartanburg made our way to Charlotte Airport where we flew to New Jersey to catch our overnight flight to London. Because we splurged a bit and bought business class tickets so we could get the lie flat seats, we also got access to the United Polaris Lounge. I have to say, it was nice. The chairs were comfy and they had some pretty nice free food and drinks but Newark Airport is really nice and I think I would have been just as happy in the main terminal. Live and learn.
Got on the flight, tucked in and much to my surprise I was able to get a pretty good nights sleep! Normally for me I can never get to sleep on a plane. It’s frustrating because I’m tired but I spend hours in that weird half awake half asleep state eventually giving up and just staying awake but being very tired. This time it took a little while but I got to sleep and felt pretty good on landing. Unfortunately Dena had a night like I normally do and was pretty exhausted all day. But we marched on.
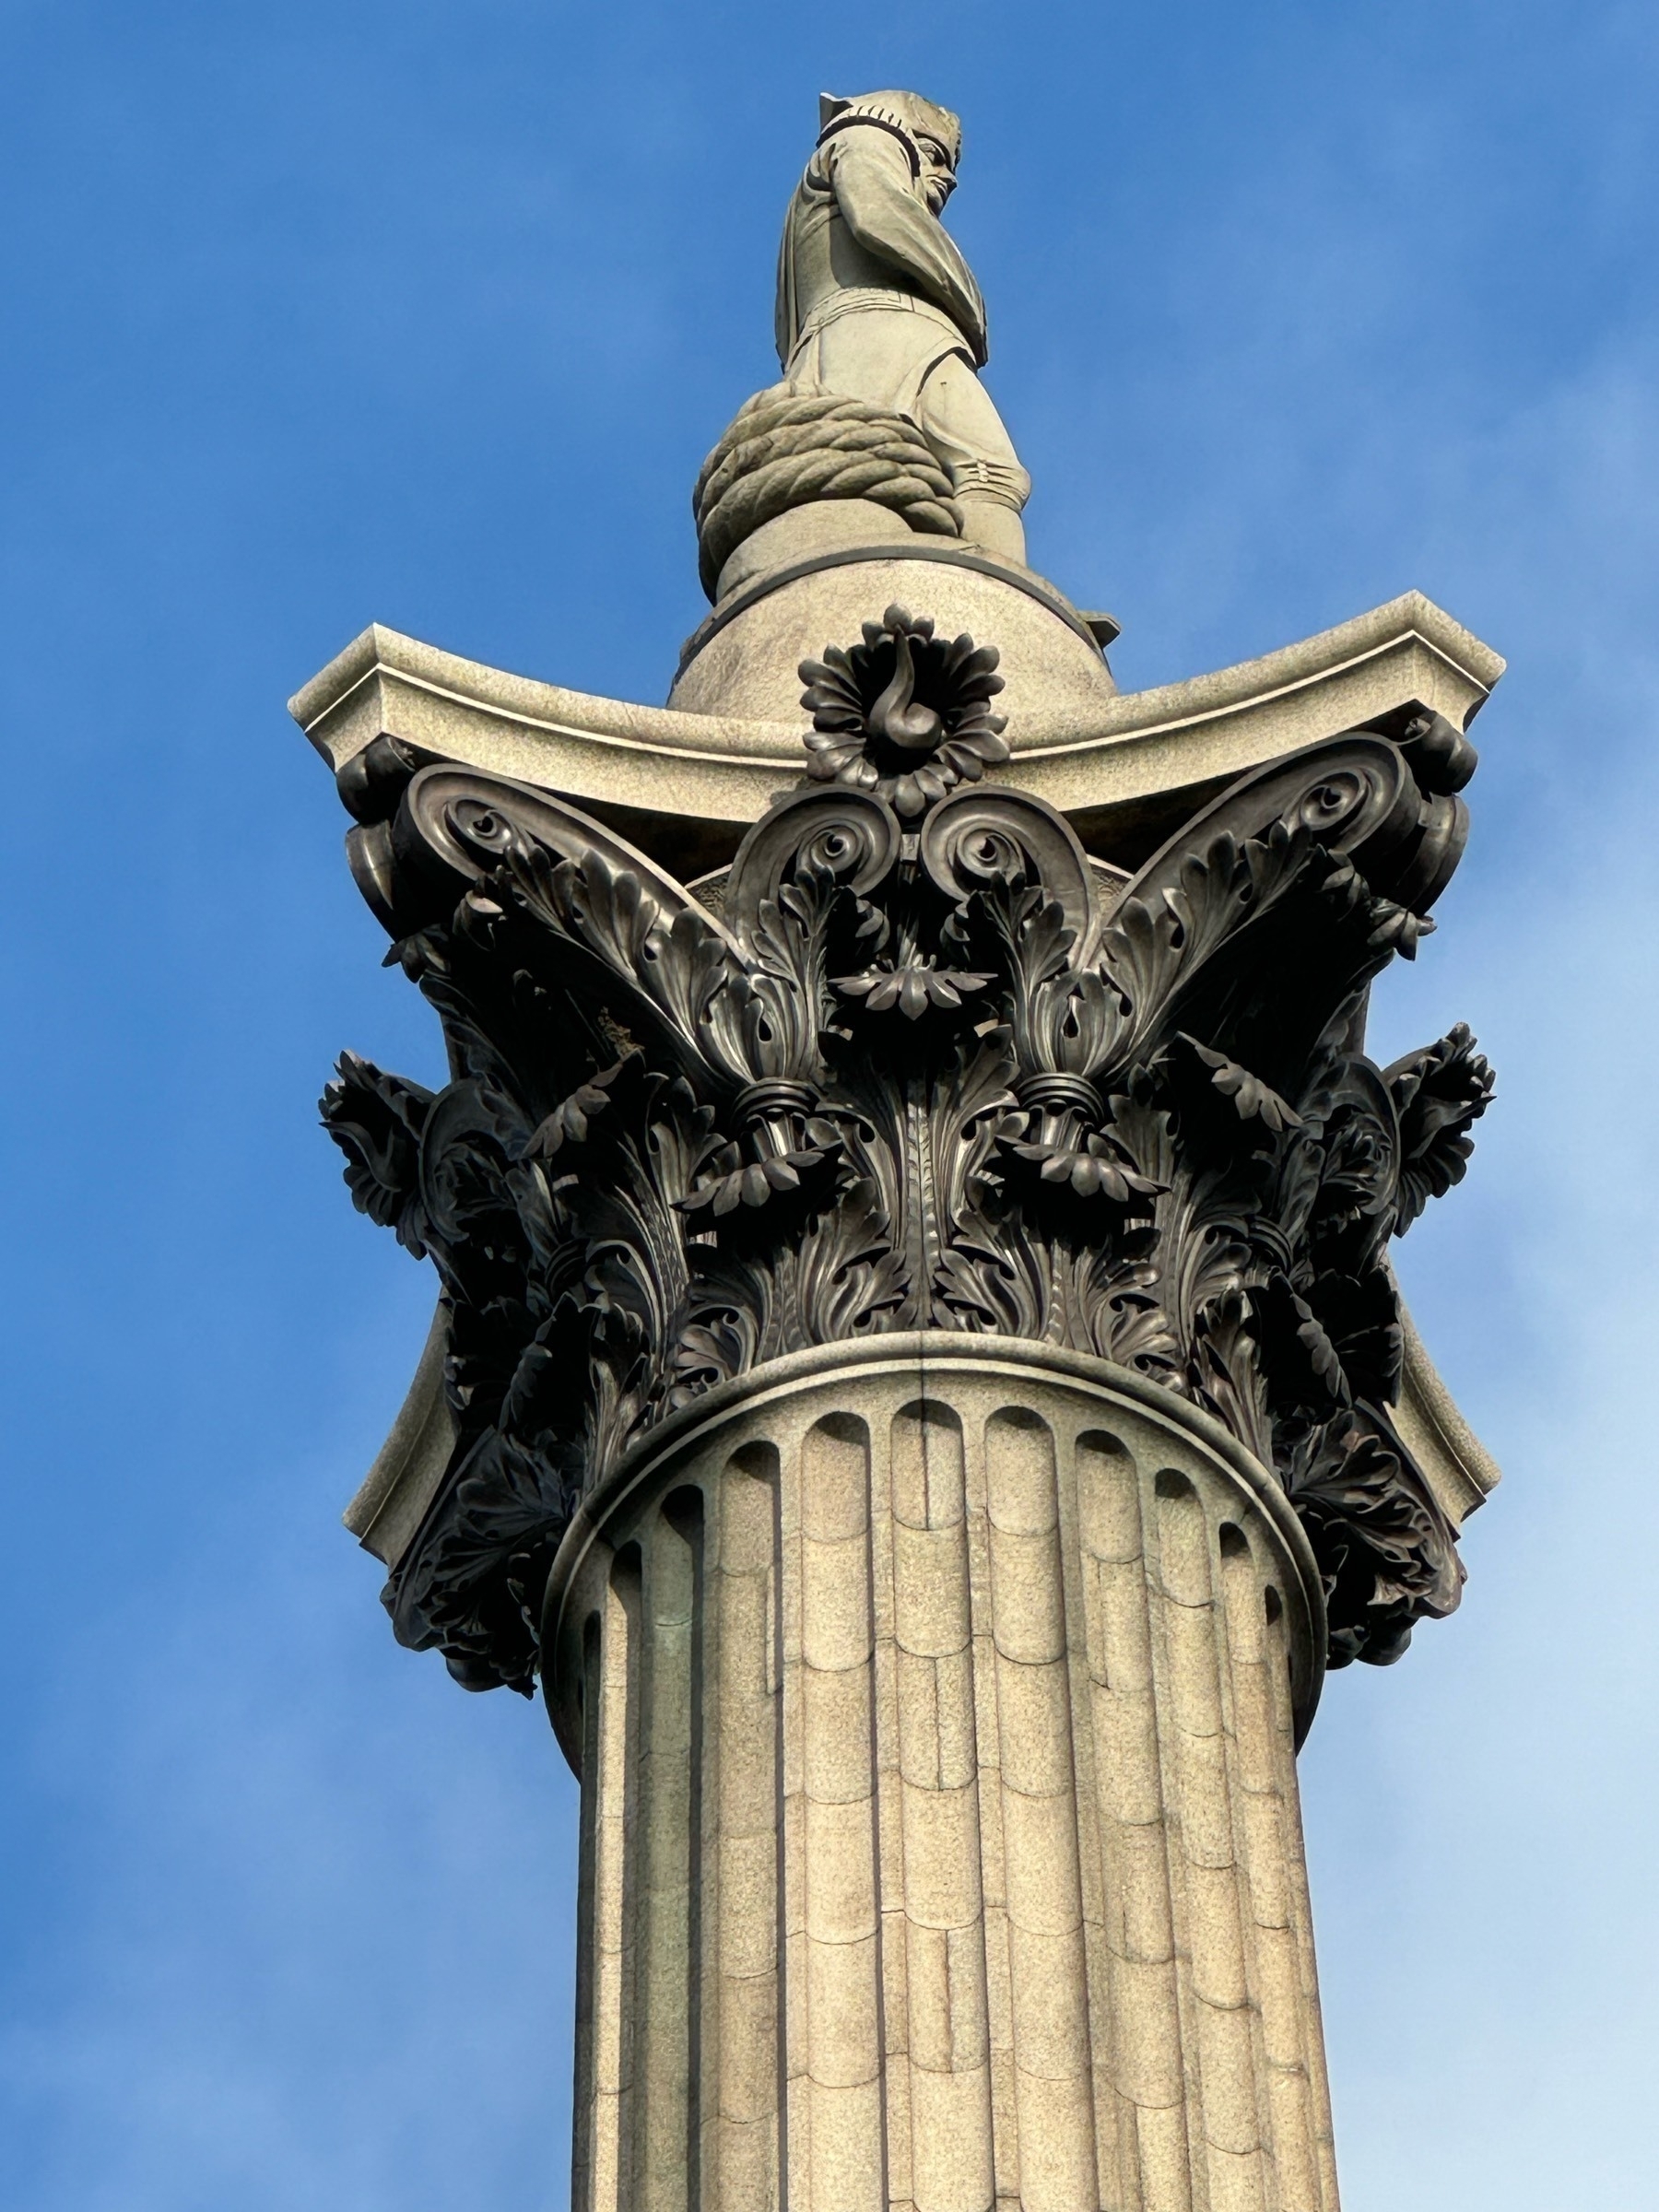
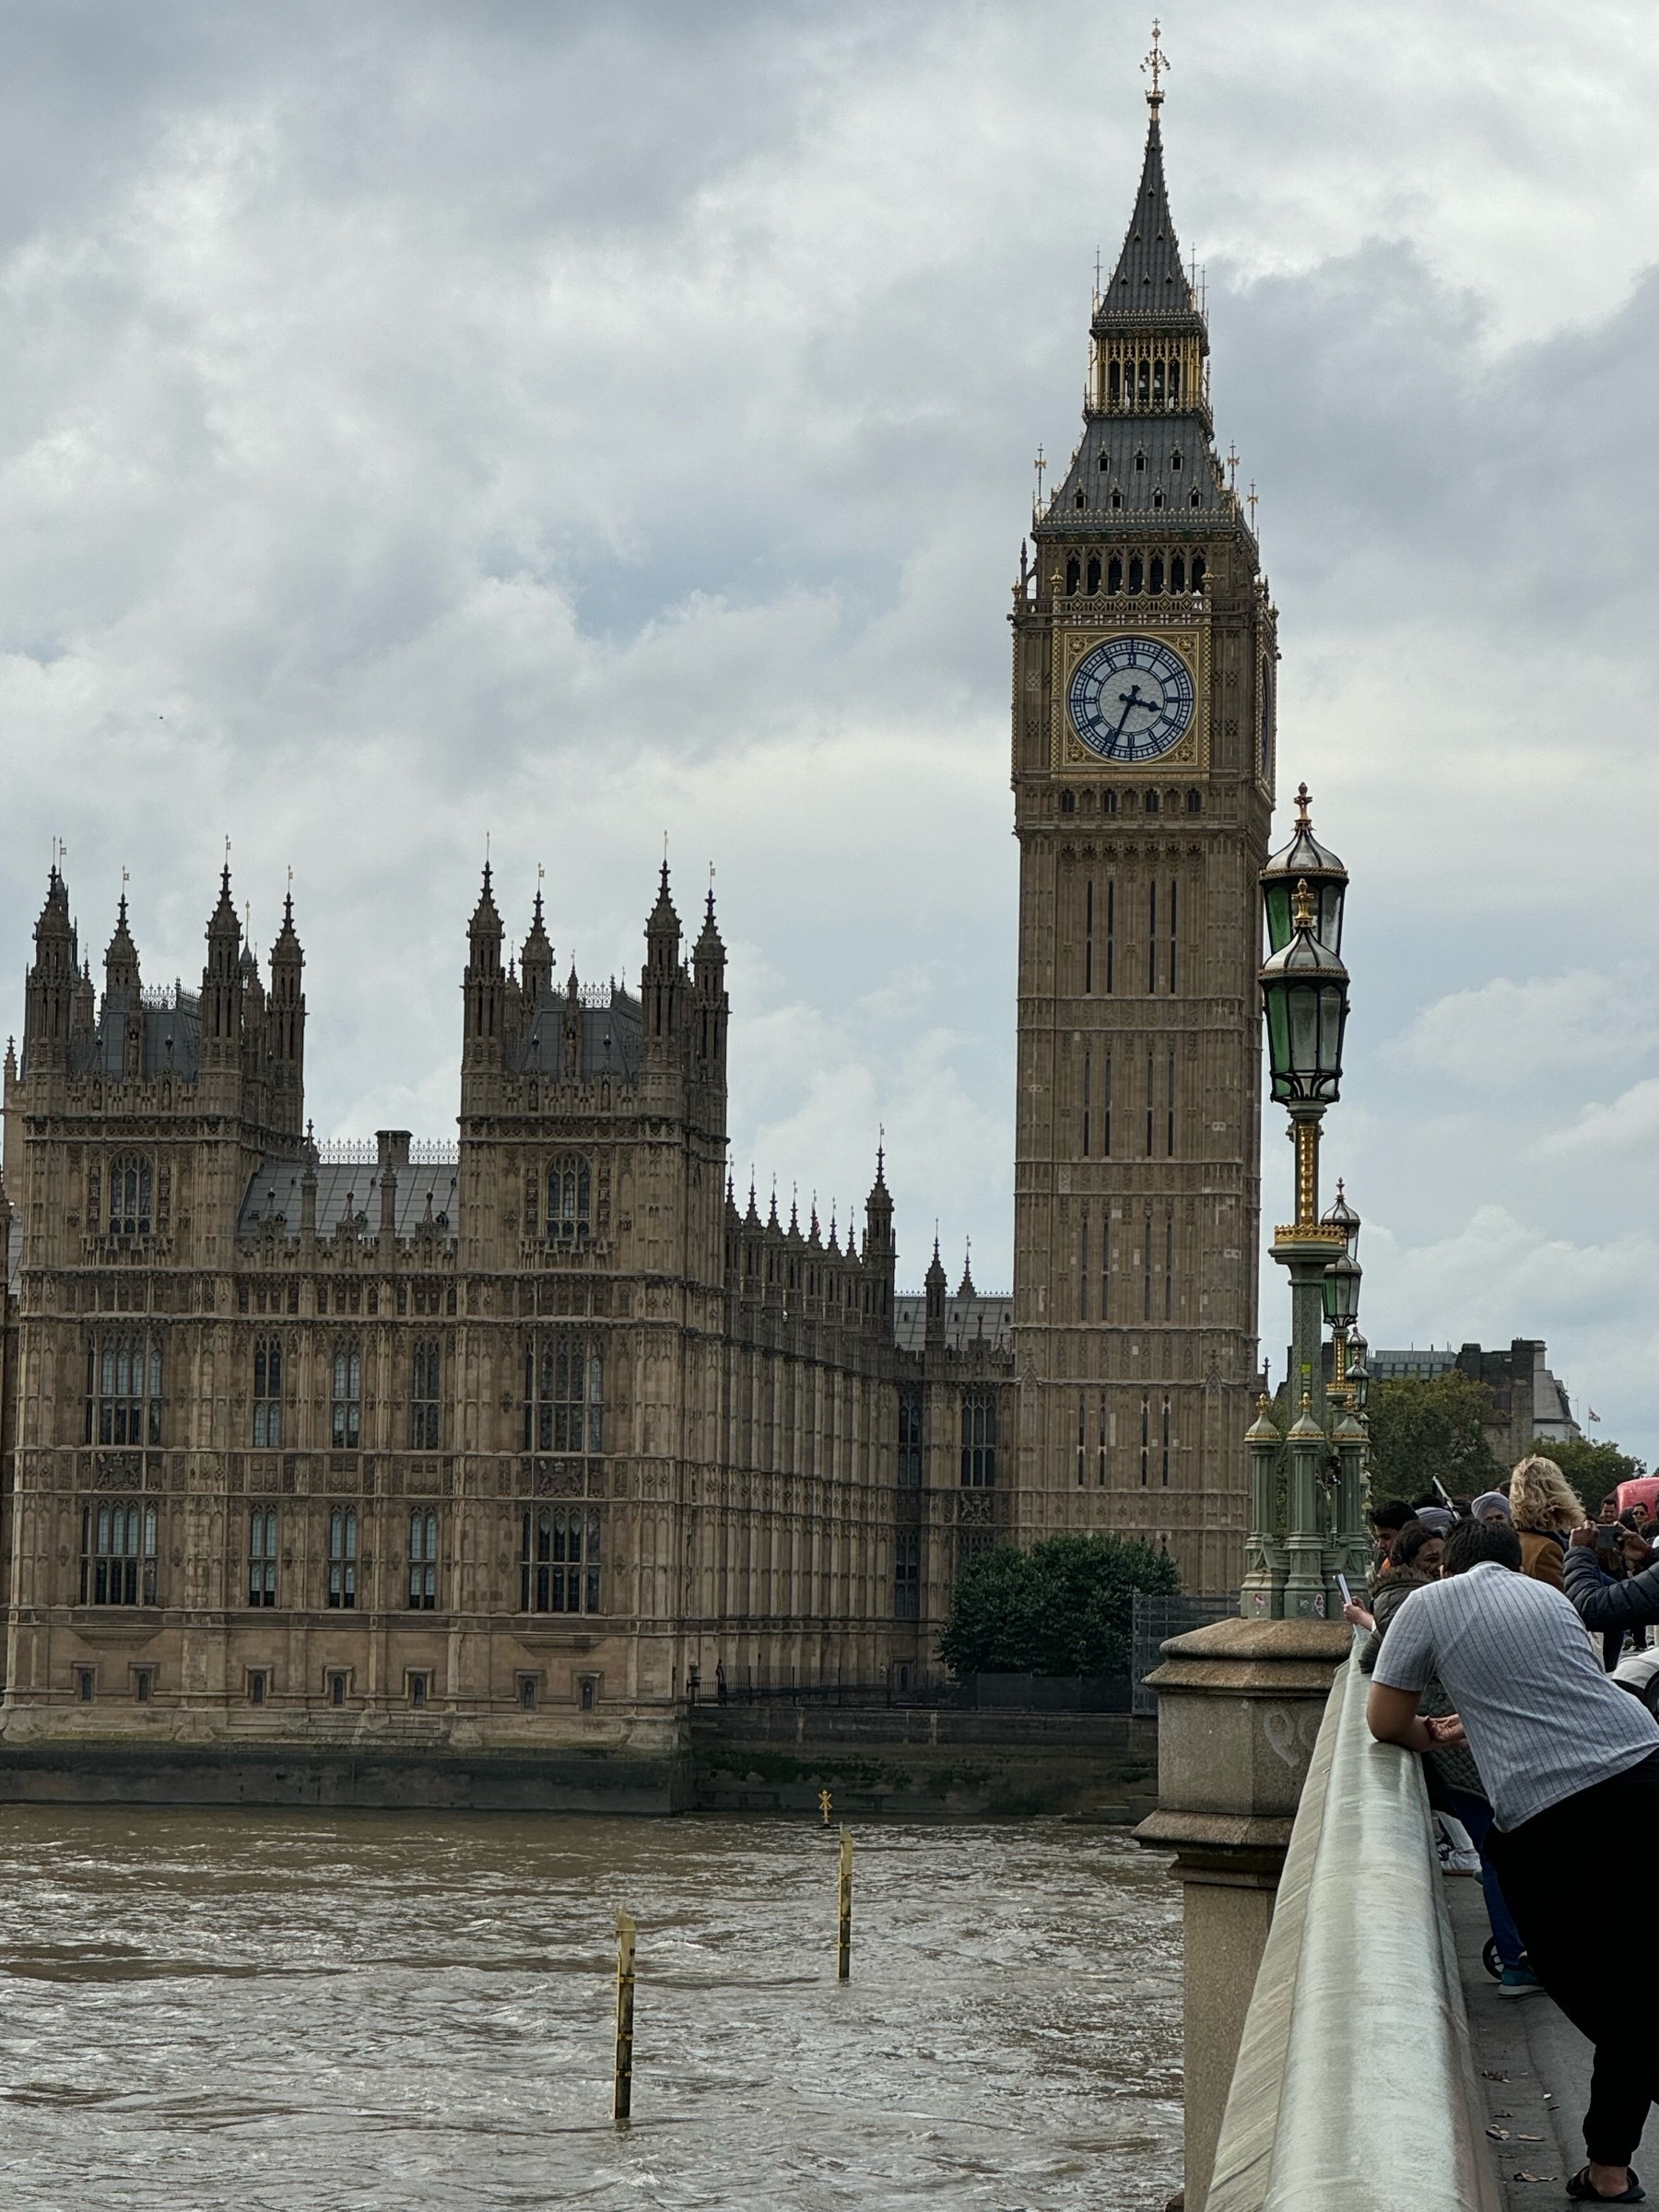
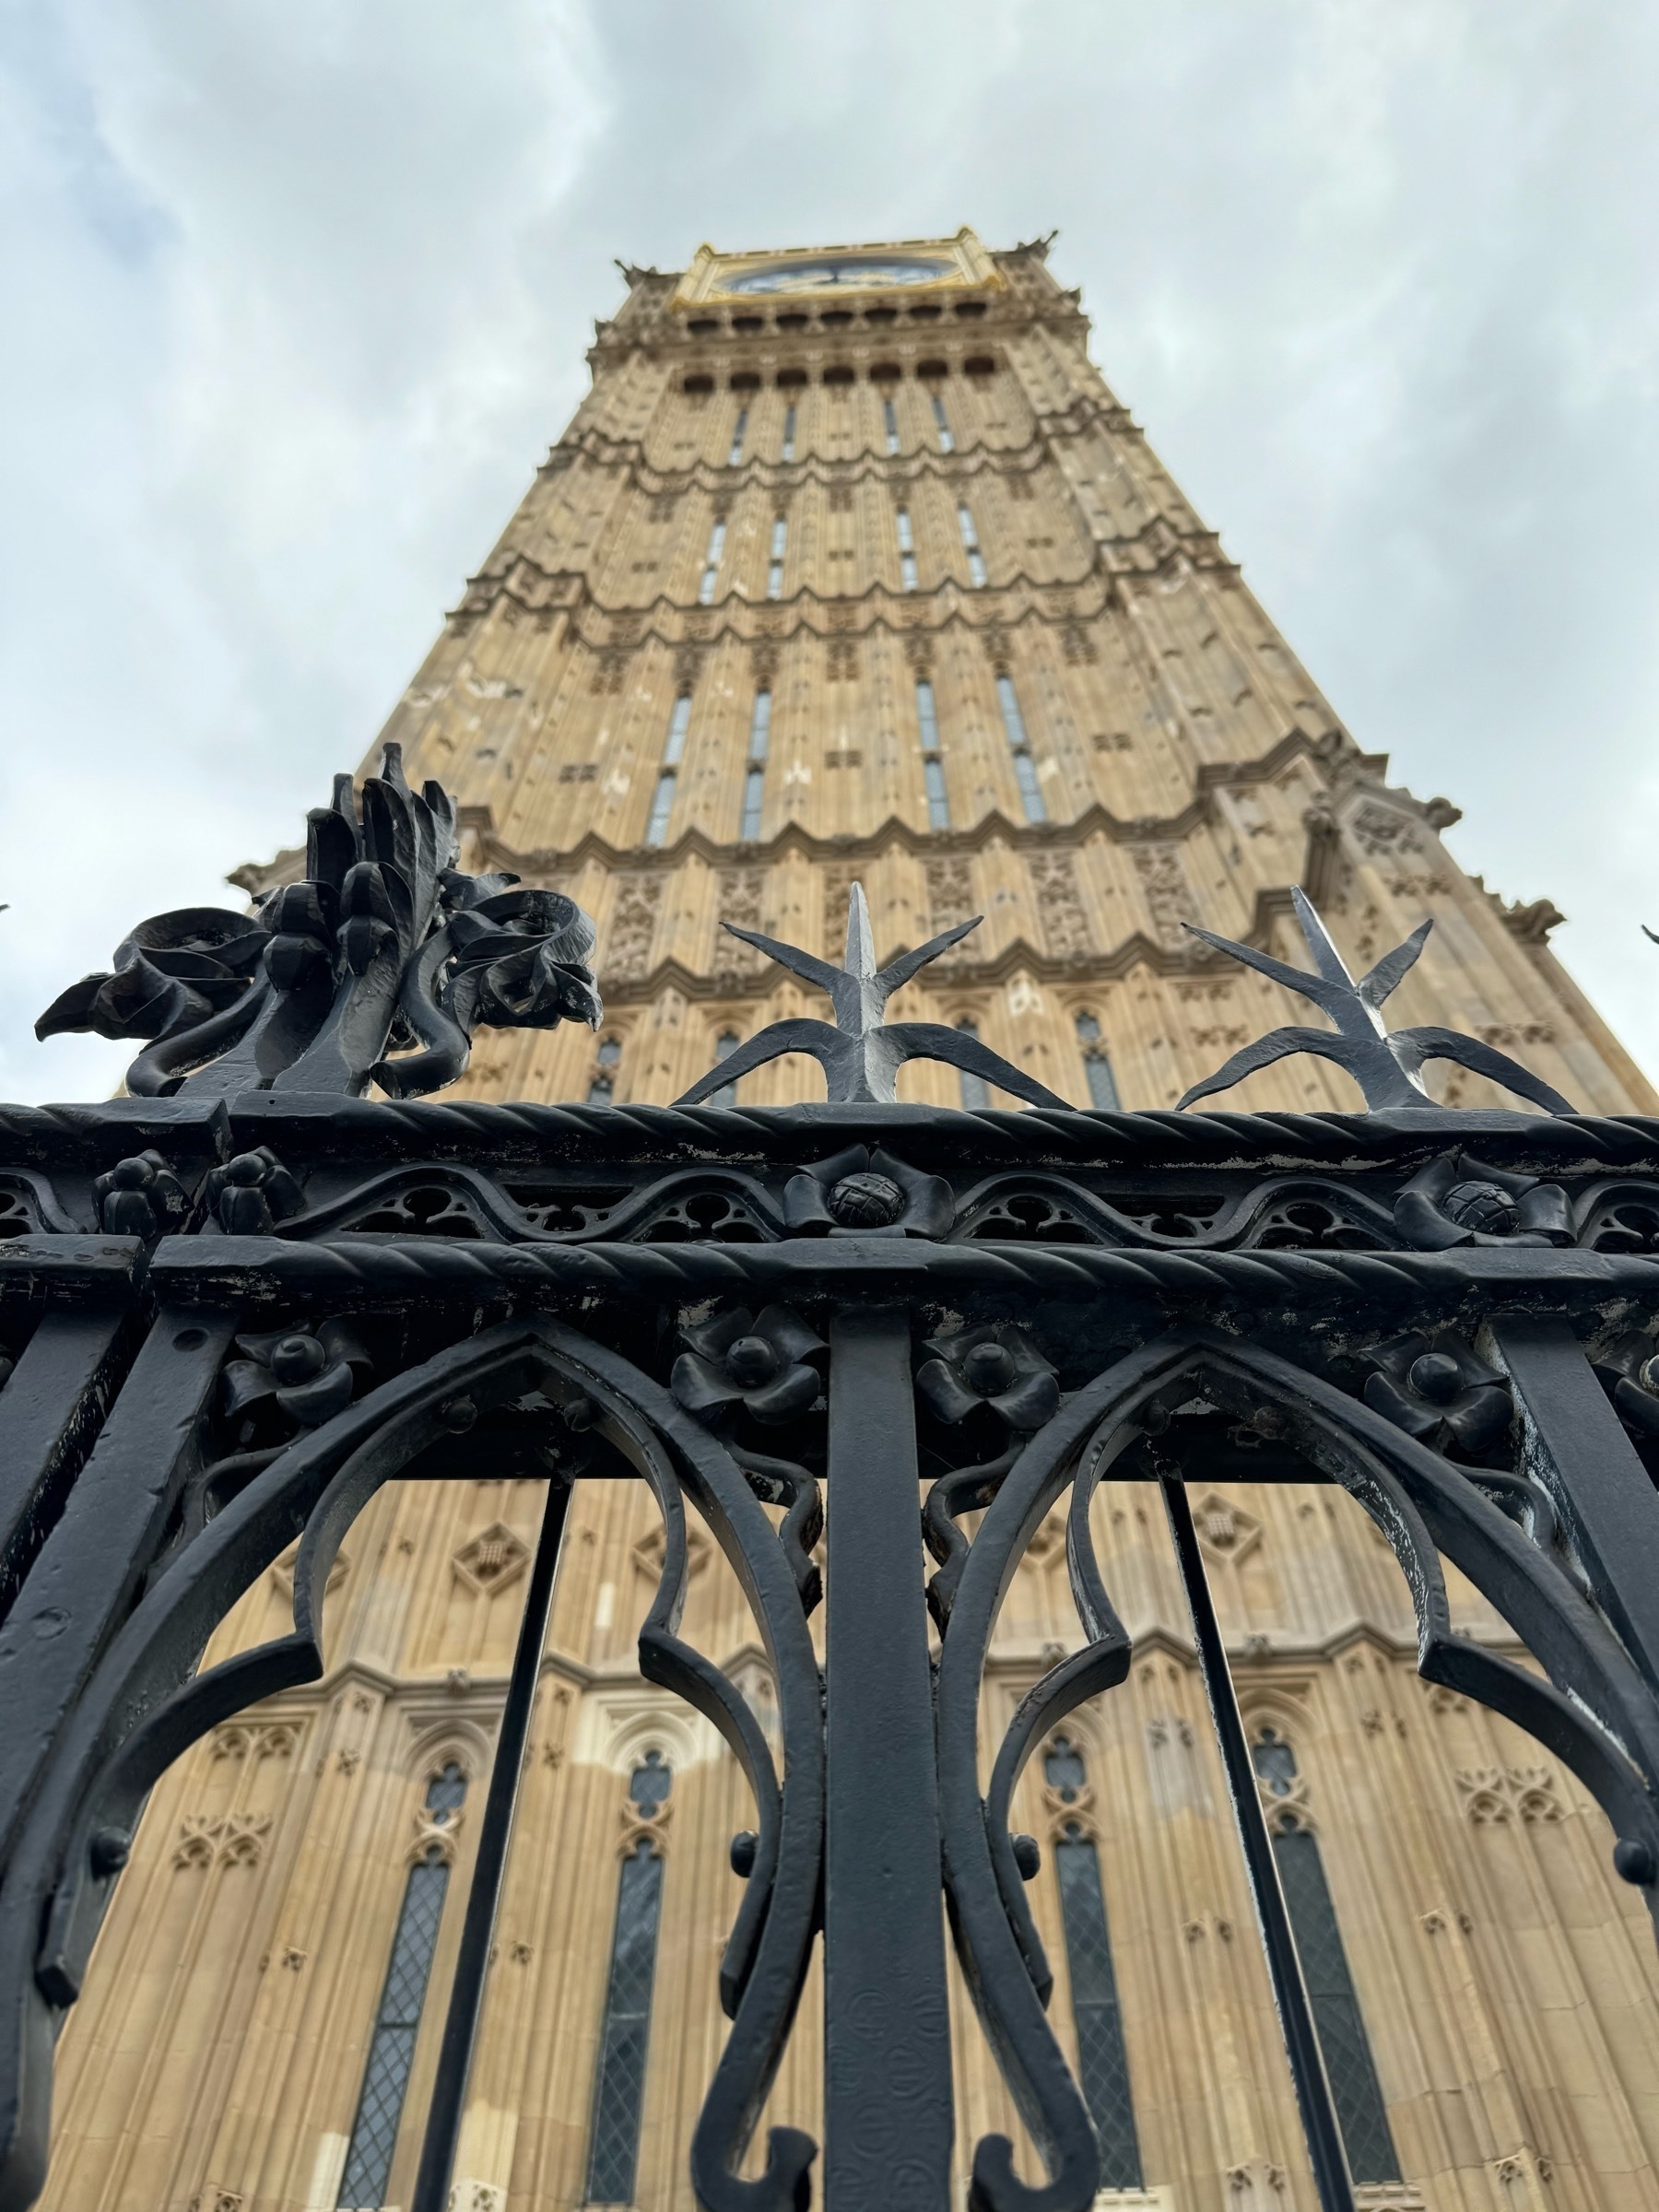
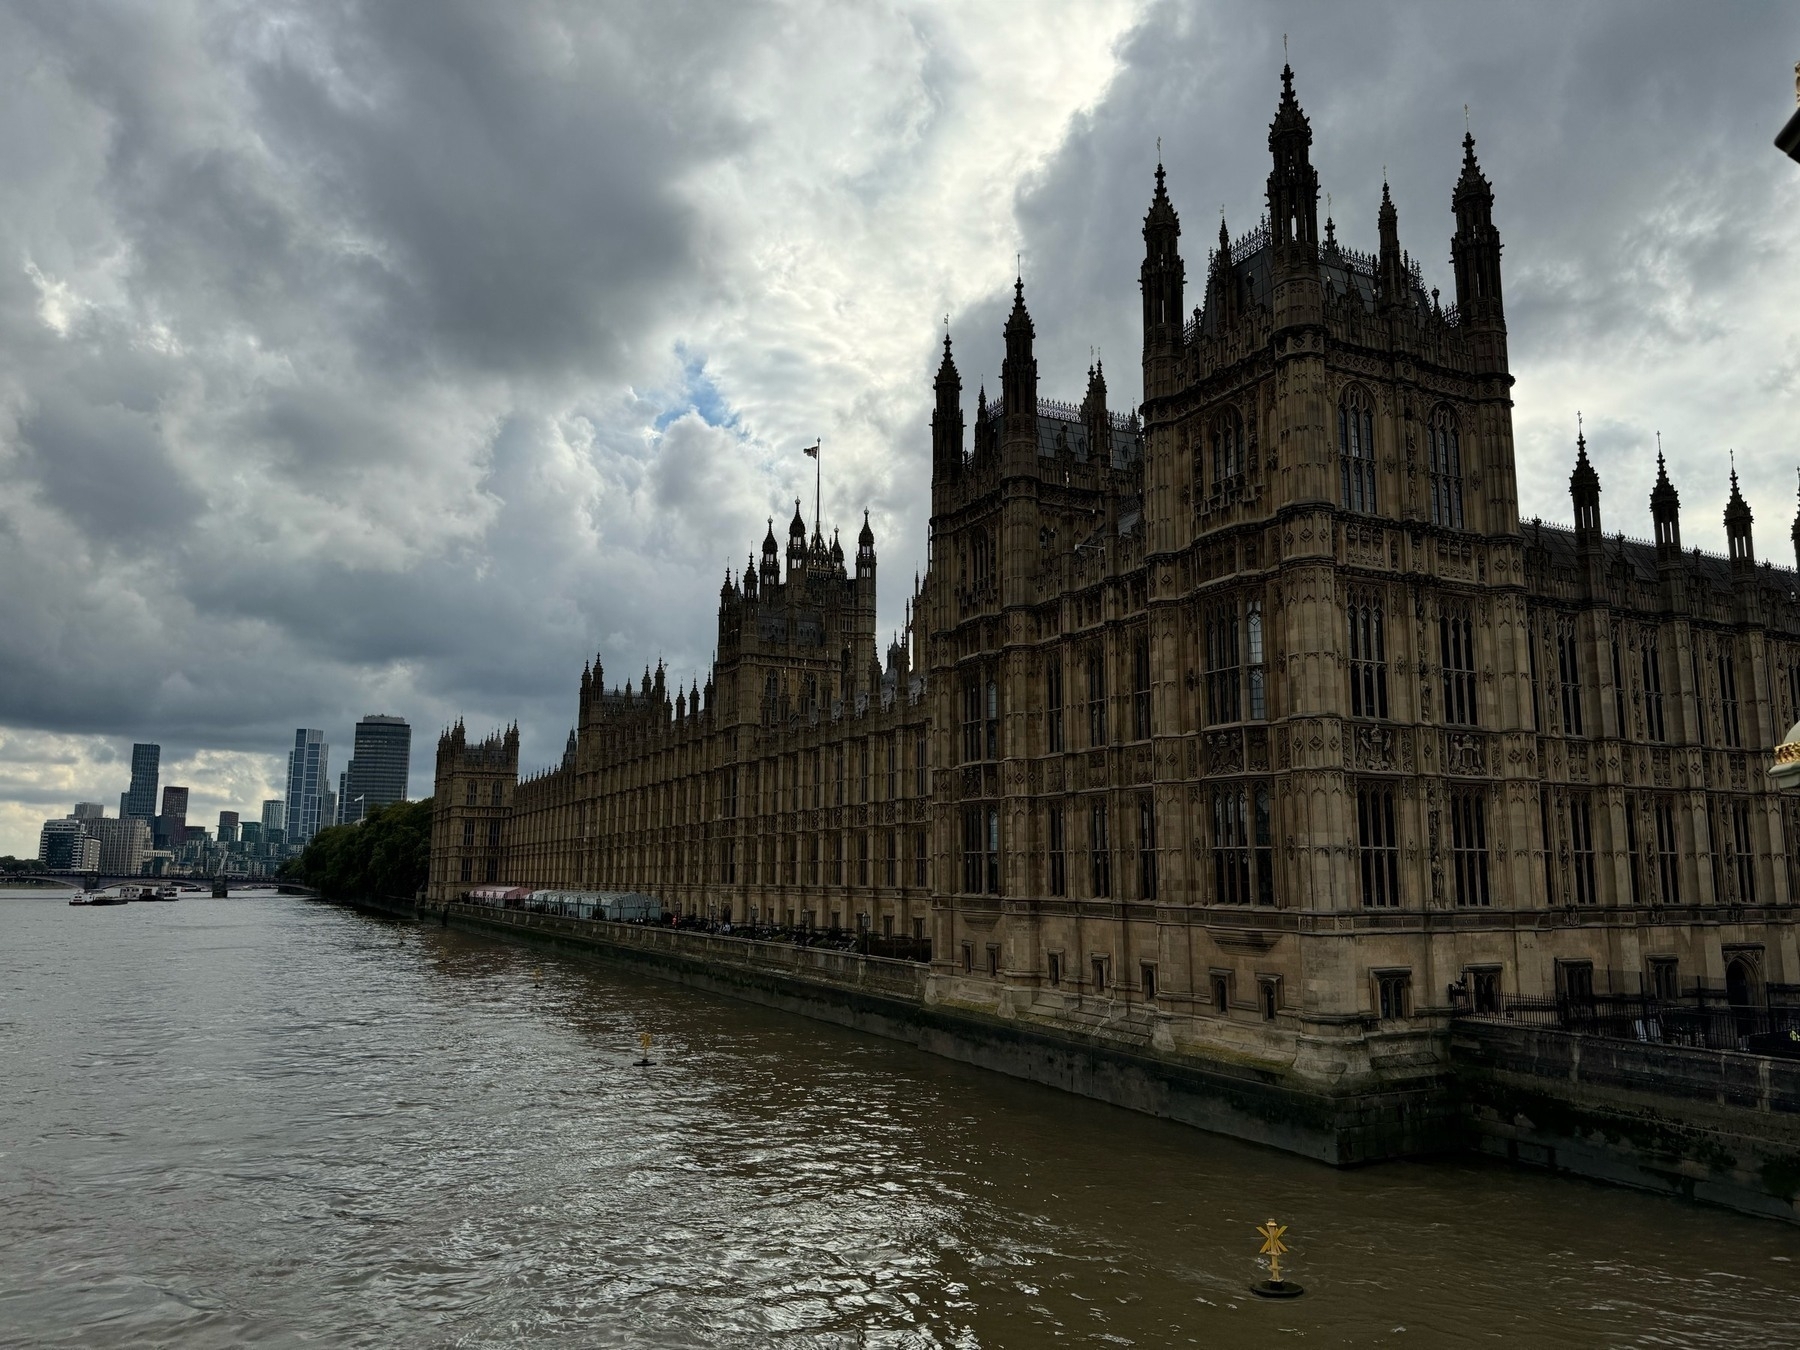
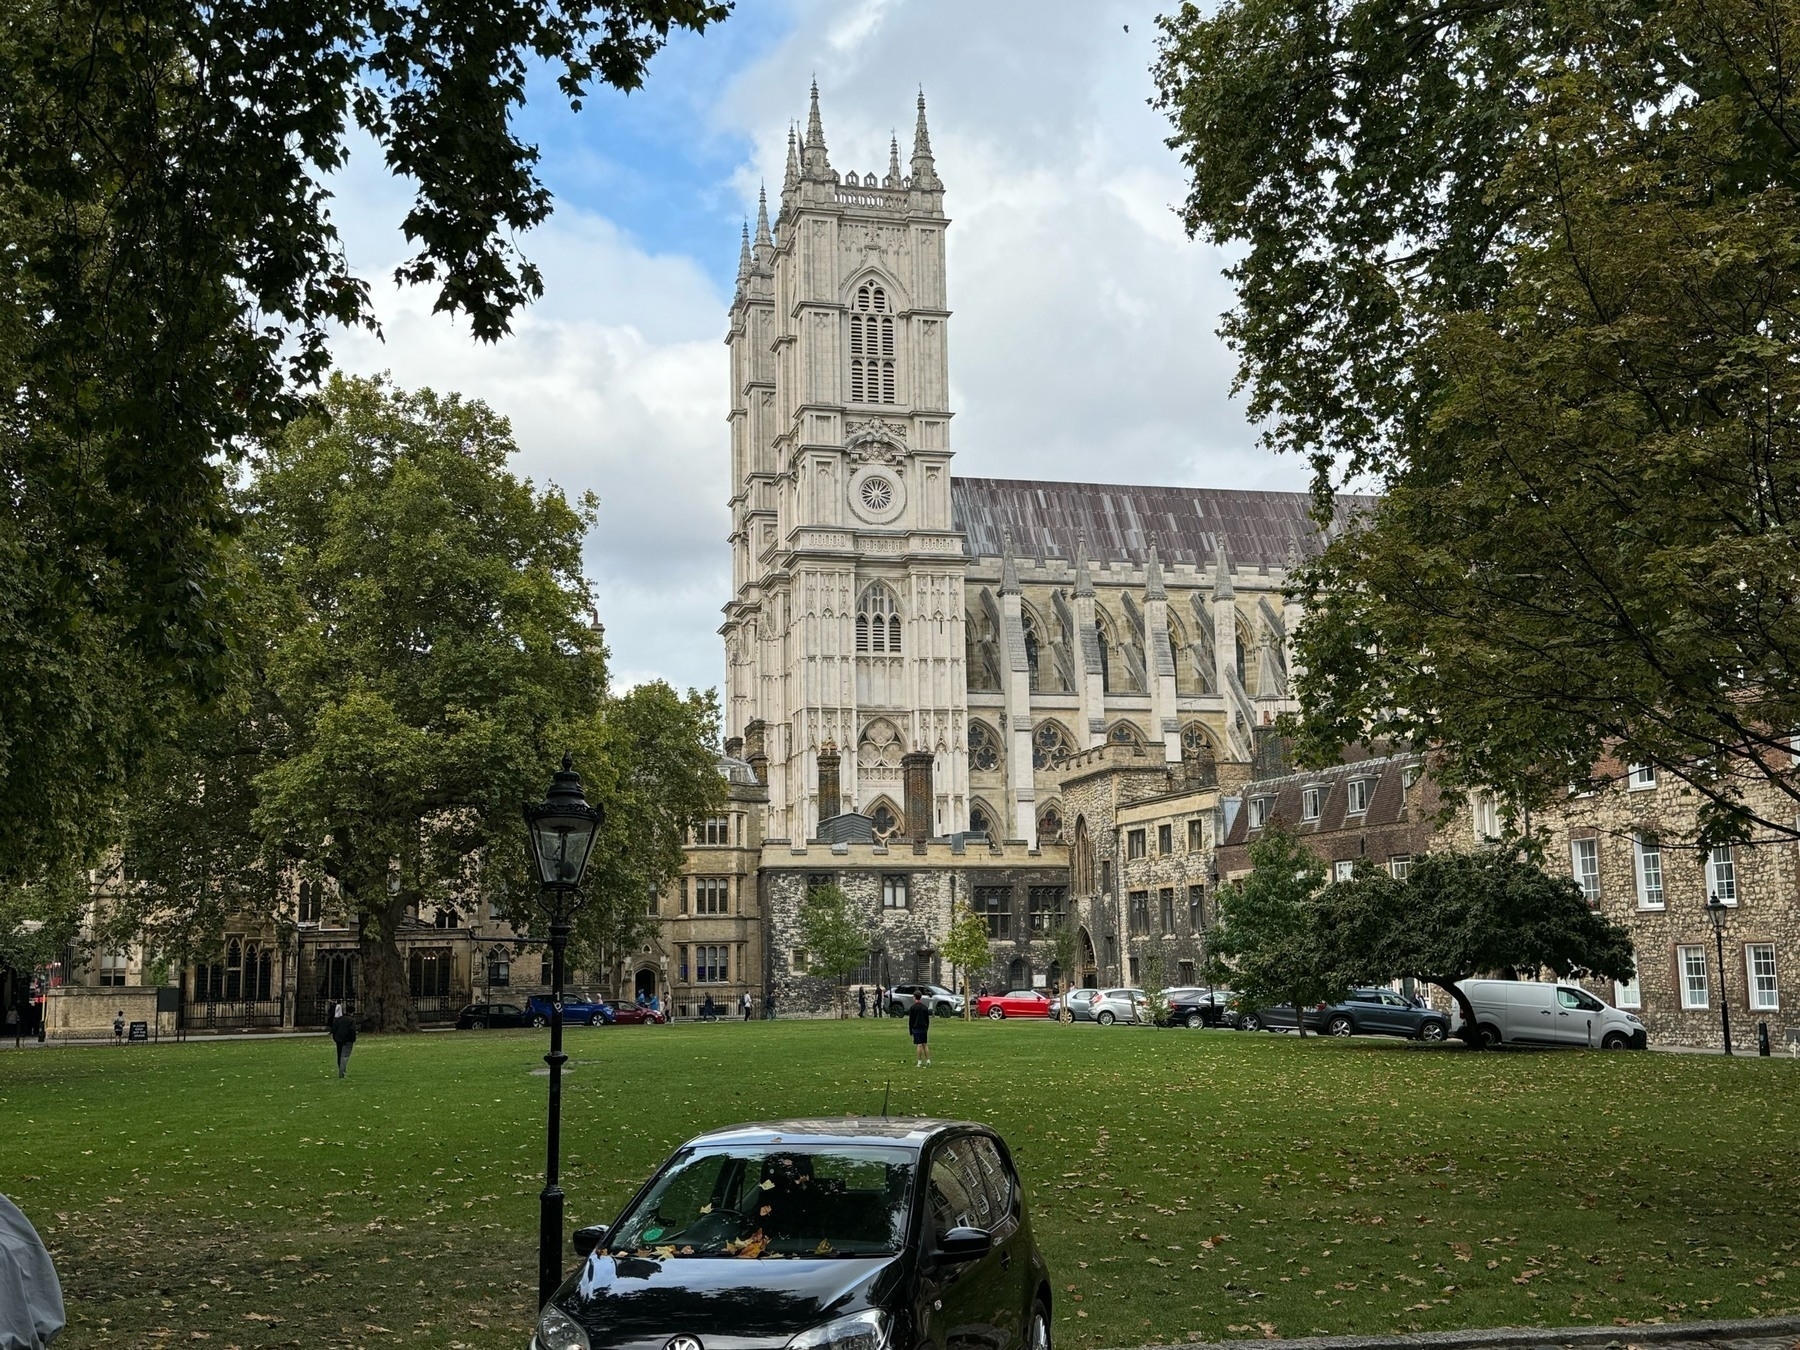
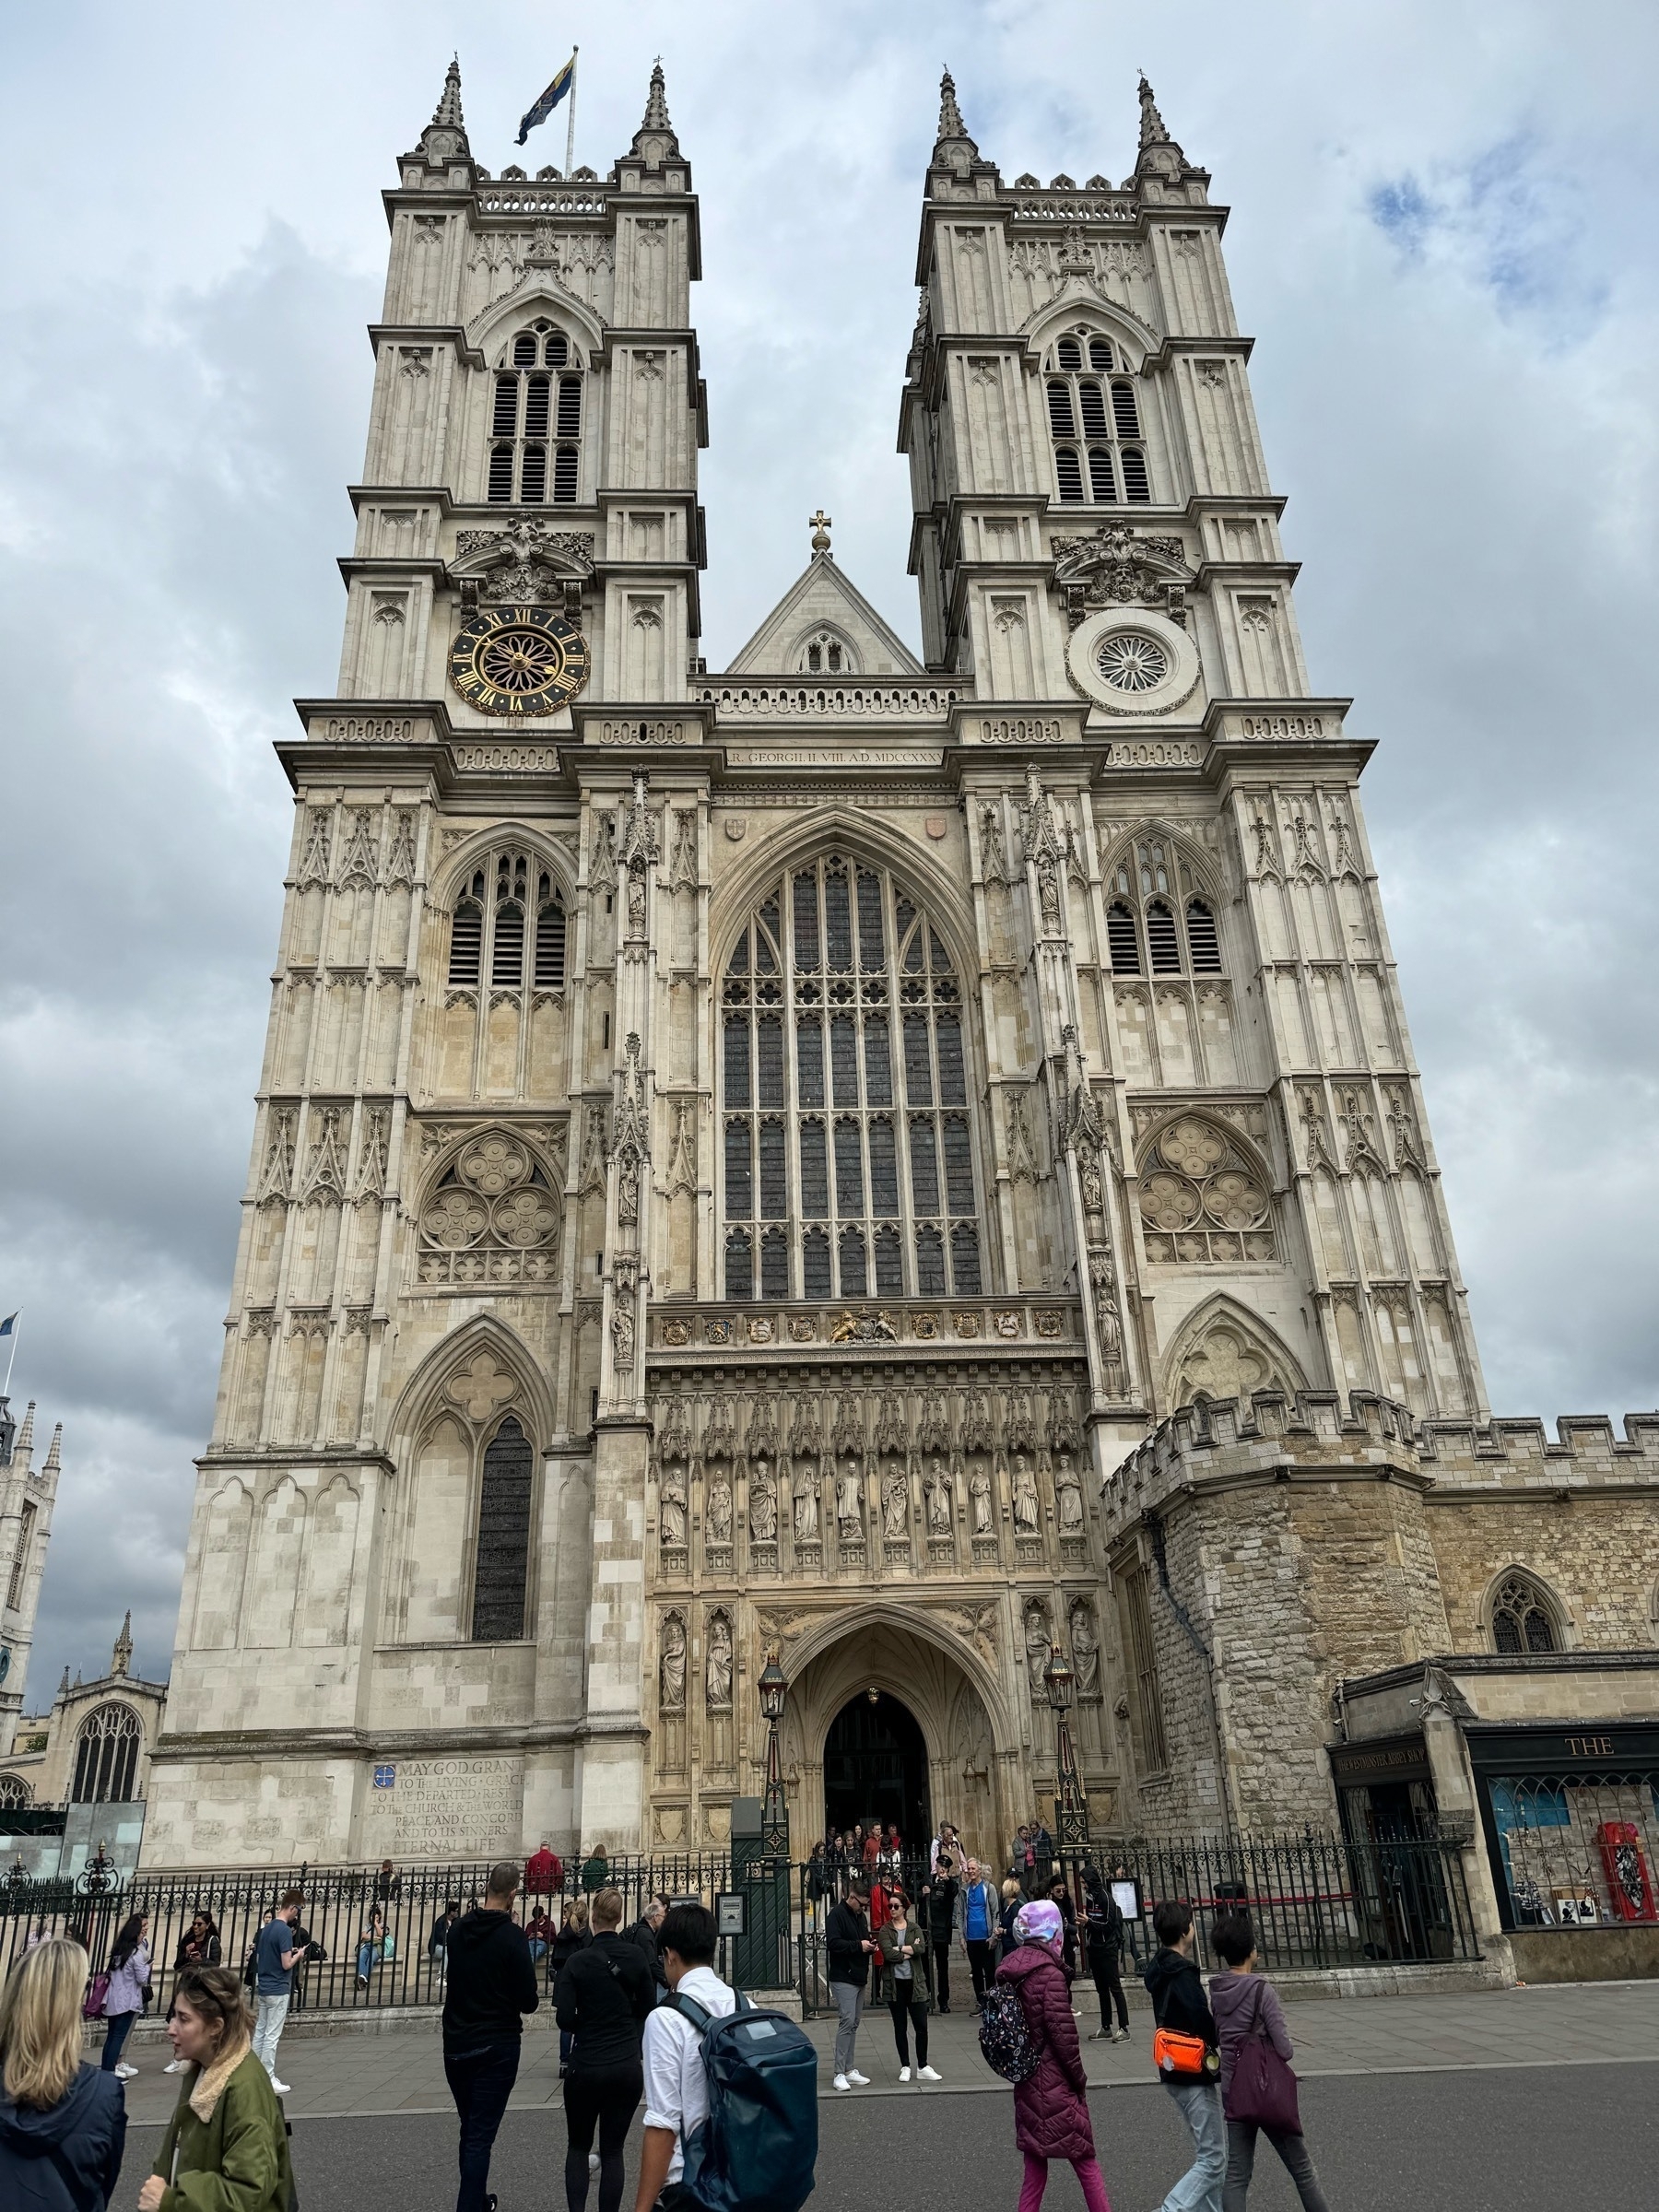
Got to London Heathrow made it through all the stuff, customs is so much easier nowadays, took the Underground to our hotel (the Hampton Inn London Waterloo), then spent the rest of the day wandering around doing touristy stuff. Saw Big Ben and the Houses of Parliament, wandered around Westminster Abbey, saw Trafalgar Square and from there on to Piccadilly Circus. I’m unimpressed with that last place, too touristy. Finally, we tried to find Diagon Alley.
When we were all here in 2006, We took a walking tour and the guide showed us a little road that many say was an inspiration for Diagon Alley. I wanted to go there again so we searched google and the maps apps. We kept circling around where it says it should be but we could never find it. I think that without the kids with us, we just weren’t magical enough to find it to be able to enter. Bummer.
That’s the end of Day 1. Yes, that was actually two days but it really feels like one big long one. Back at our hotel, going to relax and crash and hopefully get a good nights sleep. Then off kinda early tomorrow morning to catch a train to Glasgow to begin our hike on Wednesday.
JIm
West Highland Way Day 1
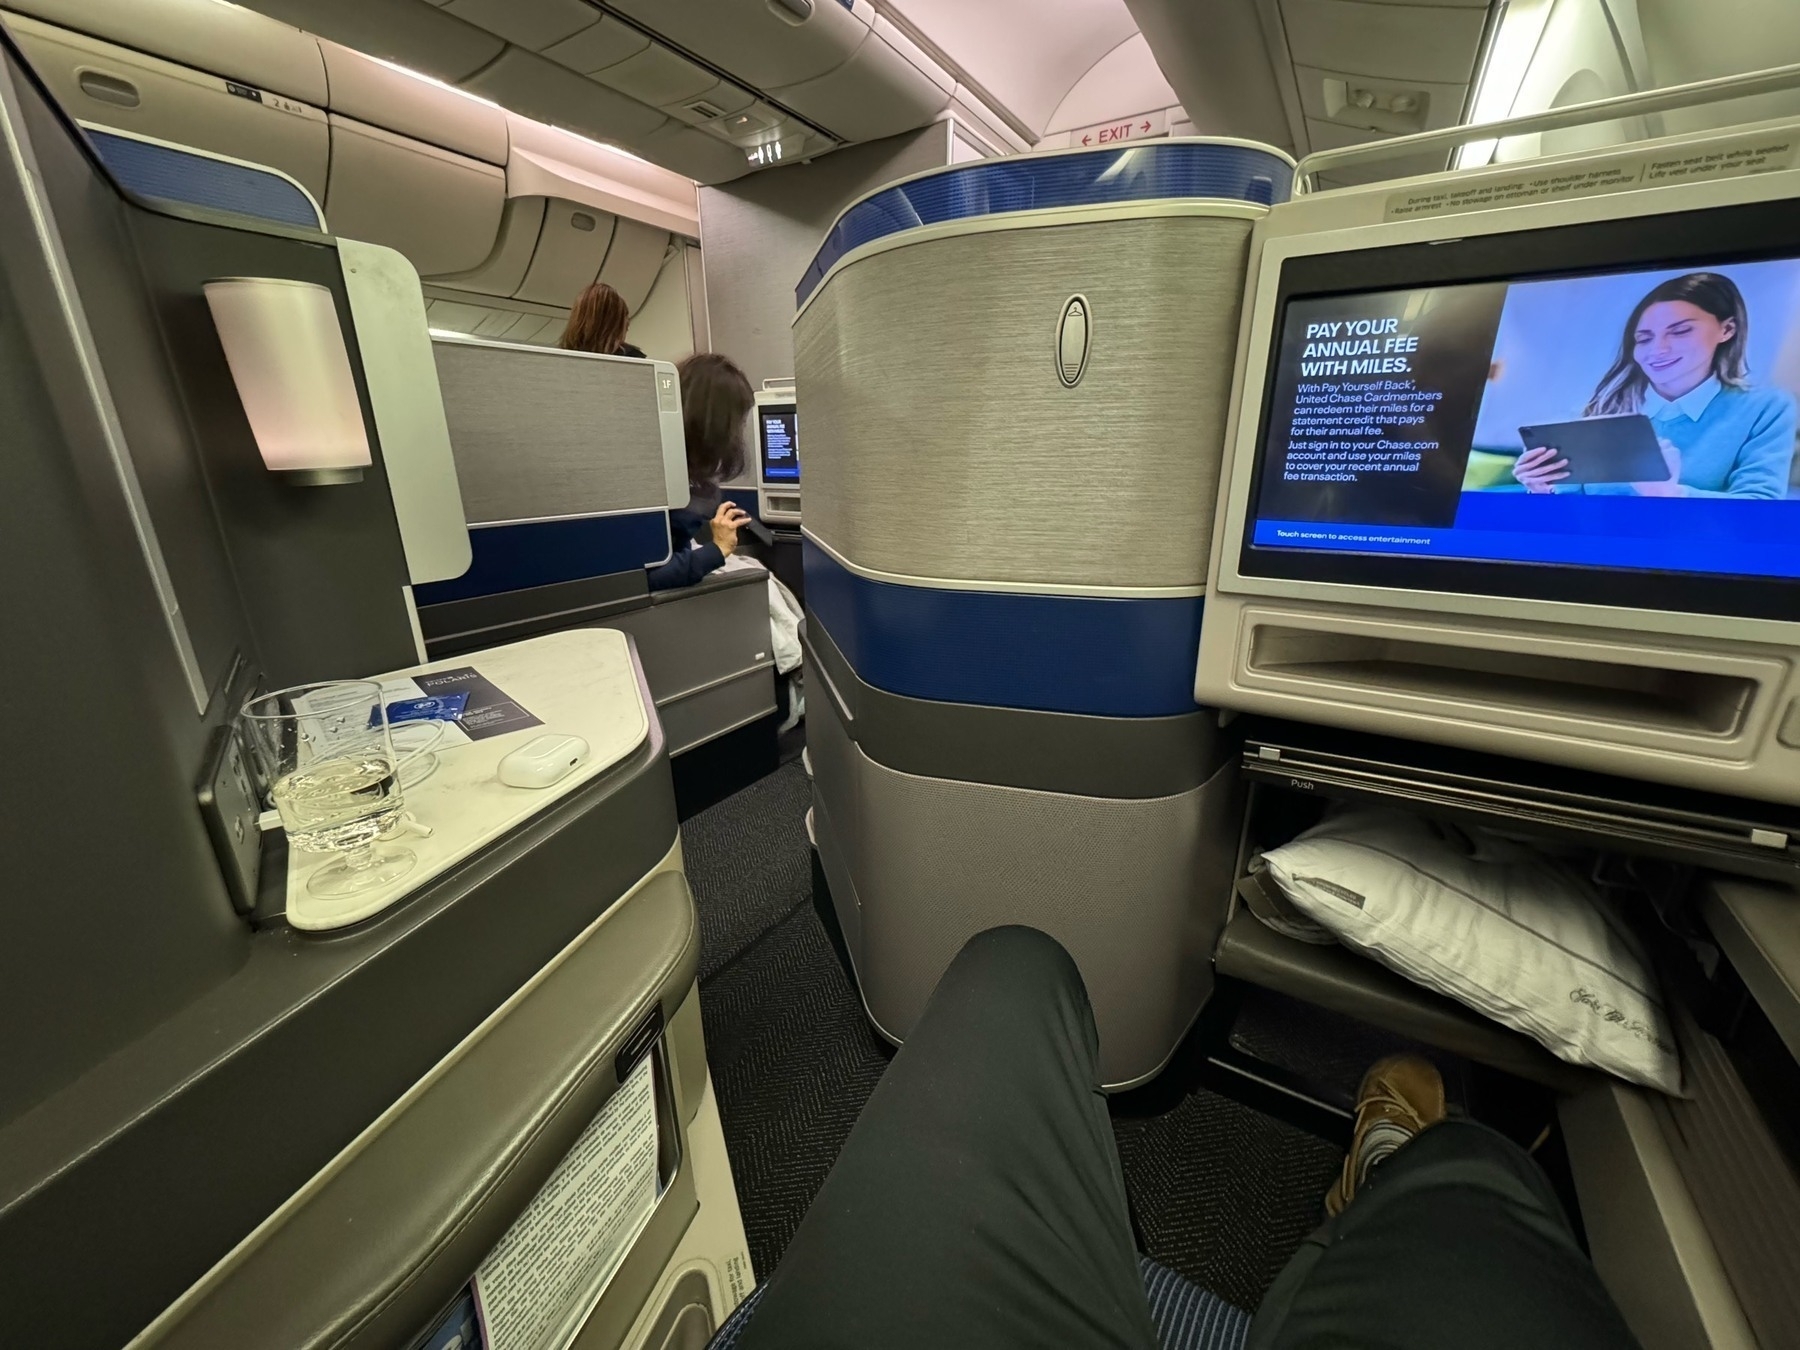
United Polaris Lounge at Newark airport
A few odds and ends from Emma’s wedding
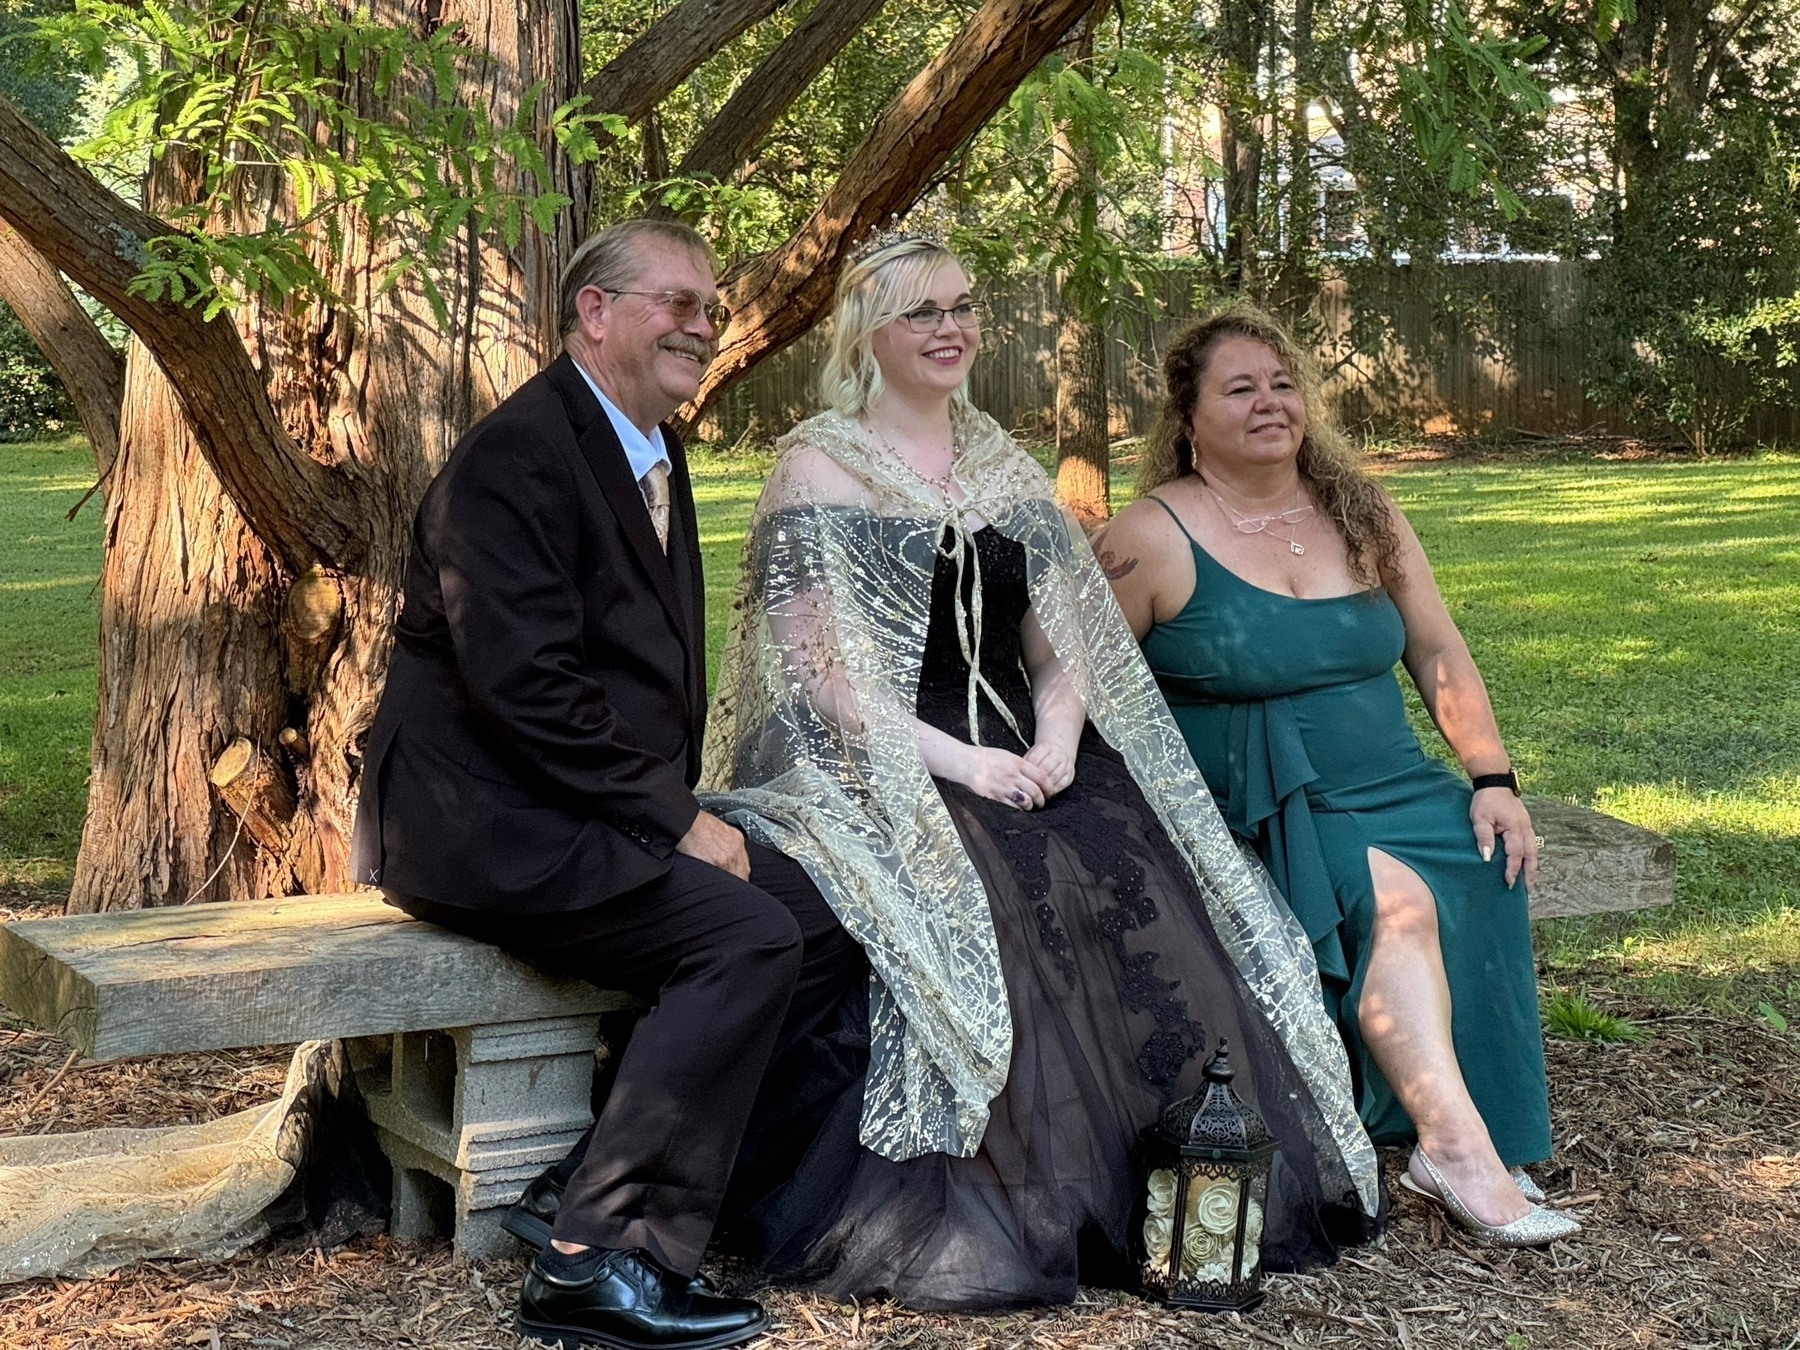
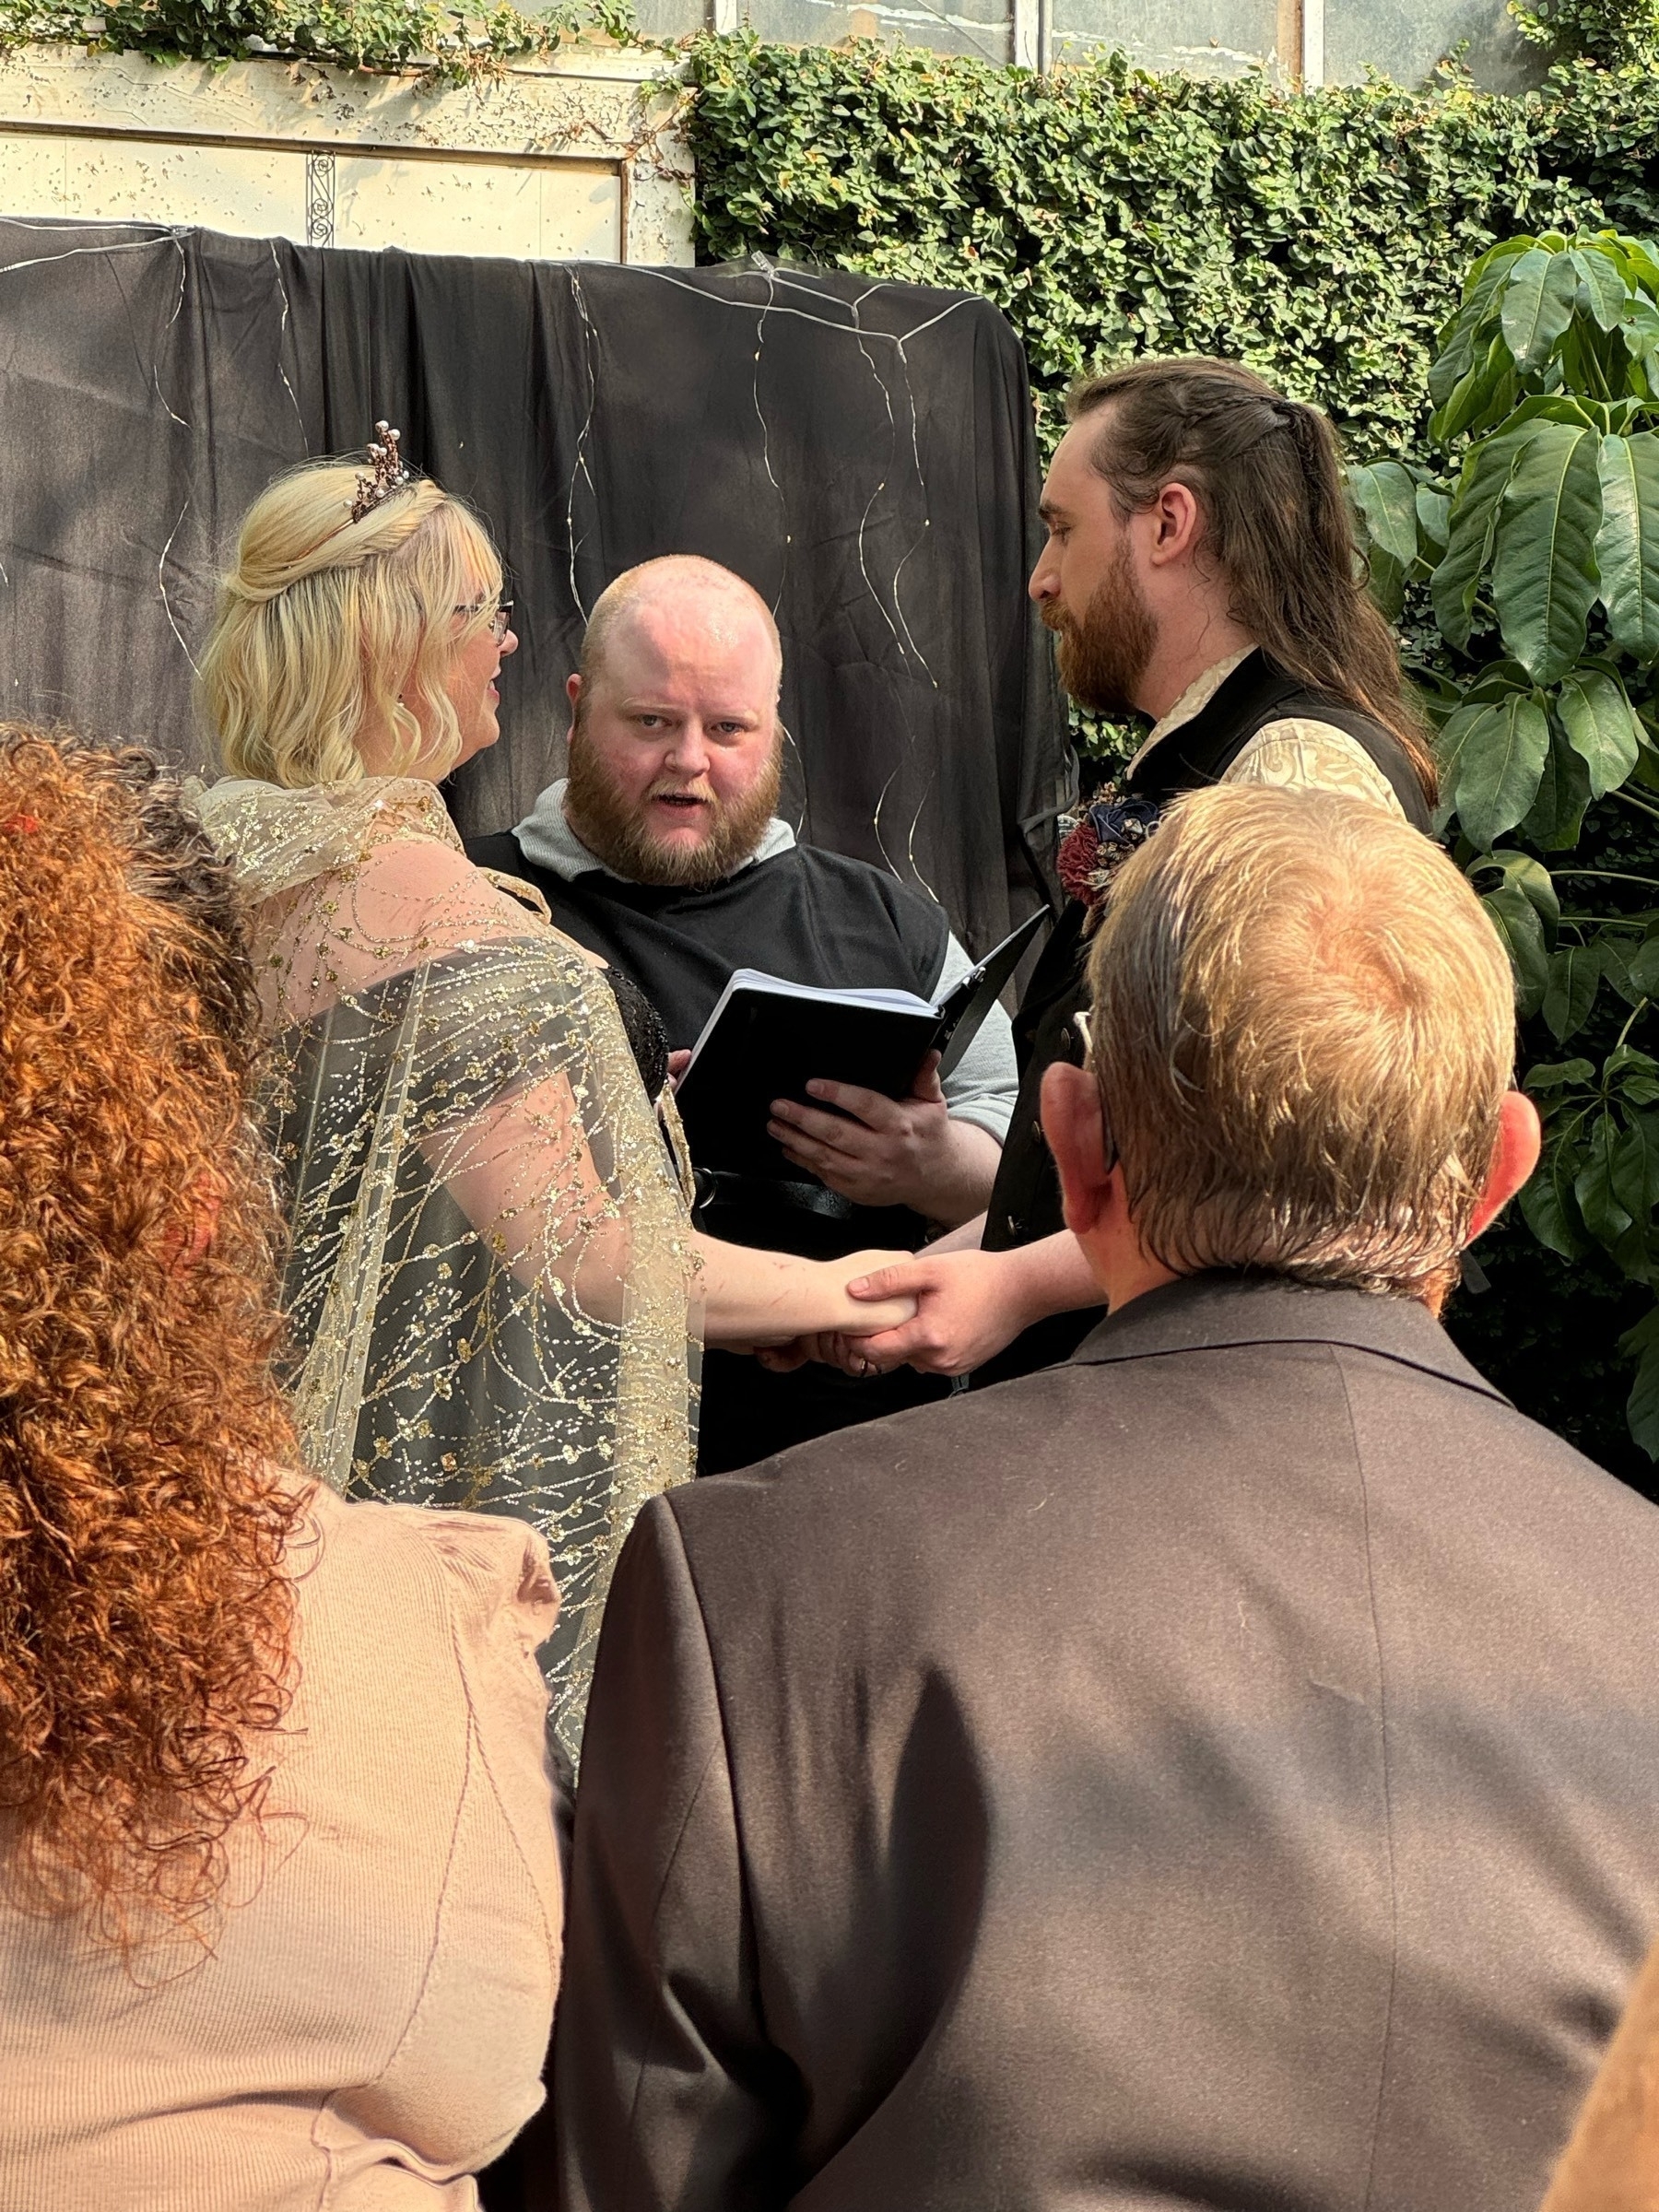
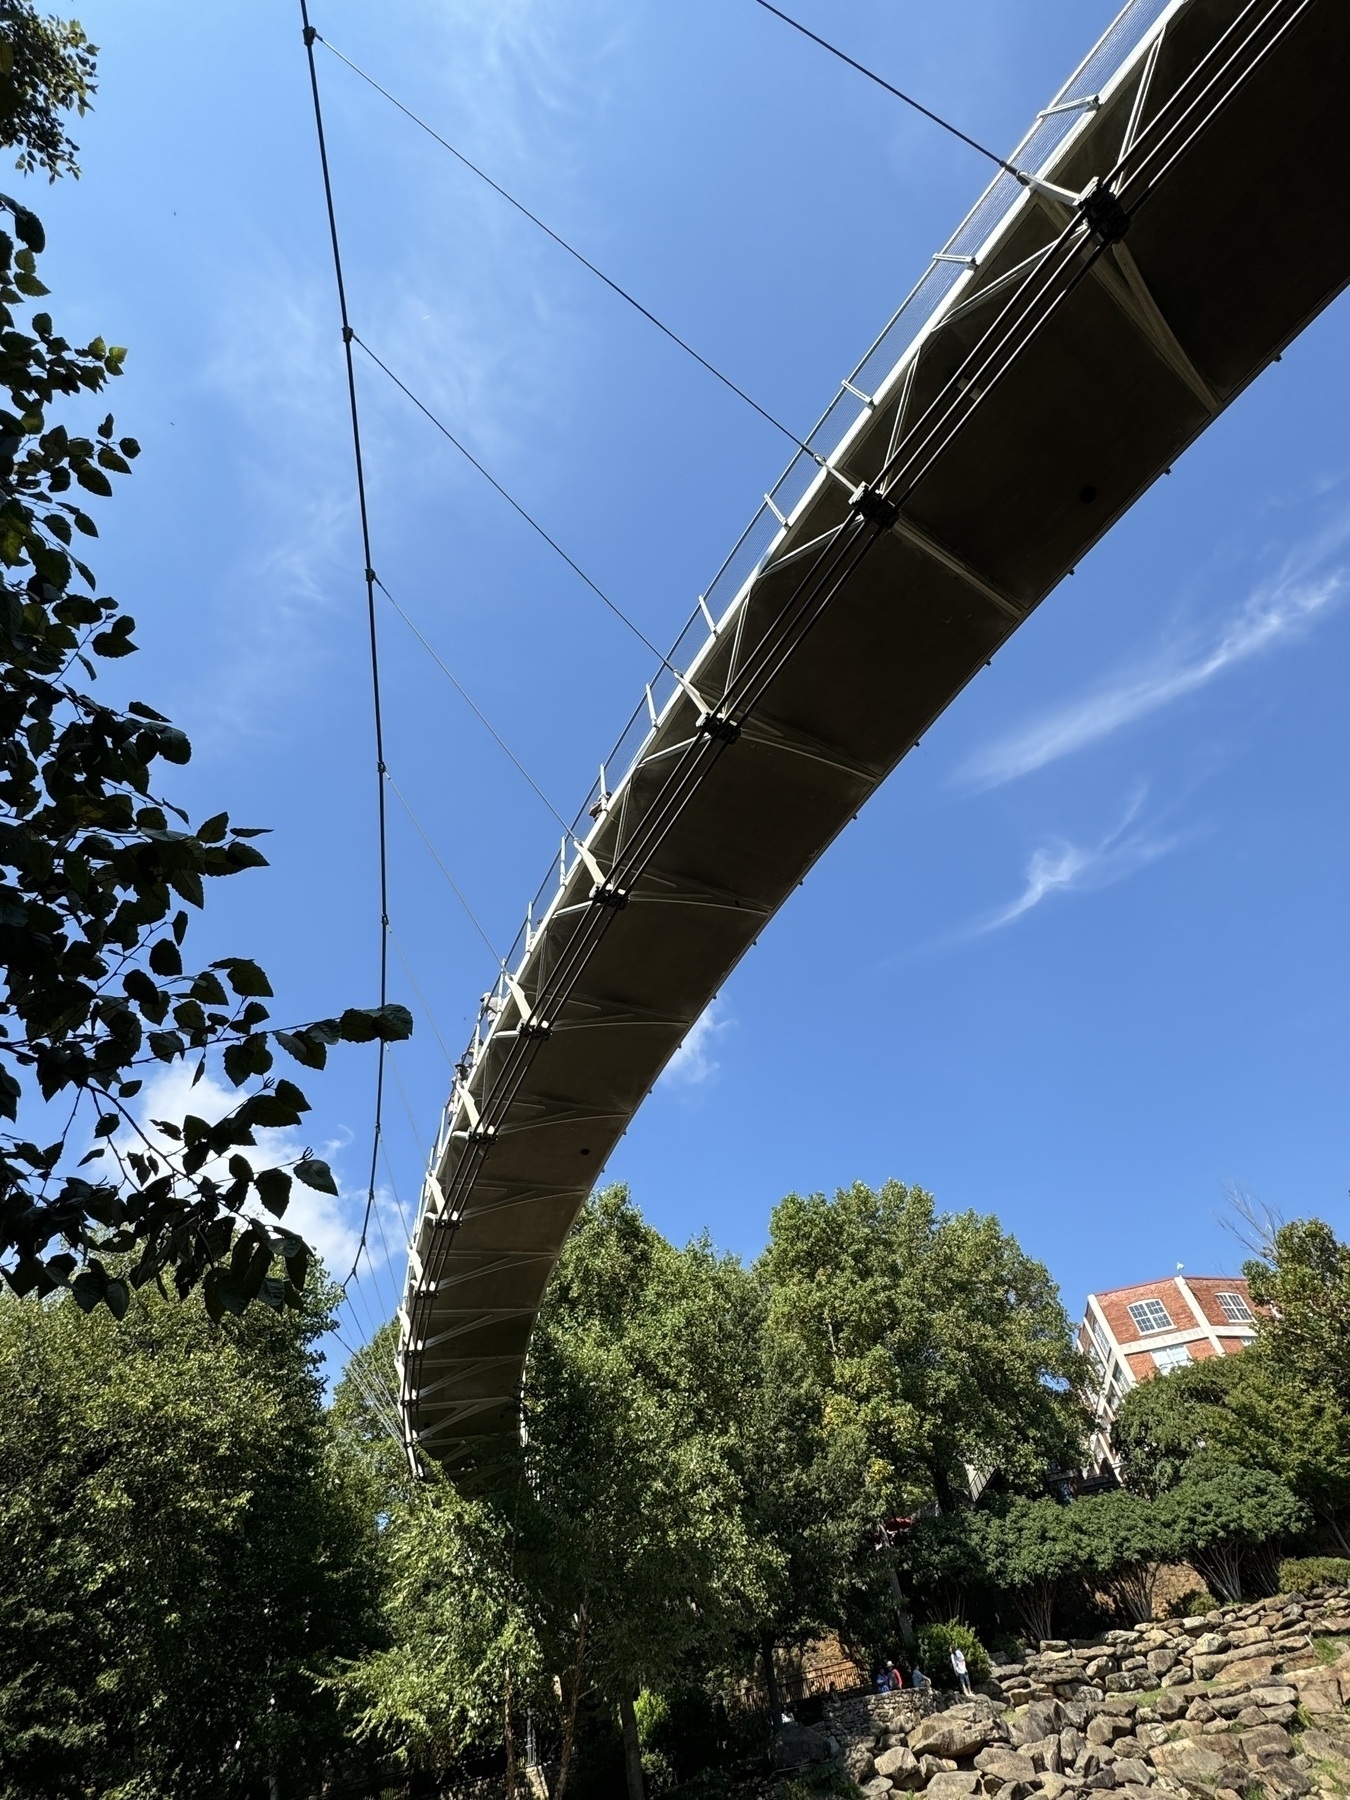
Took a walk around Falls Park on the Reedy in Greenville. We’re in town to attend my niece’s wedding. Had some time and decided to walk around the park a bit. It is really nice. And a pic of the famous(?) Liberty Bridge.

Yay! Step M is finally finished. I feel like I start many of these build log entries this way. Hmmm. According to my spreadsheet, I started this step on July 13, so this being September 6 that is a long time. The first part of Step M was “plank the entire starboard side” basically. Which, doesn’t sound like much perhaps but seeing as how the starboard side doesn’t have a gaping hole in it, there was a lot more planking to do.

All that, frankly, took a while. The curves in the hull made fitting all the planks in a bit tricky, but I just had to be patient, do a little bit at a time and eventually it all got done. I also spent a lot of time traveling these past six weeks for a variety of reasons which also slowed me down some. Next up was adding some filler to the bow and some finish planking to the stern.
Here is a view of the bow with some filler added to round out the front along with some finish planking where there will be another couple of doors.

Here is a view of the stern of the ship showing some of the finish planking. That big unfinished area is where the captain’s cabin will go.

Finally sanded it all down reasonably smooth, touched up several areas and I think it’s good to go.

On to Step N wherein I build the captain’s cabin. That’s going to be fun. This is the first time I’ll get to attach a bunch of the fun greebling of bones, and skulls, and other things that will ultimately make this a really cool looking ghost ship. Can’t wait for you all to see it.
Until then,
JIm
Yay! It’s finally finished. I’ve been at this for almost two months. Step L involves installing lighting on the lower deck and in the hold. This needs to be done now because the next step is to plank up the entire port side and then I would no longer be able to install any lights. Here it is.

The kit itself came with all the pieces necessary to build the lighting by myself. Here is some of what was in the kit.

The instructions said to build a couple of strands of lights by soldering the capacitors(?) resistors(?) (not sure what those are), to the LEDs, then solder all the LEDs together with short strands of wire, put shrink wrap tubing on most of the connections where possible and tape where it wasn't, and then sandwich all that between a couple of planks of wood and shove it in the ship and glue it in place.
I’ll admit, I’m not the best at soldering having only done it a few times in my life, so I was a bit intimidated, but I figured I could handle that with some practice. More importantly, when seeing what I had to build out, it just seemed sooooo bulky. I really didn’t like what it was going to look like especially given the wealth of LED strip lighting available today.
That led me down lots and lots of searches to find LED lights I would be happy with. I even bought a few things to try out to see how they’d work. I eventually ended up at Evan Designs. They sell a variety of LED strips, kits, pieces, etc. in a whole bunch of sizes. I purchased a couple of strands of micro-LEDs and a few other things I’ll be using in other steps, mounted them on a couple of strips of wood, soldered them all together and voila! I have lighting in my ship. I’m pretty happy with how it turned out.
When all is said and done and all the cannons and cargo are in place, the ship will have a nice back-lighting in the lower decks to show up at night. At least that’s the plan. It’s good to be done with this step. It’s taken me way too long.
That’s all for now. Next up Step M: planking the entire port side.
JIm
Step K is complete!

Yes, that big hole in the side is supposed to be there. By the end, the bottom part will have barrels, packages, etc. piled up down there and the upper part will have cannons and what-not. There are also going to be lights on the inside so you’ll be able to see it all too. That will be fun. So the starboard side here is mostly complete. Still a few places to fill in, that’s all part of Step L coming up next; along with trimming down the top portion - it won’t always look all jaggy like that.
Til nex time!
JIm