A Bluenose Retrospective

As a bit of a retrospective, here are a variety of picture of my Bluenose model over time. 

The hull of the Bluenose model ship being planked.

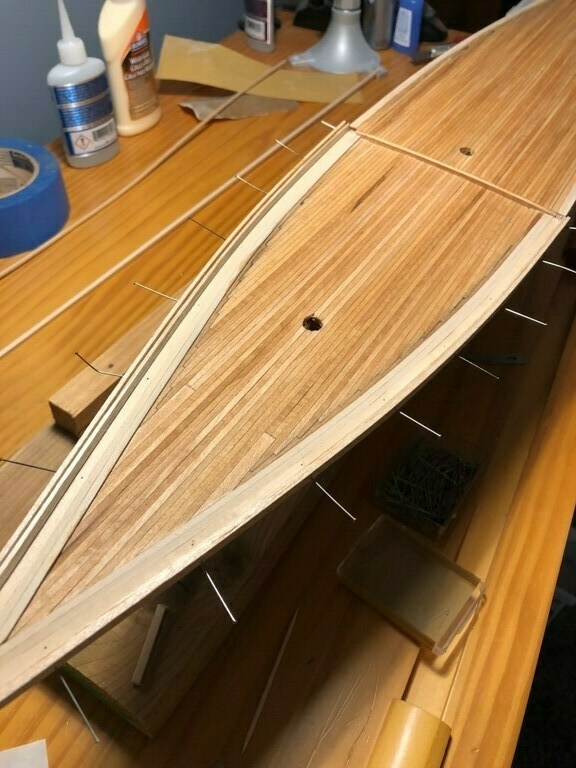
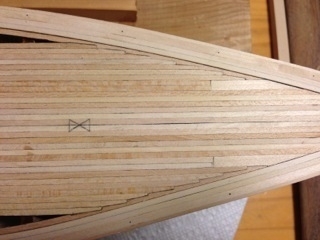
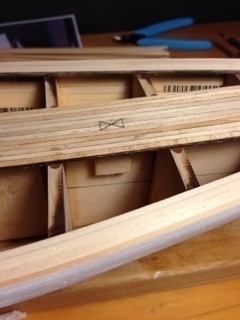
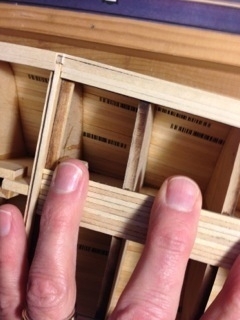
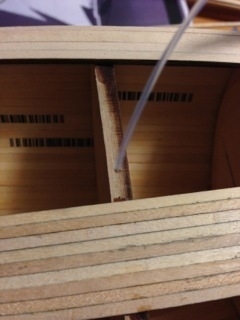
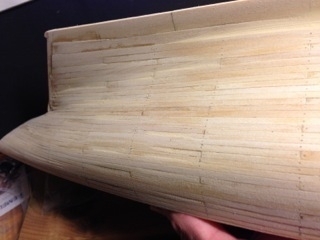
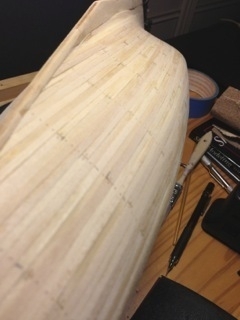
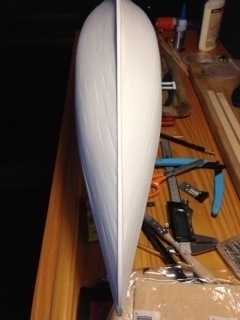
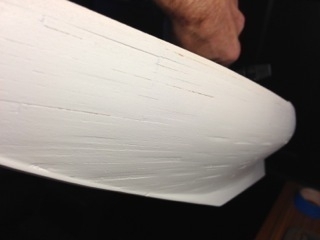
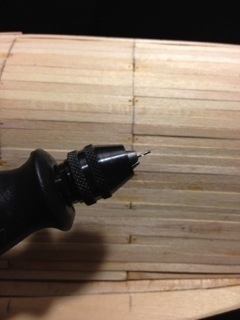
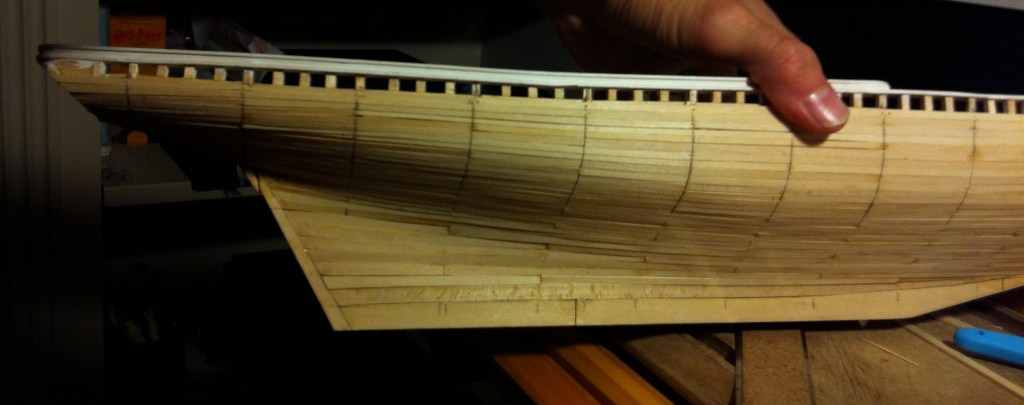
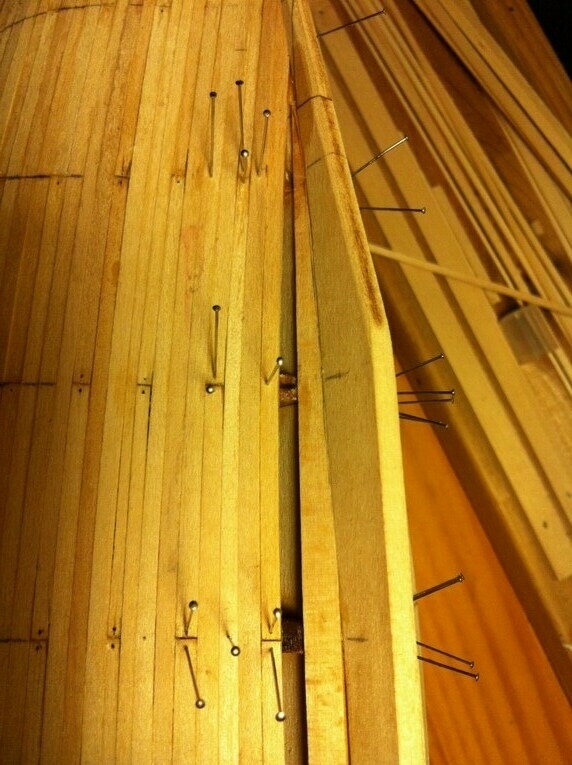
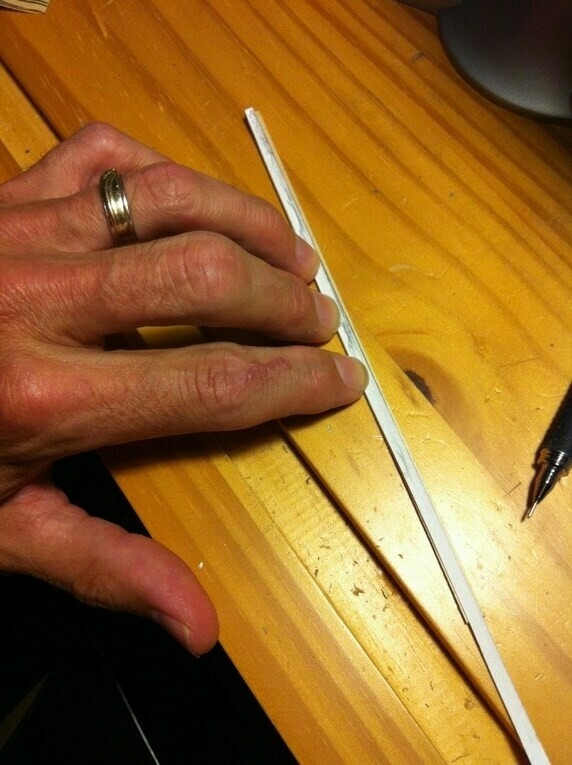
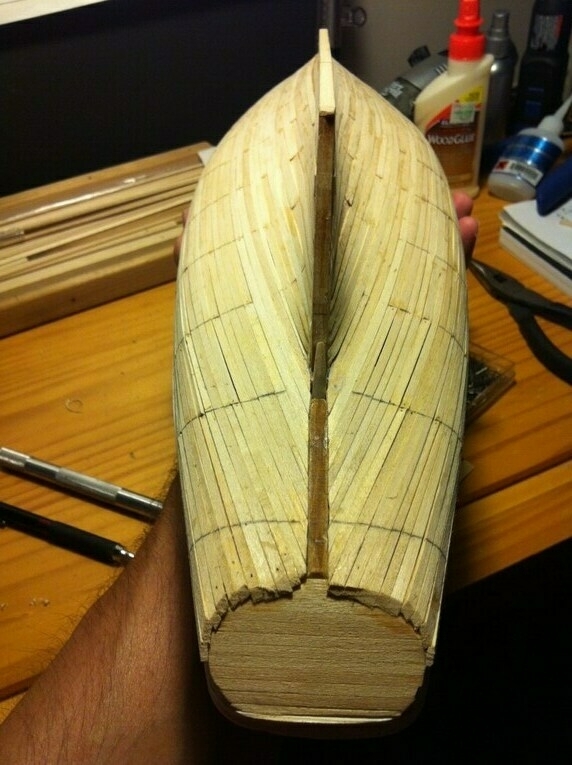
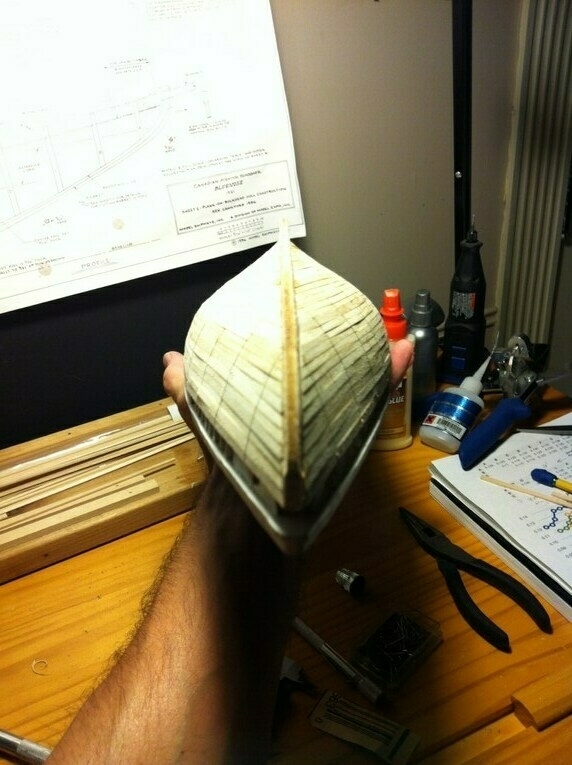
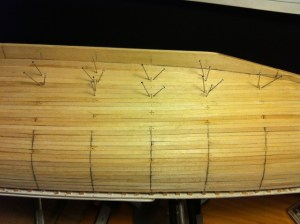
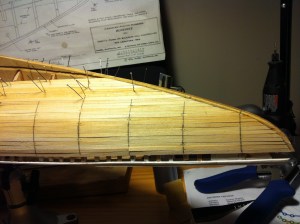
This is the hull as I was finishing up planking it. This picture is from 2012. 

The deck of the Bluenose model before being planked.

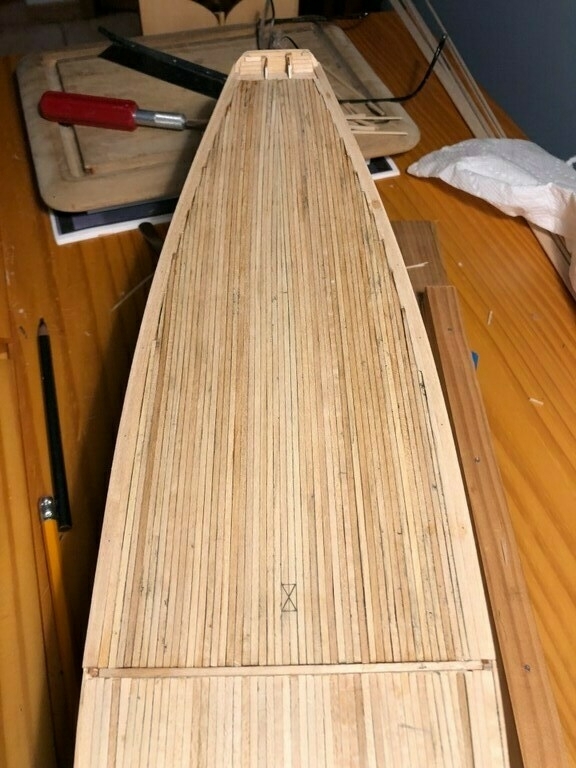
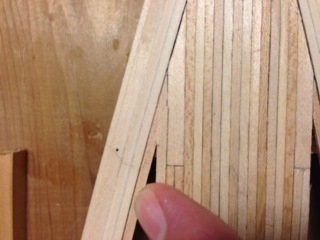
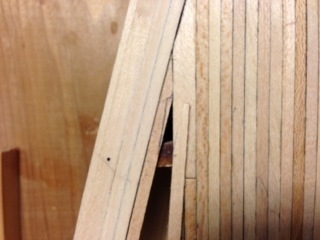
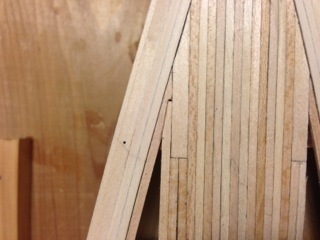
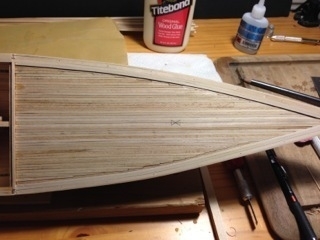
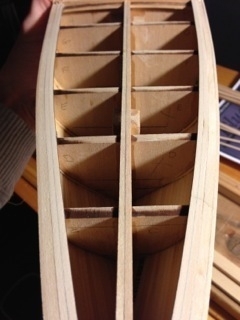
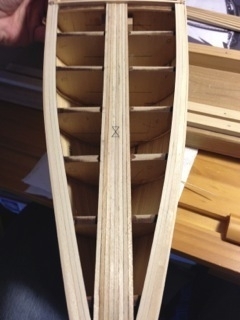
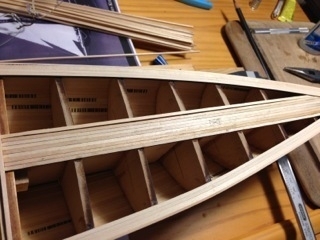
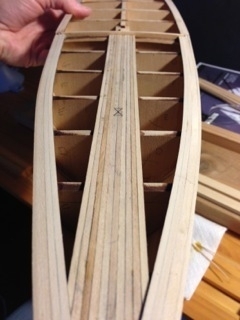
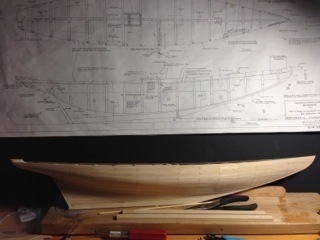
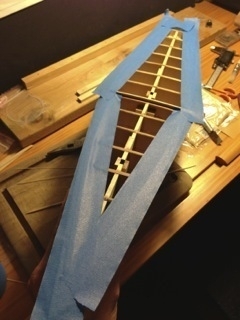
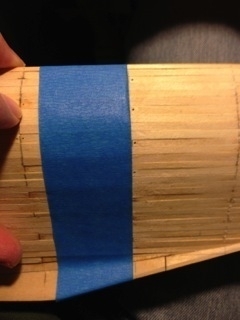
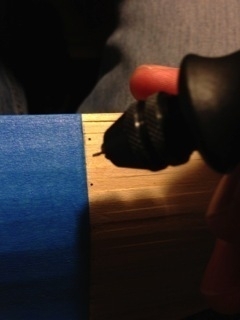
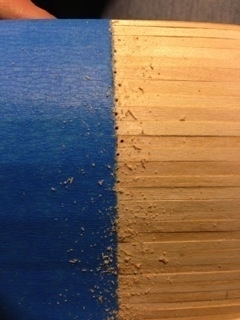
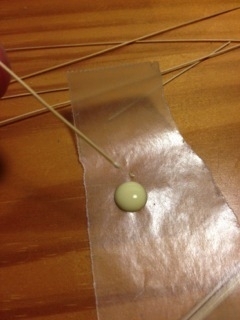
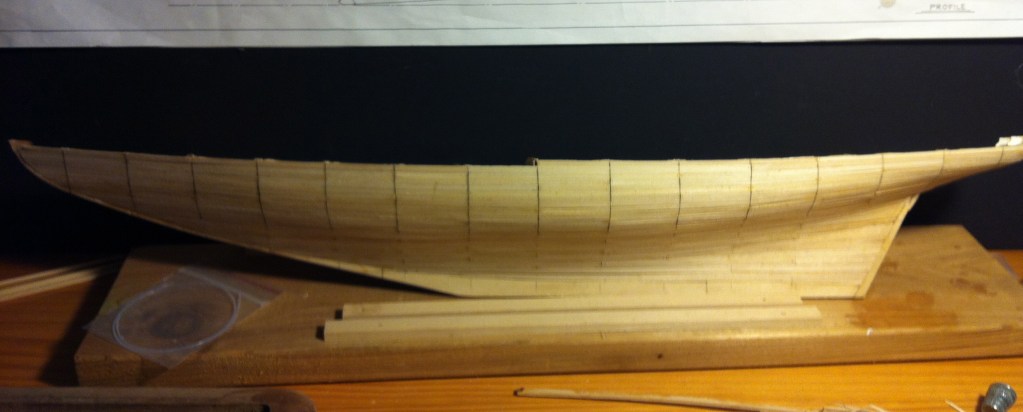
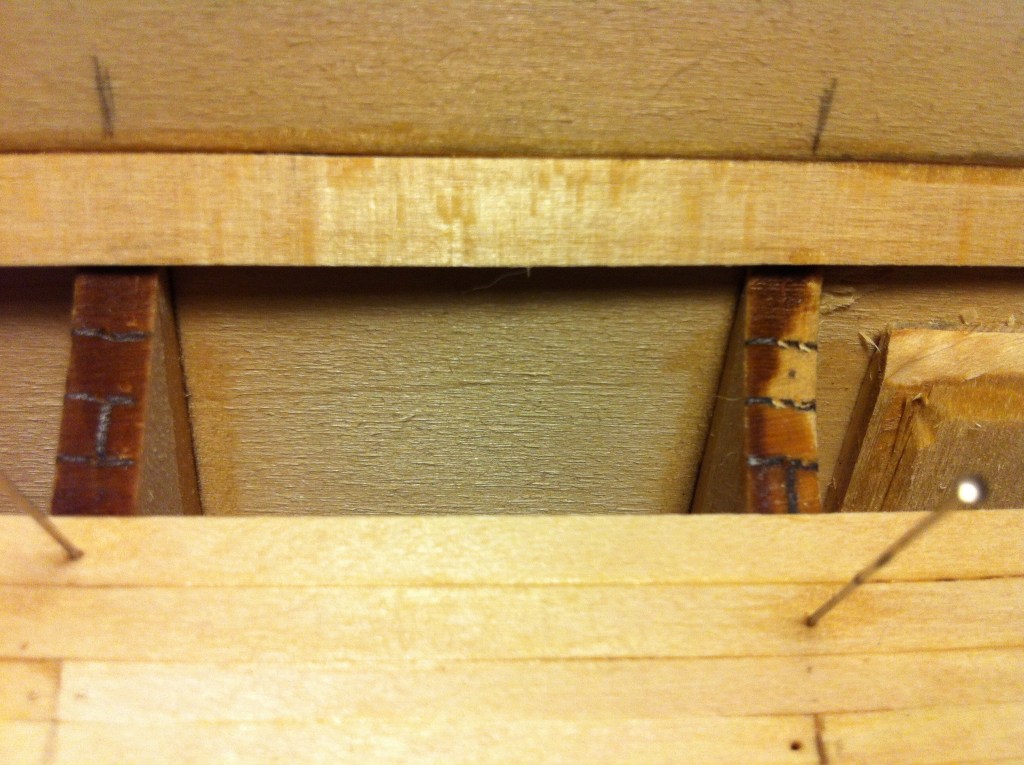
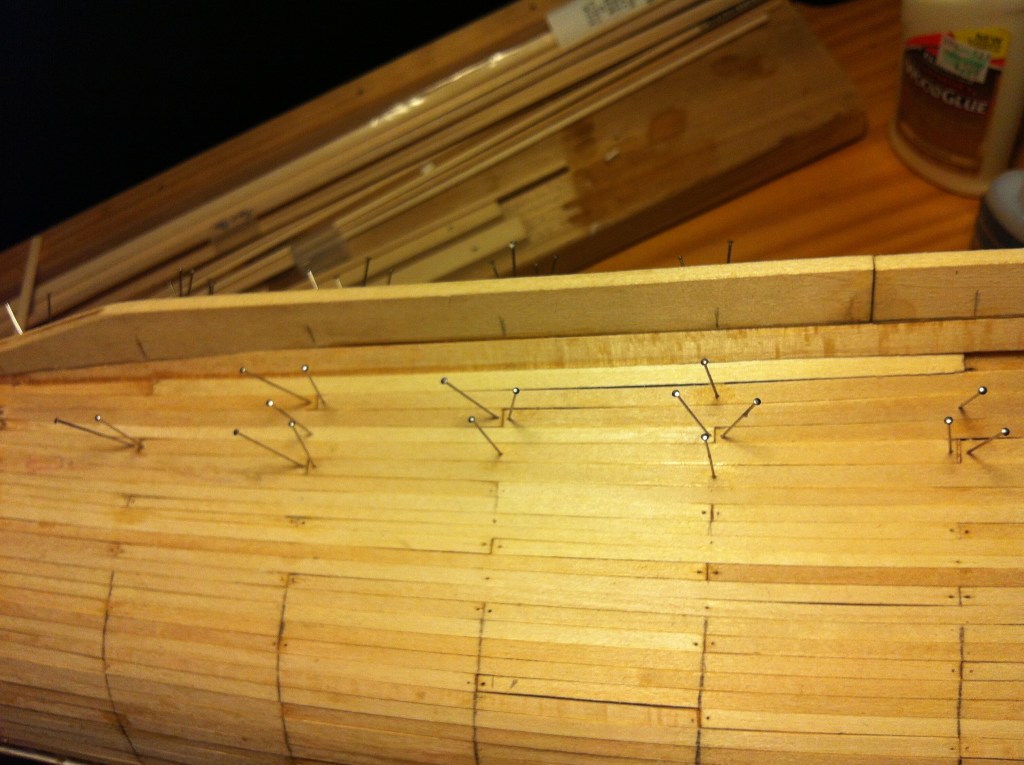
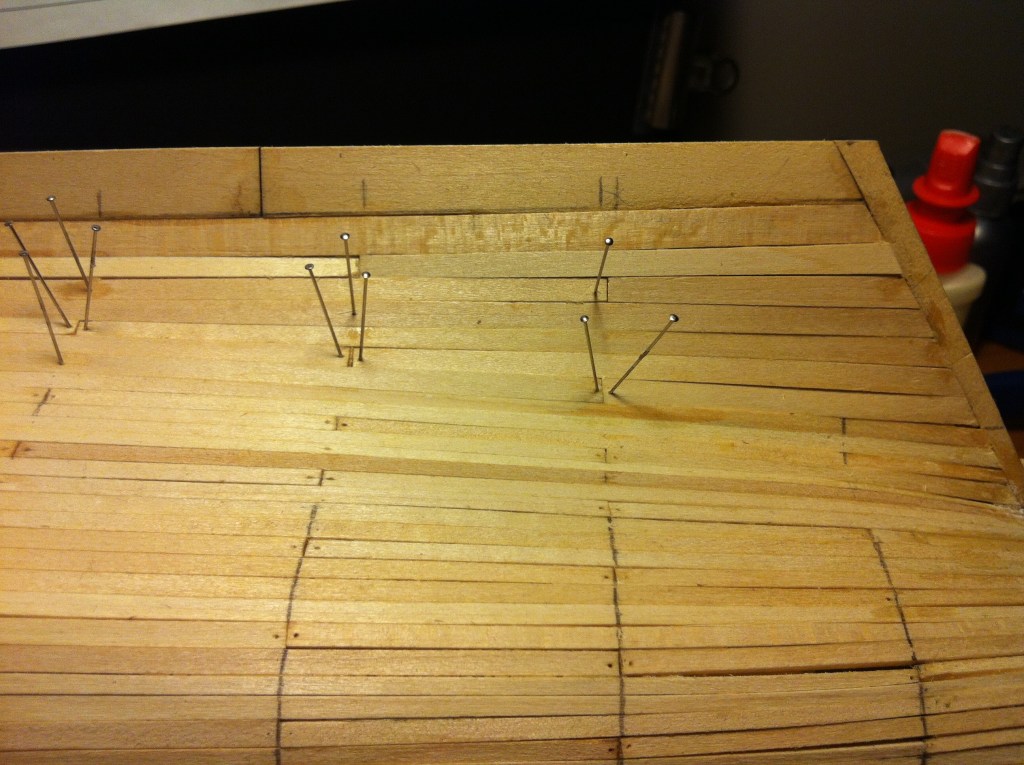
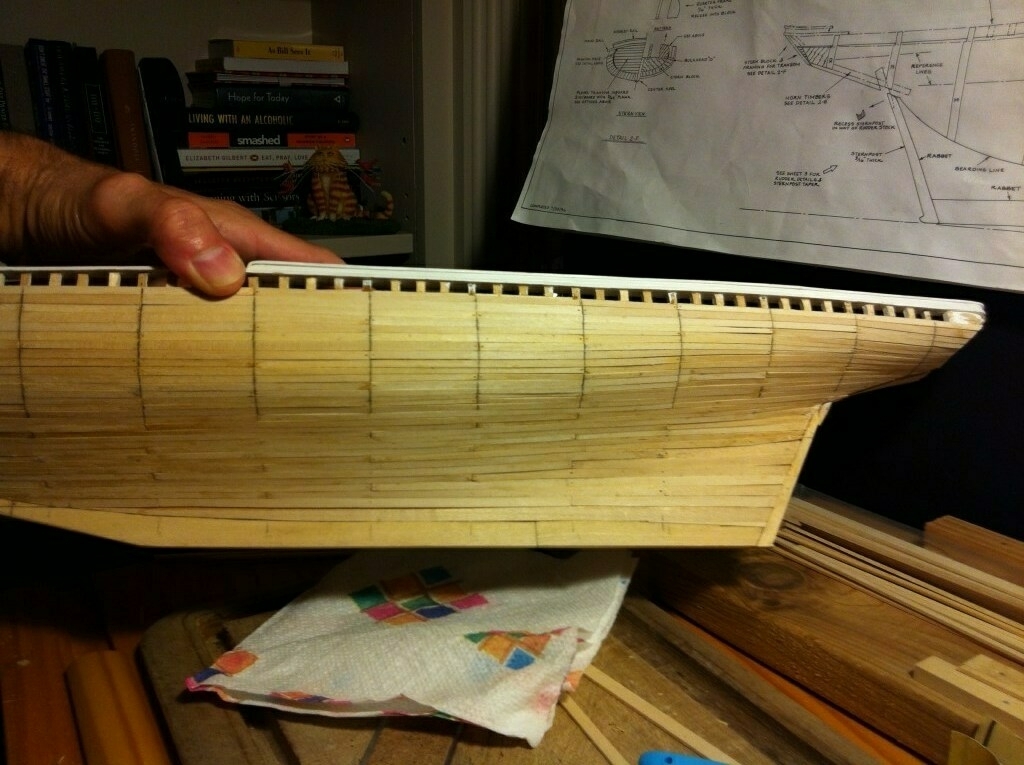
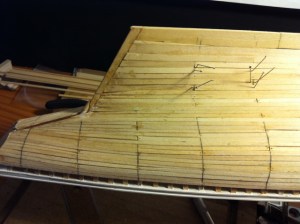
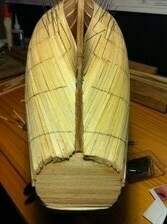
This is the deck before it was planked. The hull is finished, now it was time to do the deck. 

Starting to plank the deck of the Bluenose model ship

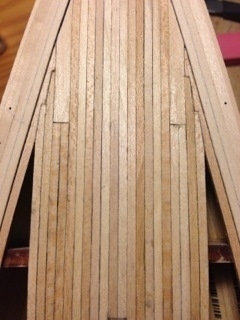
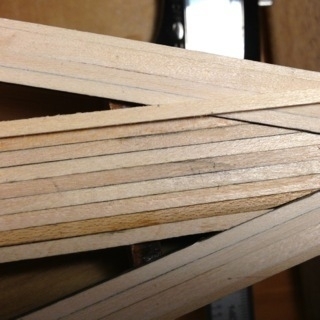
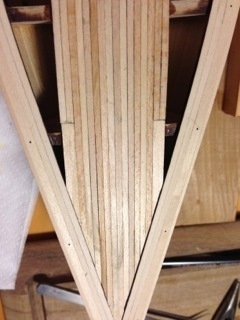
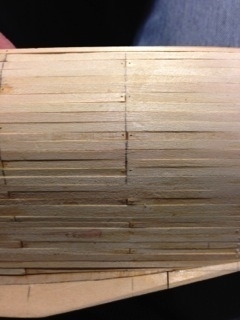
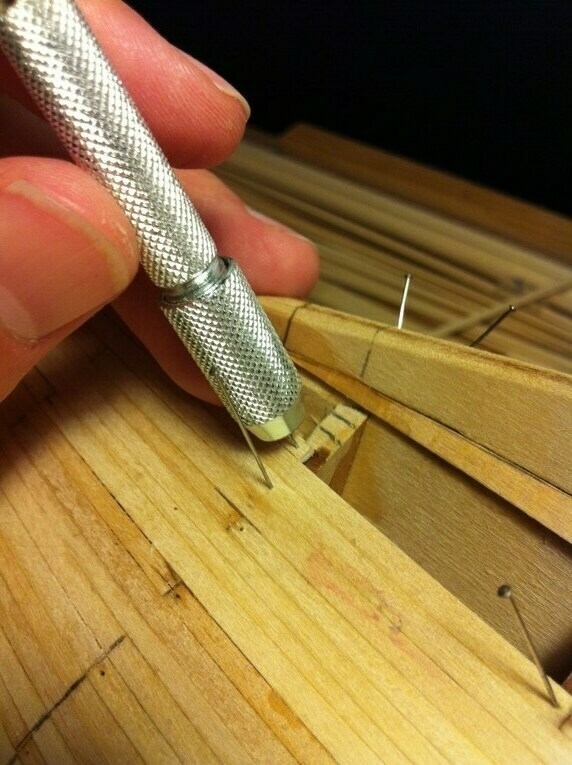
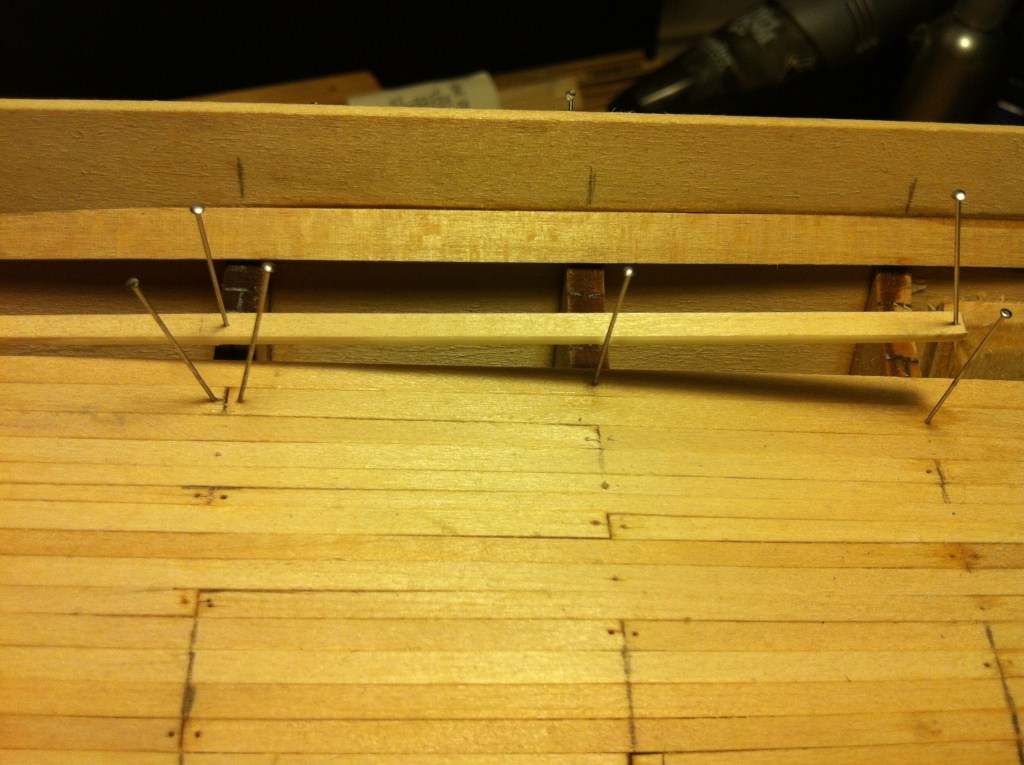
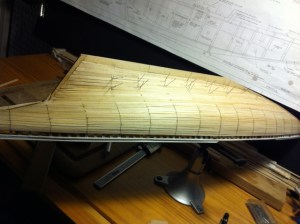
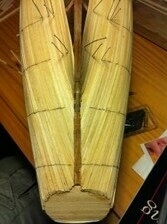
This is how the deck was planked. Unlike the hull where it was a bunch of shorter pieces, the deck planking I did in long strips about half the length of the boat. 

Deck planking of the Bluenose model ship completed and stained.

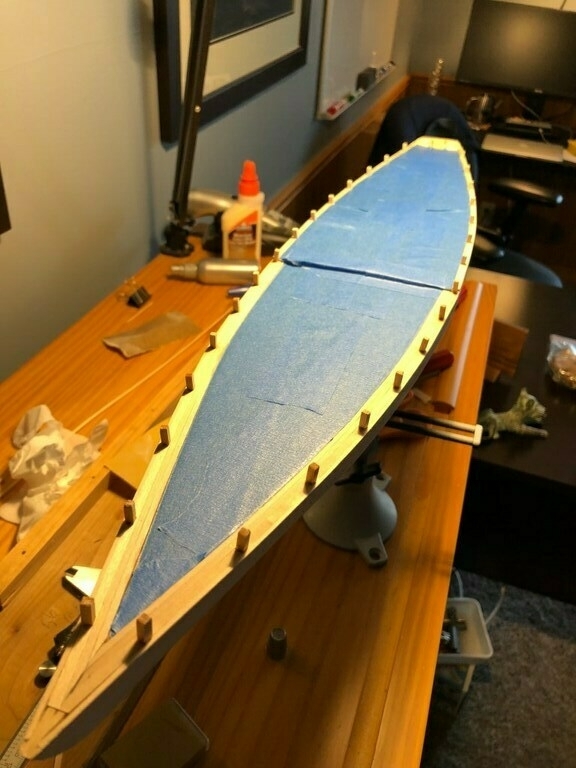
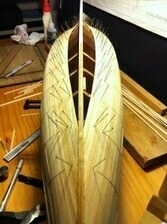
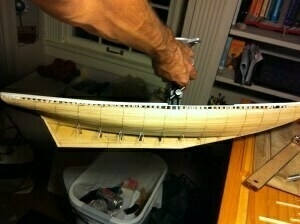
All the decking is finished and stained. 

The hull of the Bluenose model ship being painted.

Here is the hull in the process of being painted. As you’ve seen elsewhere, it was black on the bottom, red on top, with a yellow stripe between the two, topped by white rails. 

Bluenose model ship with some of the deck housing being put into place.

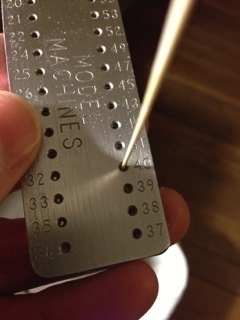
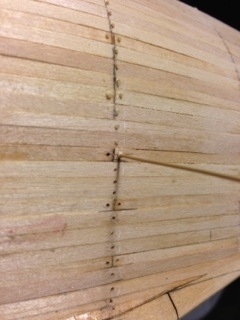
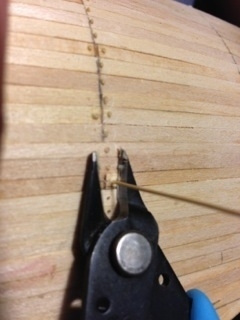
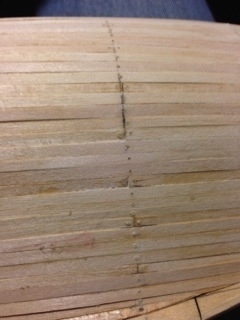
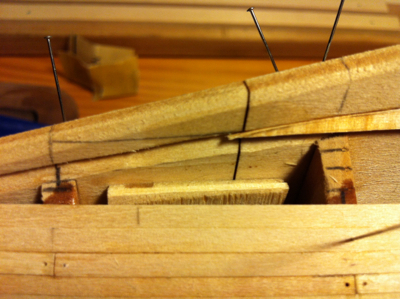
Making more progress. This is from 2020 - 8 years after I finished the deck After the deck was done, I had to do all the stanchions (the little bits of wood sticking up from the deck holding up the rails) and then reshape and install the rails along the top. Was quite tedious. Then I finally got started on building all the deck housing stuff. Each of those things, hatches, entry ways, etc. are all fashioned from scratch. 

Close up picture of the winch and other deck machinery at the bow of the Bluenose model ship.

Close up of the dorys on the Bluenose model ship.

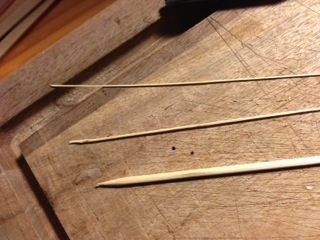
A couple of close ups of some of the stuff I had to build on the deck. Up top is the winch for hoisting the anchors and the gaffs. Below are the four Dorys I had to make from scratch. Yep, each one is individually crafted with ribs and planked. I made those little tiny oars myself too. Each one is about 1.5” long. 

The bowsprit of the Bluenonse model ship

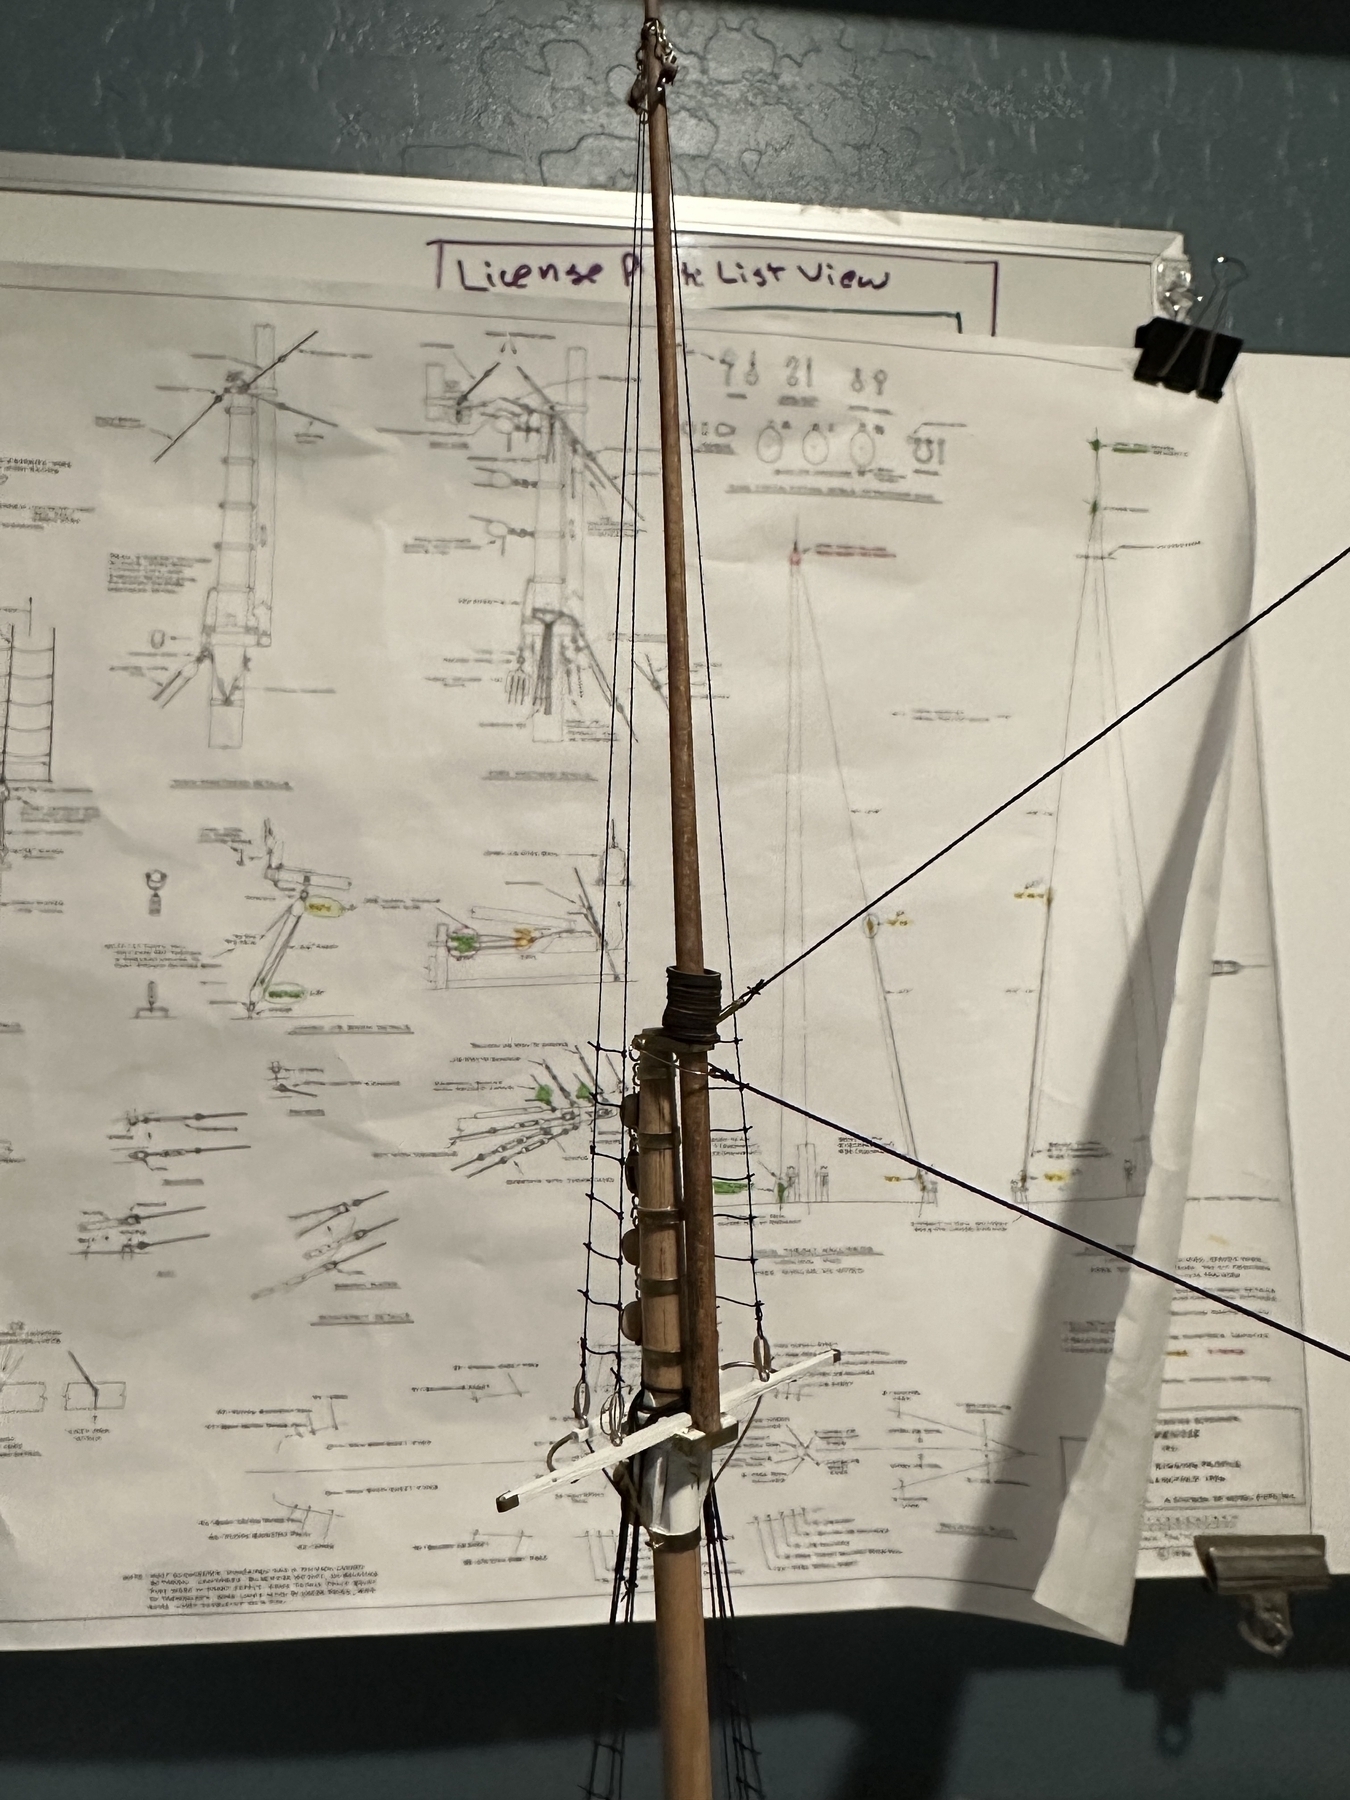
After all the deck stuff was done it was time to get started on the masts. This is the bowsprit. 

Picture of the 2 masts on the Bluenose model ship

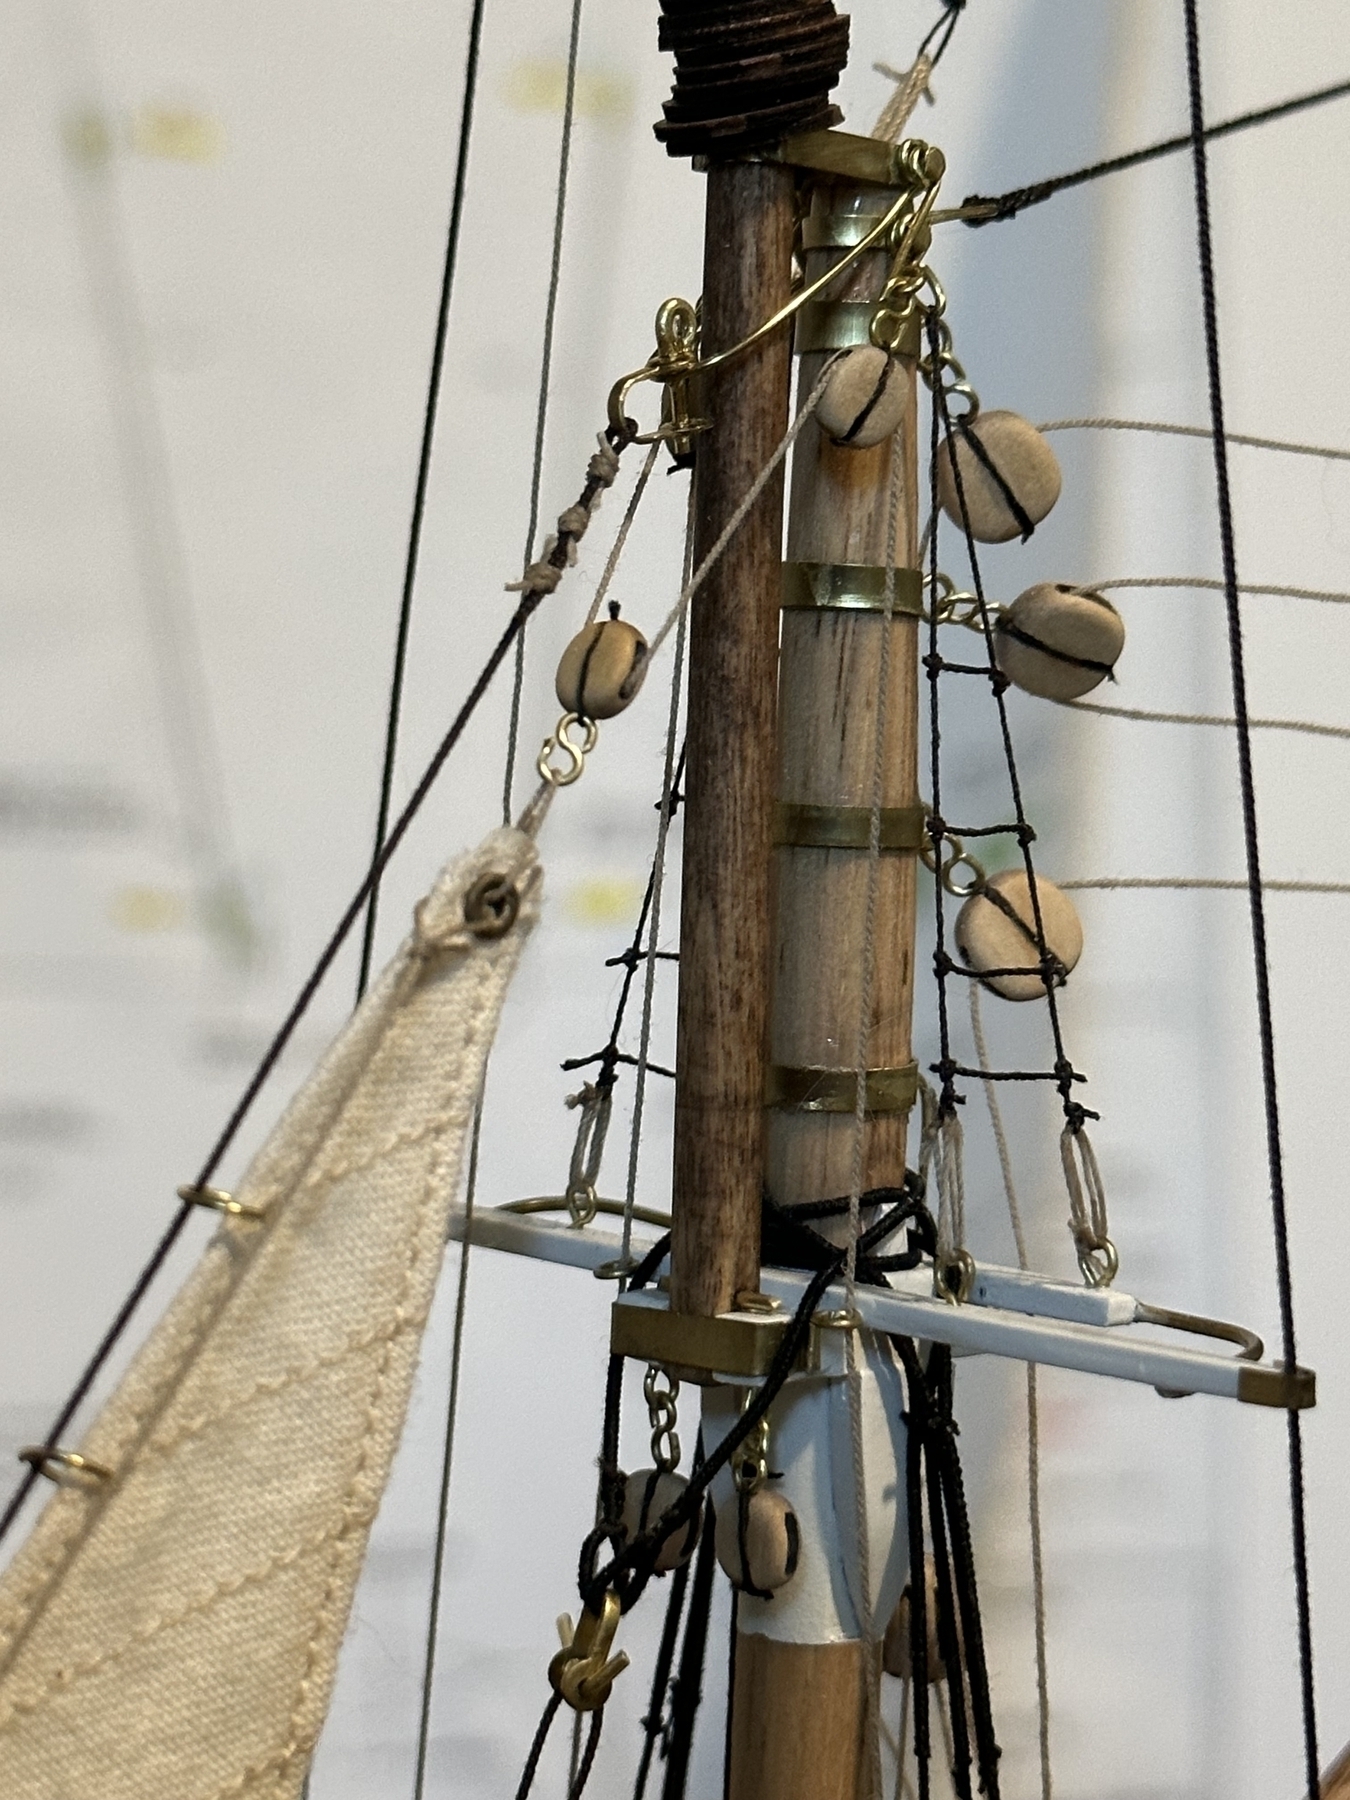
And here we see both the fore mast and main mast with their mast hoops in place. 

After the masts were completed and installed, it was time to start rigging. 

Close up of the ratlines on the fore mast.

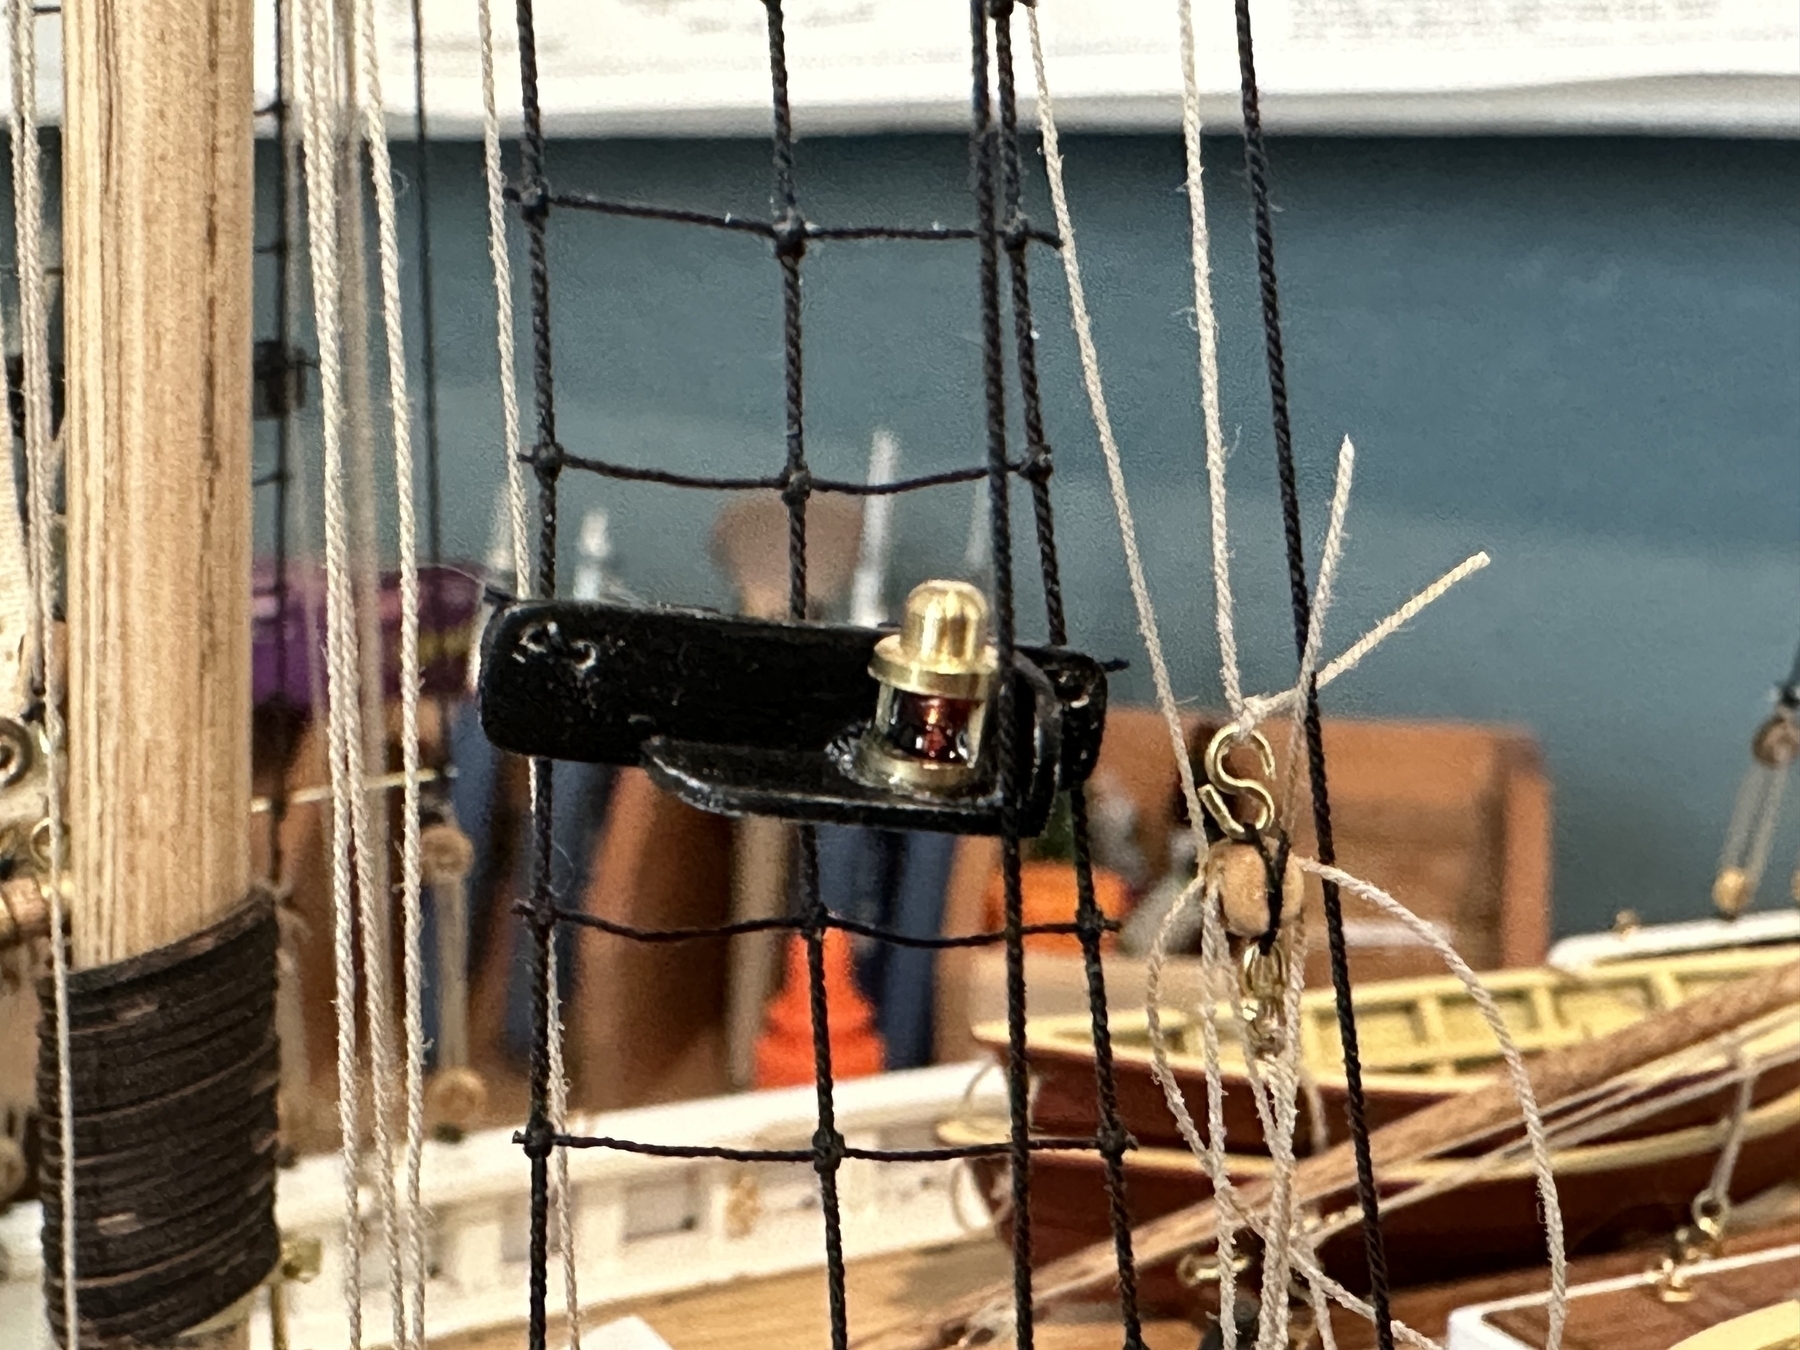
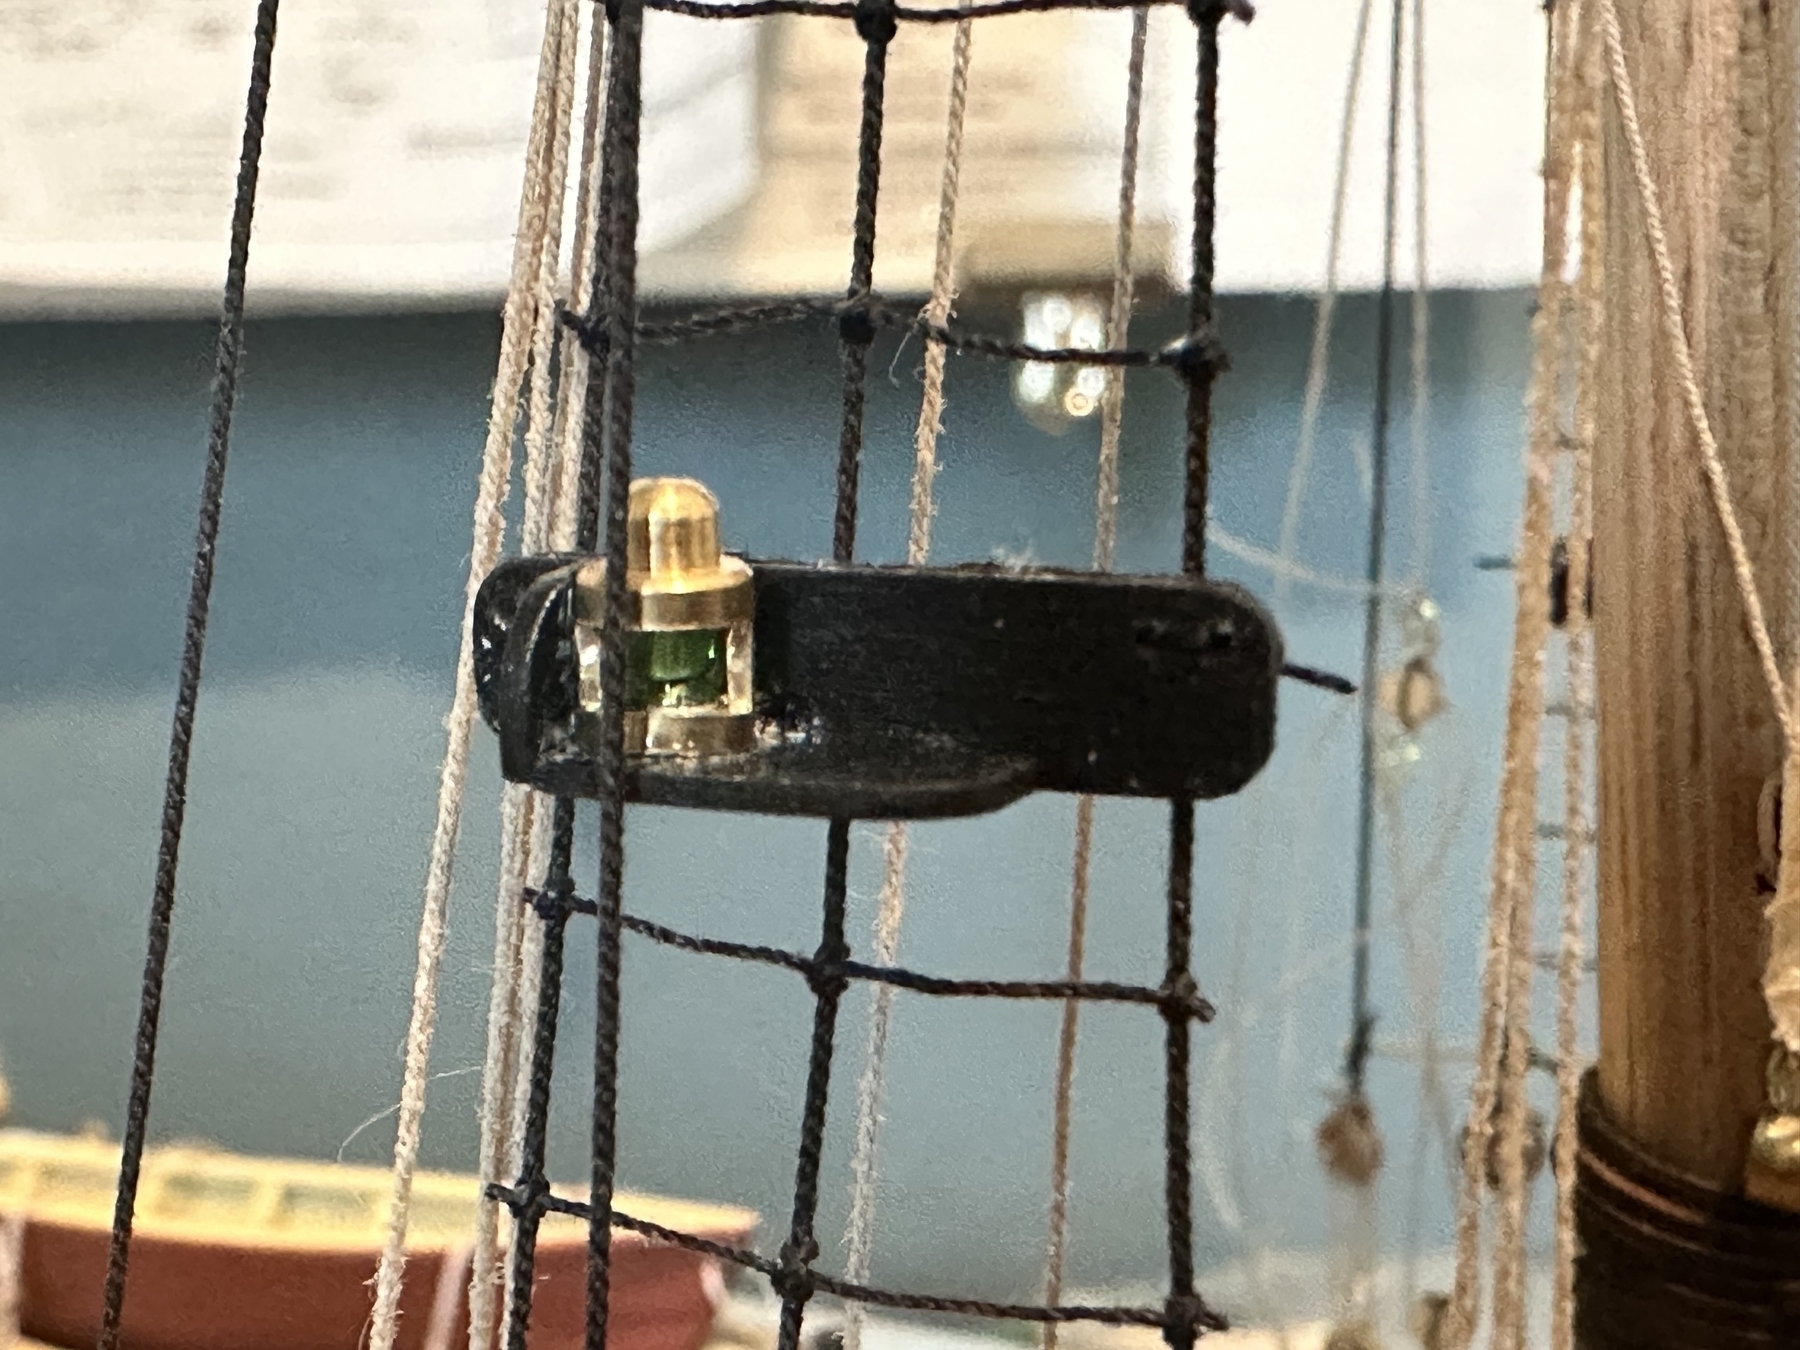
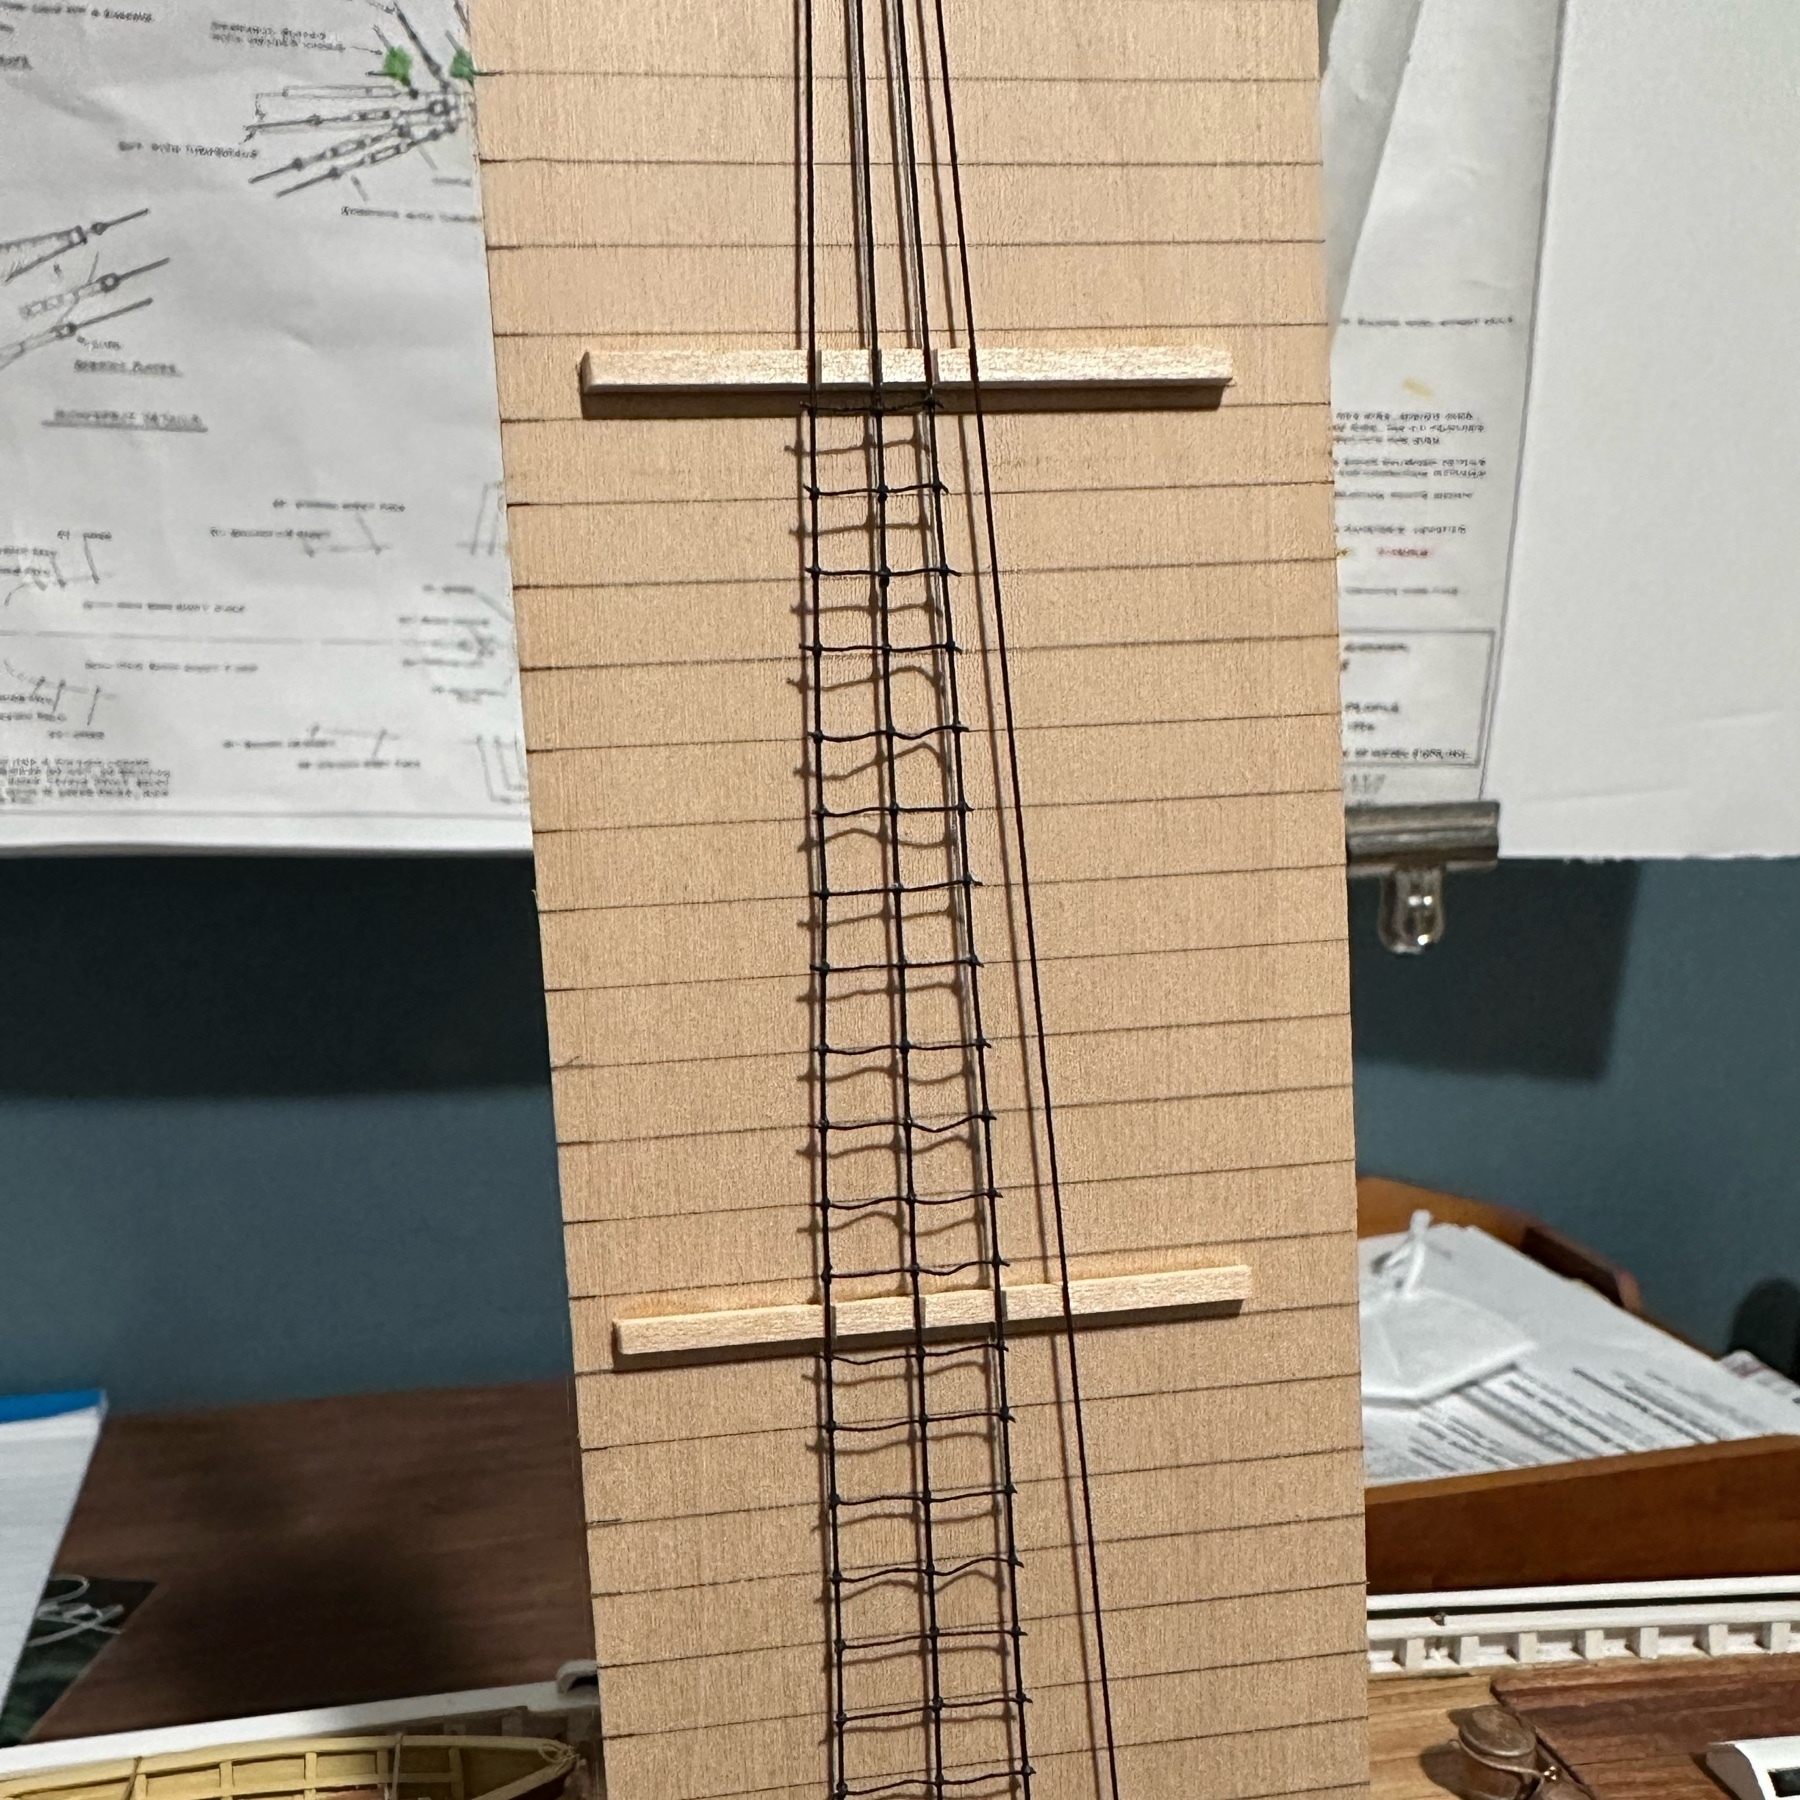
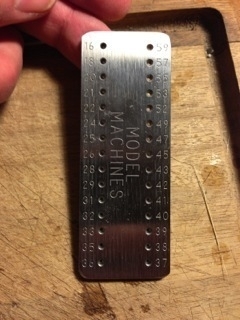
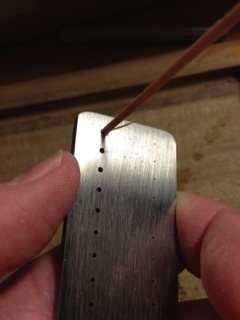
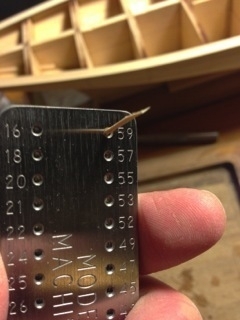
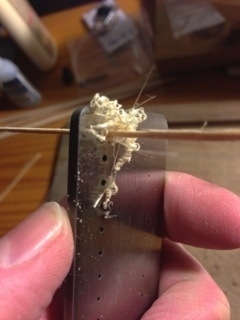
And here I’m working on the ratlines that both help to stabilize the masts and allow a way for the sailors to climb up them to get to the sails on the top. This here is from 2023. 

The jib and jumbo jib of the Bluenose model ship

The foresail of the Bluenose model ship

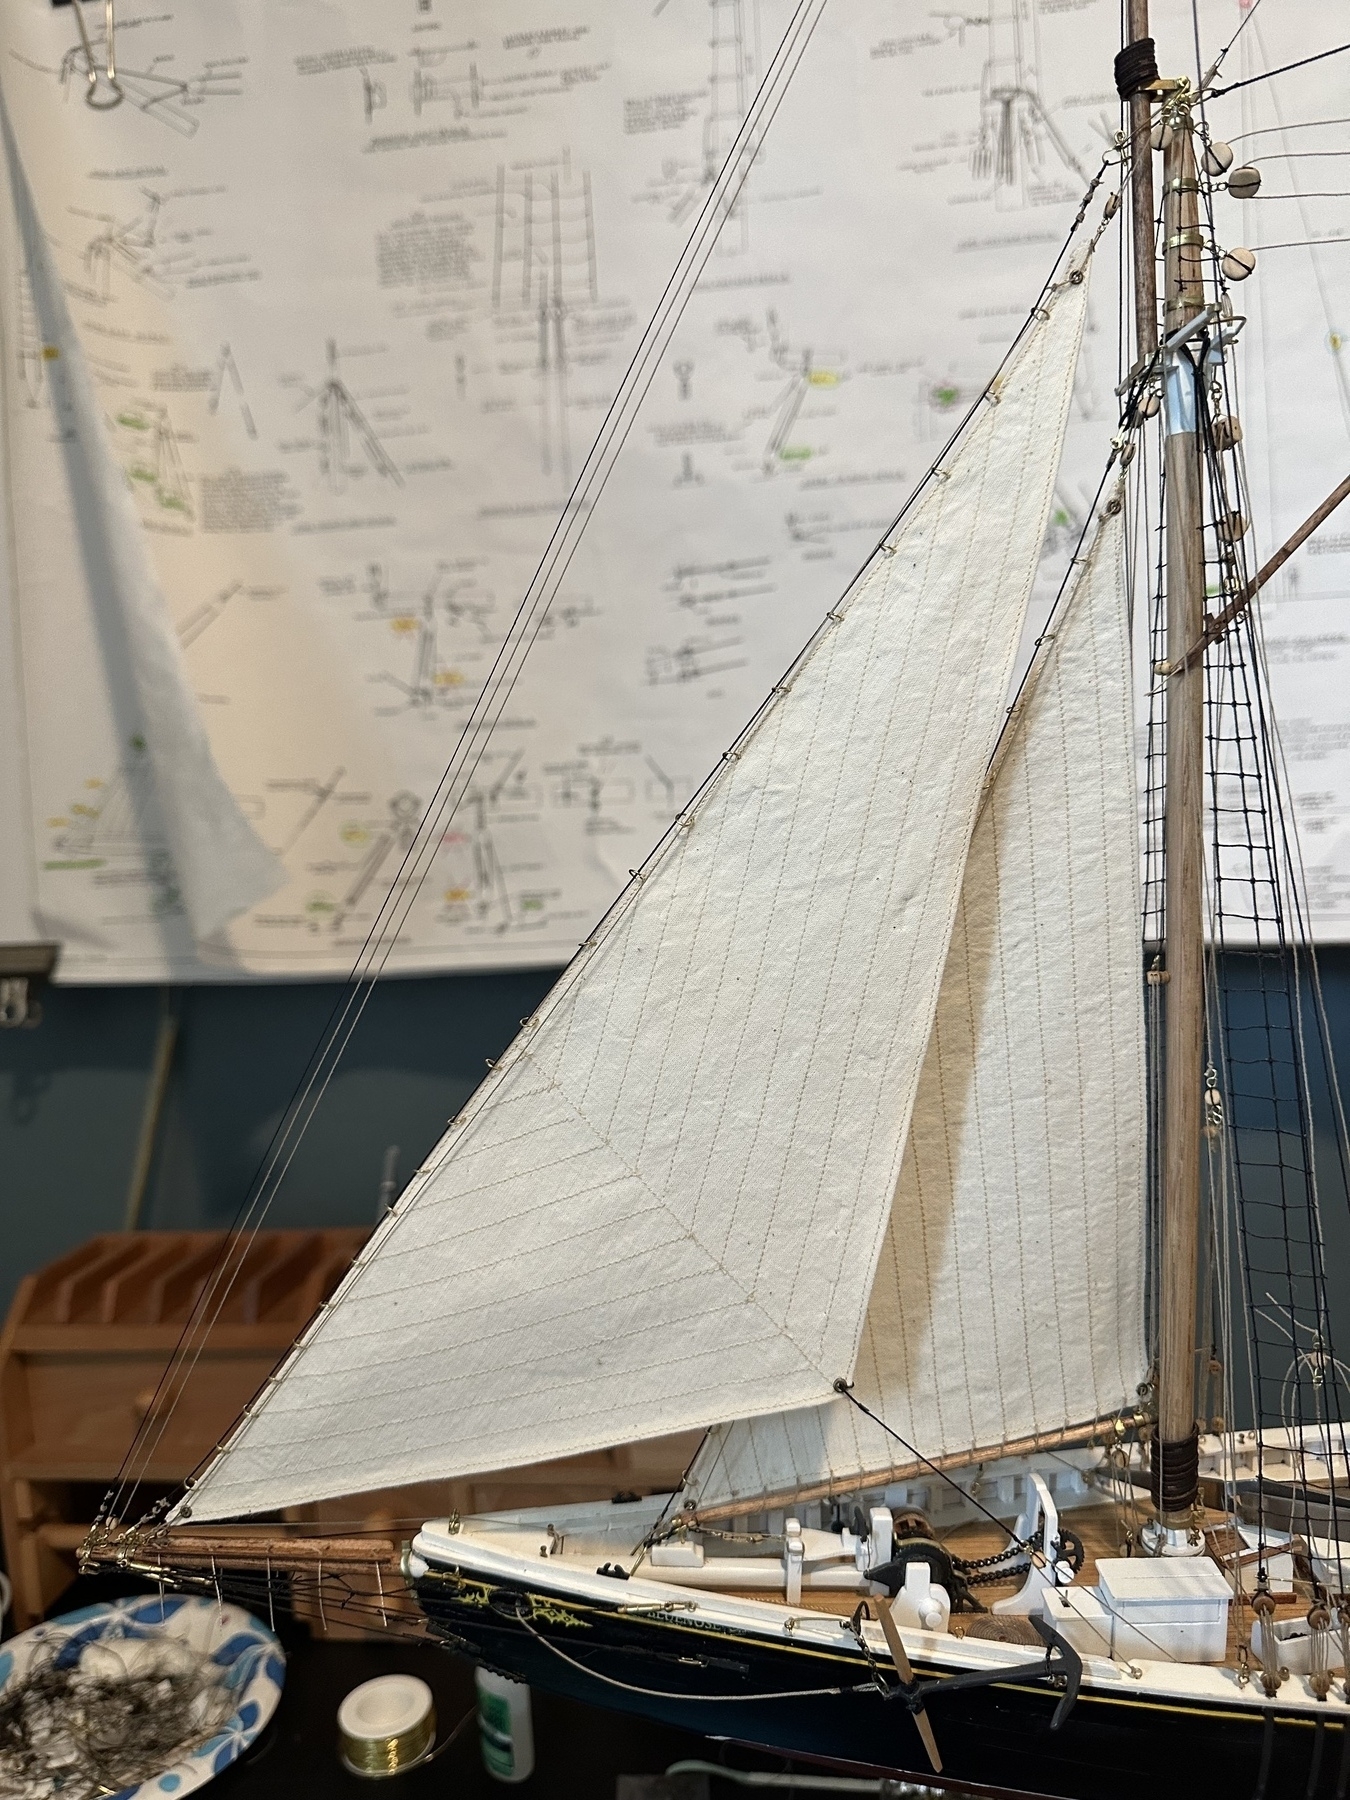
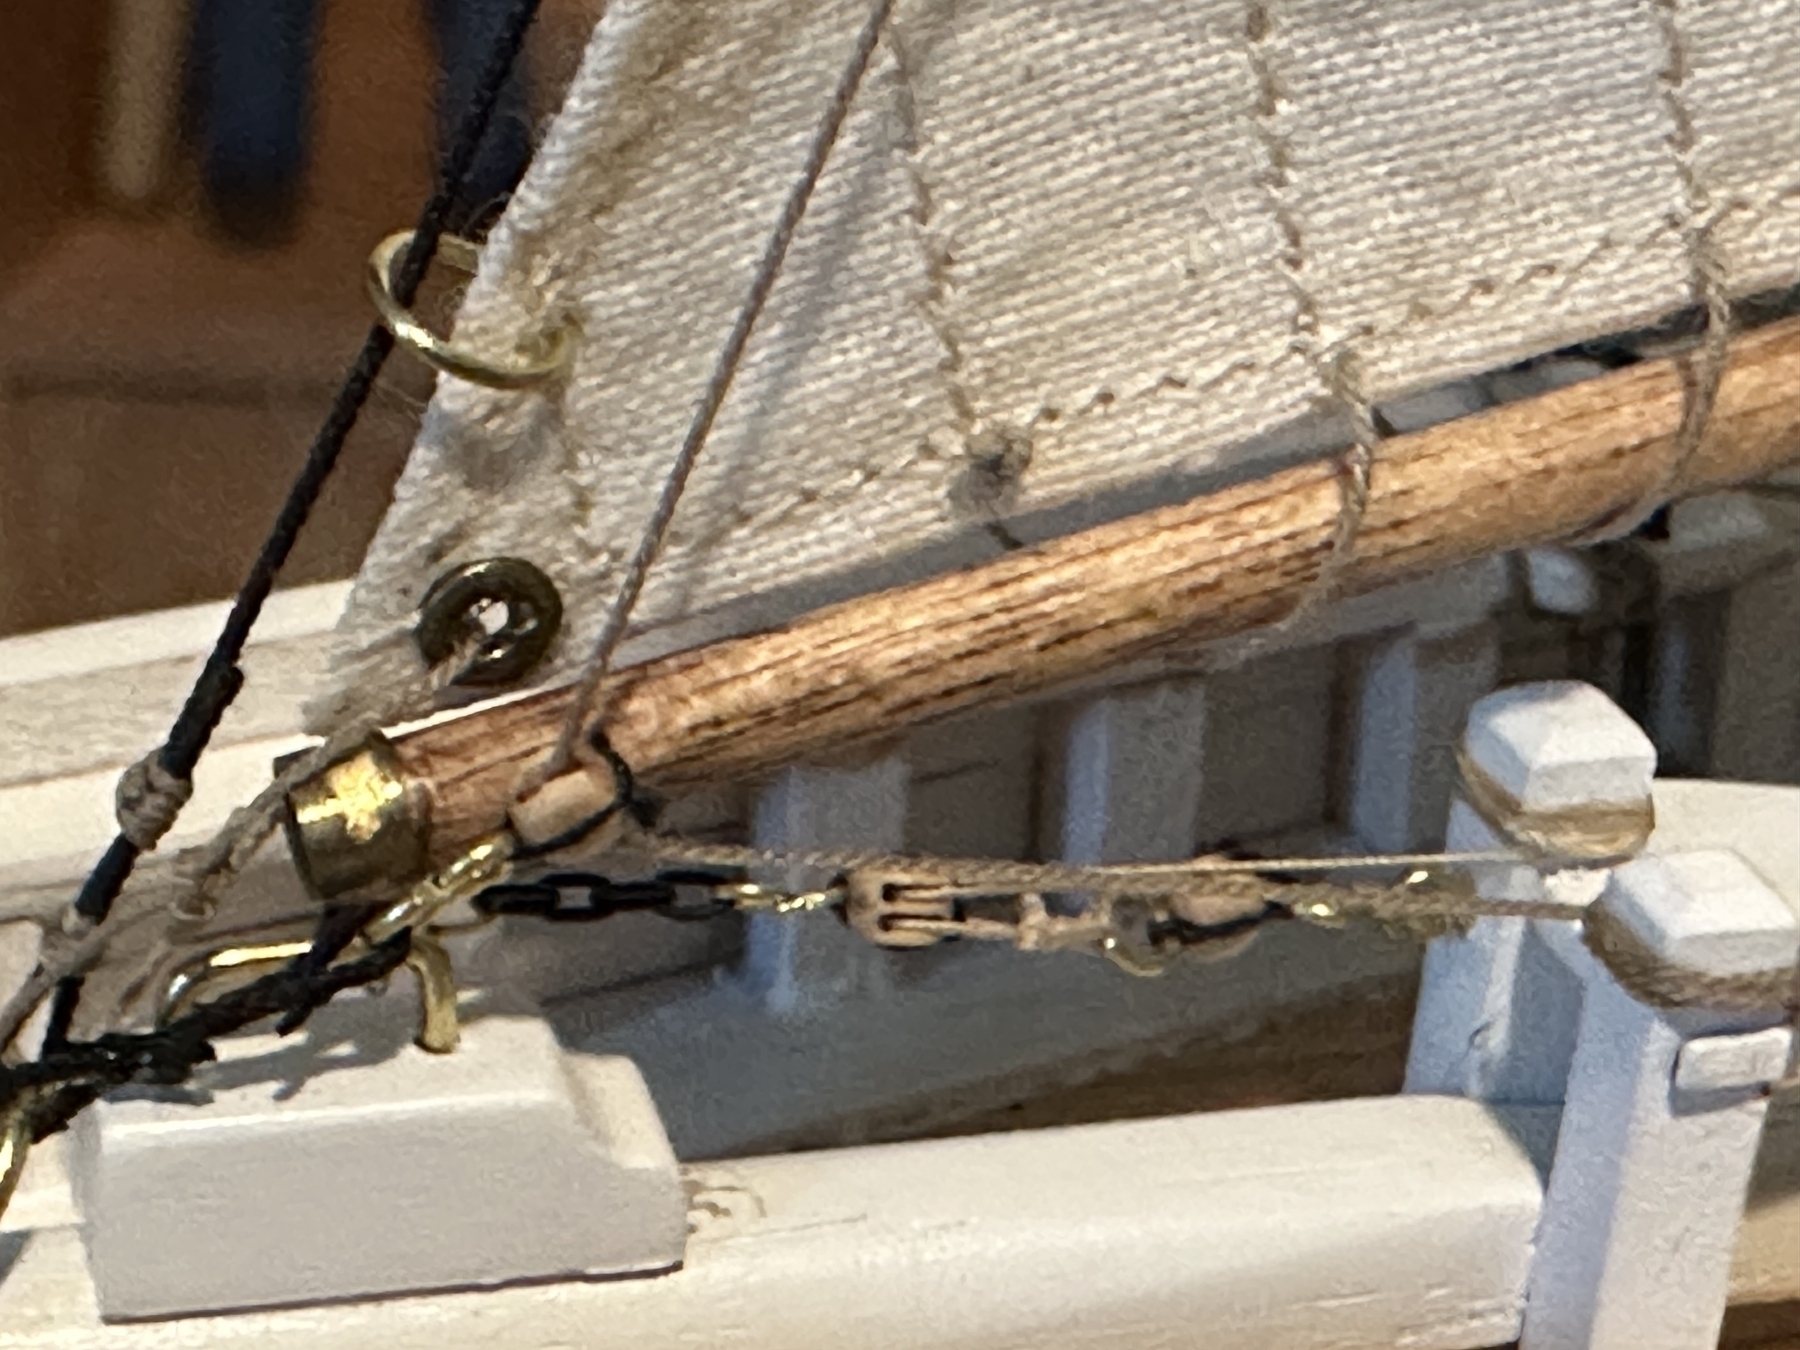
Finally getting to the sails. 

And finally it is finished. 

Picture of the completed Bluenose model ship.

That’s a brief summary. If you go to my archive page, you should be able to  see all my boat-related posts from over the years. I haven’t been very consistent about documenting my progress and there are lots of gaps. But you can see a lot more of my early work on the ship. I hope you enjoy looking at all this. 

Take care, 

JIm

Finally Finished

It’s finally finished.

Picture of completed Bluenose model ship on stand beneath picture of the current Bluenose II

It’s actually been done for a while. I finished it up just before Christmas and never posted about it. I’m really happy with how it turned out. It’s been a long, long time in the making. Actually a bit proud of myself that I stuck with it and completed it. Feels good.

It’s proudly on display in our hallway beneath a picture of the current Bluenose II that resides in Lunenburg, Nova Scotia. My wife got me that picture for Christmas of 2022 for exactly this purpose. I enjoy walking down the hallway and saying, “Hi boat!” on a fairly regular basis. 

We went up to see the Bluenose II in September. Looks like I never posted about that. It’s a fairly close replica of the original that is still functioning. We got to sail on it on a harbor cruise. It was pretty darn amazing to see in real life things I’ve been working on for years in miniature. 

That’s all for now. 

JIm

Latest Bluenose Update

Been a bit. Finished up the topping lift and topping lift tackle several days ago. 

Close up of topping lift and tackle on Bluenose model ship.

Today I just finished up the mast mast hoops on the main sail. 

Close up of mast hoops on main sail on Bluenose model

All that’s left are the quarter lifts and the flag halyards and then the ship is finished!

JIm

More Work on Main Sail

Main throat halyard and main peak halyard rigged. 

Close up of main throat, and main peak halyard rigging.

Also rigged up the main boom sheet (the triple block in the middle), and boom crutch tackle (the two on the sides). 

Main boom sheet and boom crutch tackle rigging on Bluenose model ship.

Just need the boom lift, and the quarter lifts and the rigging is complete. Getting closer. 

Fore sail is finally finished!

View of fore sail on Bluenose

Three down, one to go. 

IMG 1209

Mast Hoops!

Got all the mast hoops on the fore mast tied to the fore sail. 

Mast hoops on fore mast

Running Lights The ship gets red and green running lights on the sides. I ended up losing the die cast ones that came with the kit so I bought the little brass ones and stuck a red and green glass bead in them. Then I built the little platforms they rest on and finally got them mounted.

Red port running light mounted to ratlines. Green starboard running light mounted to ratlines.

Finished the Jib Got the jib sail back on and completely rigged. We discovered we messed up the stitching on the first one we did so had to take it off and re-do it. Kudos to my wife for being a sport and remaking the sail. 2 down and 2 to go! It’s looking good.

Jib and jumbo jib sails on Bluenose model shipClose up of jib sheet rigging

And the in haul and down haul at the front of the sail.

In haul and down haul

Up top showing the blocks for the jib halyard. I think this is so cool looking.

Jib halyard

After a bit of a pause for some travel I’m back at it. Main top mast shrouds and ratlines are done.

Another section of ratlines done.

Back to Boating

I’m back to boating! Got off my butt recently and got started on it again. From the last blog post from, gosh, 2013 I was working on the nibbing strake on the foredeck. Wow, made a bit of progress since then.

First off, I got the aft deck completely planked.

Then I stained the whole deck

Why stain the deck now you ask? Well, the next step is to add the stanchions back on, finish planking above the waterway and paint all that white. By staining the deck now, I think it’ll make it easier to mask the deck and paint all the rest white. At least, I’ll find out eventually.

Next I had to re-attach all the stanchions I cut off before (see earlier post about creative destruction). So I built these guides I stuck to the outside so I could use them to make sure the stanchions all lined up properly.

As you can see, I think that worked. Also note my beautifully stained deck is now completely covered in blue painter’s tape. This is because once all the stanchions are on and the final two rows of planking are installed and the new rail put in place, I’ll have to paint all this white. And I’m gonna use spray paint for that.

Last but not least, I’m cutting notches (I’m sorry, scuppers), in my planks.

You see, the next row of planking has to go even with the waterway and there are supposed to be little tiny notches, I mean scuppers, cut into those planks on either side of nearly every stanchion. So, I laid out the planks, marked where all the stanchions are, measured and marked where all the fake stanchions will go between all those currently in place and now I’m cutting notches. I’m actually using a small file to file out those notches. Each one you see there is about 1/32” wide. Kinda small.

That’s it. Last of the updates for now. I hope to keep on working and keep on blogging about this. Feels good to be back into this.

See ya!

JIm

The Nibbing Strake

You may recall, when we last left off I was about to embark on making the nibbing strake.

To refresh your memory, take a look at the picture below:

You see how in the bottom left corner the planks no longer run smoothly into the waterway, but instead are notched in. That notching is called nibbing, and the plank into which the deck planks are notched is called the nibbing strake. Why is this done? Well, on a real boat, as the angle between the deck planks and the waterway becomes more acute, the deck planks would be coming to sharper and sharper points. Attaching and sealing such narrow strips of wood would have been too much trouble on a real boat, hence they just cut them off square and notched them into the nibbing strake. So, to maintain realism, I am supposed to notch them in the same way.

I was a bit stumped at first. I didn’t quite know how to measure and cut them to size so that they would look good. Well, Google to the rescue! I was able to find a site that described the process well enough for me to copy it. That’s what I’ll describe here.

Step one is to lay out the next plank over the top of the nibbing strake and mark where it should end. Cut it off there.

Then, lay the plank back down and mark where it just begins to overlap the nibbing strake.

Now, on my boat, I wanted the end of each plank to be one-half the width of a full-sized plank, so I marked the mid-point of the plank and then cut the plank on a straight line from where it overlaps the nibbing strake to the end. (After I completed all this, I found another post that suggested making a jig you could lay the plank in that would cut them all to the same width. Darn! Should have found that one earlier!)

Next, lay the newly cut deck plank back over the nibbing strake and mark where it overlaps.

Now, carefully cut the nibbing strake along that line. I was so nervous doing this the first few times. I did not want to mess this up because then I’d really want to rip it out and start all over again. You should then have a nice notch where the plank will fit perfectly!

Here you can see I’ve gotten a couple planks done on both sides of the boat. Looking pretty good if you ask me!

Making more progress. As you can see, I didn’t do such a good job on a couple of them and the gaps between the planks and the nibbing strake are a bit wide. Hopefully a little wood filler will take care of that.

Finally, the fore deck is complete!

Notice how the last two planks are just little wedges. Those were kind of a pain to put in place properly. They took a bit of cutting and sanding to make sure they fit right and could be glued in place. Overall I really like how it turned out.

Sanding and staining come next. Stay tuned!

JIm

Planking the Fore Deck

Now it’s time to move on to planking the deck! I’ve decided to start with the fore deck (the front half of the boat).

Unlike the outer hull, when planking the deck, you work from the inside out.

Here I’ve laid the first two deck planks right down the middle over the center keel of the boat frame. Luckily(?) the width of the two deck planks together equal the thickness of the boat framing so that made it easy to lay two deck planks side by side and make sure they line up exactly over the center of the hull.

From there the process was pretty easy. Just keep cutting and laying on some planks.

What is that big “X” in the middle of the deck you say? Well, there are going to be two masts on this boat: a fore mast and a main mast. The masts must go through the deck and fit into slots in the hull frame.

Above is a picture of the slot where the main mast will fit. The big “X” on the deck marks where the slot for the fore mast is below deck.

So when I’m all done with planking the deck, I’ll have to drill a hole in the deck right at the “X” for the mast to fit. Hopefully I’ll get it right!

Back to planking, first I lay out a new plank next to the existing planks and mark where it overlaps the waterway.

Then cut on the marks and make sure it fits.

Like before, I then color one edge of the plank with a pencil. Recall, this is the way I’m simulating the caulking that would normally go between the deck planks. When I’m done planking, sanding and varnishing the lines will show up and look like caulk.

Then a little Elmer’s glue along the other edge and fit the plank in place.

A drop or two of super glue on the bulkheads to hold it in place. I’m trying real hard not to get any on the deck itself. The super glue ends up discoloring the wood and hardens it some too. Later when I sand, it won’t necessarily sand smoothly. I’ve not always been successful in avoiding that. You can see a bit of it in the picture.

Keep working outward.

Here’s a close up of the plans I’m following. Each sheet is about 2 x 3 feet and is drawn actual-sized. Notice the weird double-width plank on the plans marked “7” in the picture. Those are there because there is going to be a big winch mounted on the fore deck and this double-width plank is where the winch legs will be mounted.

Well, I’ve got those in place.

That’s it for today. The decking is going much quicker than the hull planking. The next step is the nibbing strake! If you look up above a little bit at the picture of the plans, you’ll see after that double width plank there is another plank along the waterway that is notched out to accommodate the deck planks. This is called the nibbing strake and will be the topic of my next post!

Stay tuned!

JIm

Sanding & Priming

Just a minor update here. I’ve been working steadily on the boat actually, but there just isn’t too much to show you.

After completing all the trenailing I had to sand the hull all smooth.

After some sanding, I then took some wood filler and filled in all the cracks. I wasn’t looking to create a perfectly smooth hull with the filler because then that would just end up hiding all the trenails and other work I did. And it wouldn’t look like a wooden boat, it would look like fiberglass.

Finally I ended up with this.

Then cam time to prime.

First, I wanted to mask off the deck. That part is going to be varnished to keep the natural wood look.

Then, several coats of white primer with sanding and cleaning in between and it is all ready for its real paint job.

That will come in a bit once I am done planking the deck, re-adding the bulkhead stanchions and then finishing the planking above the waist.

Next time, planking the fore deck, stay tuned…

JIm

Making Little Sticks

As promised, here is a little tale of how I made all the little sticks I needed for the trenailing featured in the last post.

After some research, I learned that the best way to do this is by using a draw plate and bamboo skewers. For those who don’t know, a draw plate is typically used to create wire. You stick a piece of wire into a hole slightly smaller than the wire currently is and pull it through. This will stretch it out and make it narrower. Repeat this process until you have a wire the diameter you want. This same process can apply to whittling bamboo skewers down to a needed size.

So I did. Start with a bamboo skewer and split it into several smaller skewers.

And now onto the draw plate.

I actually started with a different draw plate that wasn’t too well made. The holes in it weren’t very consistent and it didn’t work too well. So, I bought the one pictured above. Great draw plate. The numbers you see are thousandth’s of an inch.

Since we aren’t stretching wire but instead shaving bamboo, you use the draw plate “backwards”; by putting it through the back end.

When it sticks out the other side, I grab it with a pair of pliers and pull.

This generates lots of little wood shavings.

Basically repeat the process moving from one hole down to the next one. Sometimes it would take several pulls through to get it fully narrowed down before I could move to the next one. Since the drill bit I was using was .028″; I kept this up until I got down to the 26 hole.

Here is a shot of about what it looks like in a few stages.

I actually completed all the trenailing and have been working on filling, sanding and smoothing the hull. It looks good. I’ll post about that next.

JIm

What’s Wrong with this Picture

Below is a picture of my boat work area. What’s wrong with this picture?

Notice the garbage can next to my desk? Very convenient. What you may not know is that the desk is somewhat unstable (it wobbles) and when it does so, things tend to fall off the edge of the desk right into that garbage can. See the sanding block on the edge of the desk? That is not my original sanding block. That is a replacement for the one that (I presume) fell into the garbage can and got thrown out with the trash (unbeknownst to me). Notice anything else missing? Of course not. I didn’t either until this morning while cleaning up a bit when I noticed that the instruction book for the boat is missing! Now I’m thinking that the sanding block and the instruction manual ran off together to have a torrid affair. :-( Sigh.

May not be a big deal. Model Expo (where I bought the boat) has the instruction book available for download as a PDF. I’ve done that and printed it out, so it’s almost as good as new. I just miss the old instruction book. It was all wrinkled, written in and glue spattered. The newly printed PDF just isn’t the same. But, at least I can still build the boat!

JIm

Trenailing

Yep, it’s pronounced tree-nailing because that is what I am doing. The planks on a ship are usually held in place with wooden pegs driven into the ends of each plank and into each bulkhead the plank spans. So, to simulate that on the Bluenose, I have to get a bunch of little sticks, drill holes in all the planks at each bulkhead and glue them in place. How small you say? How does .028″ diameter grab ya?

I’m doing this in columns at each bulkhead. While planking, I was drawing a pencil line along each plank so that I knew where each bulkhead was. I kind of stopped doing that toward the end of the planking.

First step is to drill holes with a .028″ drill-bit stuck in my dremel tool. Handy little thing.

I used painter’s tape to mark off a straight line along the bulkhead so that I could keep all my trenails lined up nicely.

Then drill.

Ta-da!

Once that’s done, I take one of my small sticks and dip it in some Elmer’s wood glue.

Then stick it in a hole I drilled.

Snip it off with my handy Xuron clippers.

And repeat until an entire bulkhead is done.

Then I sand it smooth and move on to the next bulkhead. The process actually goes pretty easily. I’ve got one side completed entirely by now and am about half-way done with the other side. The most difficult part of the whole process was making the little sticks out of bigger sticks. I think that will be the topic of my next post.

JIm

Before & After Update

Well, I’ve been working on my boat some, just not posting here very much. Thought I’d give you all a before & after update.

When I last left you, I had just completed some creative destruction.

Which resulted in the boat looking something like this.

The next step was to smooth things out across the top of the bulkheads. Recall that the point of all this was to give me a smooth, level surface on which to put new stanchions and the last of the planking. So, how to sand smooth that curved surface of the deck? I came up with this idea.

Since the bulkheads were provided to me laser-cut, I still had the leftover frame from around the bulkheads (See! It’s important not to throw anything away!)

I figured that I could use those already pre-curved pieces of wood to make a sanding block. So I cut them all out. Stacked and glued them together.

And then glued a piece of sandpaper to the curved surface and voilà! A perfectly curved sanding block!

The next step was to start re-attaching the waterway. These are the deck planks that run between (cough, cough) the stanchions and for a couple of rows inboard. These are typically thicker than the regular deck planking. So, this is what I ended up with.

Another feature I implemented when installing the waterway was to color the edges of the wood with pencil. Why would I do this you ask? Well, on a normal boat, there would be caulk between the deck planks that is normally a darker color than the decking. I read online that an easy way of achieving this look is to color one edge of each plank with a pencil. Then, when sanded and finished, thin dark lines will show up between the edges of the decking and look like caulk!

That’s it for this update. Next up, trenailing! (I’ve said that before!)

Jim

Before & After

Before:

After:

It’s been what, 4 months since I last posted here. A variety of things interfered with my posting, vacations, work on apps, etc. but the biggest reason I’ve not made any progress on the boat and on the blog has been my unwillingness to face reality.

In my last post I claimed I was done planking. Well, that turned out not to be true. I had forgotten about the waist. The waist is a strip of planking that is to go between the rail (the white painted stuff in the “before” photo above) and the hull planking. This planking is half the thickness of the hull planking. The idea was to fit it in between the existing hull planking and the rail similar to what I had done in finishing the planking earlier.

Part of me knew this was going to be difficult at best. Despite how I made it seem in the previous blog post, fitting in that piece of planking was not going to be easy. The big thing was that the rail, the deck planking and the existing hull planking were not all straight and level to each other. When I put the rail on I really wasn’t thinking about how straight and level it needed to be and how it would affect, and be affected by other parts of the boat. I simply followed the directions and put the rail on as I was told. Now that I was at the point where I had to fit in this tiny strip of wood, I realized it just wasn’t going to fit. I knew what I had to do, but didn’t want to do it.

In retrospect, I never should have installed the rail. Being my first boat project, I’ve been diligent about reading the instructions, making sure I understand them and following them to the best of my abilities. I’ve even found places where the actual order of the instructions didn’t make sense and when I was sure they were wrong, I would do something out of order. Well, the instructions called for the rail to be installed before the planking and I saw no reason not to do so. I was actually really happy with the way it turned out. At least until I had to put in the waist.

With the little bit of deck planking not really being level, the rail not really being straight and level and the hull planking being mostly straight and level I knew it was going to be nearly impossible to fit in that waist strip. I knew that I would have to remove the rail and take everything down to the bulkheads. So, I walked away from the project and took a break. I went back several times over the past few months and tried to fit in the waist, to no avail. Each time I did so I would say to myself, “You know what you need to do Jim” but I didn’t want to listen. I’d put a lot of work into this boat and the thought of tearing it apart to make it correct was not something I wanted to do.

Well, I’m too much of a realist and in the end I faced up to it and started to tear it apart. First, I got off the rail and kept it mostly intact. I hope to re-use it later. I then ripped out all the waterway planking (a small bit of deck planking next to the bulkhead stanchions) and then cut off all the stanchions down to the deck level. Now the boat looks like the “after” picture above.

While difficult, I actually feel pretty good about this. I now know that I will eventually have a more solid foundation on which to finish the planking and then attach the rail and then finally plank the deck and build upward from there. I’ve learned in this project that the littlest error can compound itself over the long run and it is better to get it right from the start than to try to make up for it later. It only gets worse the longer you let it go.

Stay tuned. Now that I’ve faced reality and done what needed to be done, I hope to make more regular progress with the boat.

JIm

Planking Complete

Yay! I’ve finished planking the boat! I’m pretty excited that I’ve been able to complete what many consider to be the most difficult part of building a model ship (next to the rigging, I suppose).

I recently realized that I’ve just been posting pictures of the completed parts of my project and I thought I’d like to post more about the process. Below are some pictures of how I went about finishing the planking. Use your imagination, everything up to this point went pretty much the same way.


This is a close-up of the bow-end of the last belt. I need to fit six planks in that little space (it’s less than an inch wide).


This is the middle section. Notice the pencil lines on each bulkhead. Prior to starting each belt, I measured the width of the belt at each bulkhead, divided that amount by the number of planks needed to fill that space and then marked out those widths on each bulkhead.


As I plank, I use those lines to make sure each plank is the proper width stem to stern. First, I measure the width needed at that particular point. Here the width is .09 inches (the calipers are upside-down).


After measuring and cutting the plank to length (I try to span three bulkheads with each plank), I then drill a small hole (.02 inches) at each end of the plank for the pins to hold it in place while the glue dries.


Here, the plank has been glued along the bottom edge with wood glue and then pinned in place. After pinning, I then use a few drops of cyanoacrylate glue (super-glue) to finish holding the plank in place. I sometimes used pins in the middle to hold the plank tight against the previous planks due to the natural curvature of the hull.


Repeat the process. Here I’m down to the last row of planks. Unlike previous belts, this belt ended in the “garboard strake” the final plank that runs up against the keel. I installed that strake first and now I need to fit in the final plank in the remaining space.


I read about this technique online. I took a piece of paper and lined it up with the previous strake and then used a pencil to trace along the garboard strake to measure exactly how wide the plank needed to be.


I then cut the paper along the line I drew and laid it out on the new plank. I then cut along that line to get a plank that would fit the spot exactly (supposedly!).


Ta da! Well, OK, I still had to sand, carve and fudge a bit to get it to fit. But it was pretty close.


Last piece!


Stern view of finished hull. I like how the planks all sweep around and meet up along the center beam.


And a view from the bow.


Finally, a view of the finished hull right side up!


Next step, trenails! I need to drive wooden dowels into all the planks—one at each end of each plank and one at each bulkhead. To do this, I need to turn the bamboo skewers at the top of the picture into dowels the size of the one below (about .02 inches in diameter). I’ll show you how I’ll go about that in my next posting.

Stay tuned!

Seven-Eighths!

I’ve completed one entire side of planking! Pics below. This last belt is sort of weird in that I had to put the garboard plank (the plank closest to the keel) in first, and then fit in six other rows of planking in between. Furthermore, each of the rows of planks pretty much grew wider as they moved toward the stern. This last row is much wider than the previous rows. Things got a little messy at the end near the stern. I think that a lot of that will clean up with filler and sanding. Also, the boat is being painted in a dark red when done so that will help hide some of the imperfections. (That’s a terrible attitude to take, isn’t it?)


3/4 Done

I’m three-quarters of the way done with planking the boat!

It’s been a while since I’ve been able to work much on it. Lacrosse season started and I was working furiously to get the Lacrosse Scorebook app up and running that I just didn’t have any time to work on the boat. But now, Lacrosse season is over and the app is out being beta-tested for the summer and so now I have some time in the evenings to get back to planking. I’ve now finished the third belt on the starboard side. Next step is to finish up each side down to the keel. I’ll keep you posted as it goes. Hopefully sooner than the last update! In the meanwhile, enjoy the pics below.