Right behind it is the jumbo jib. Why jumbo when it’s smaller then the jib? I don’t know.
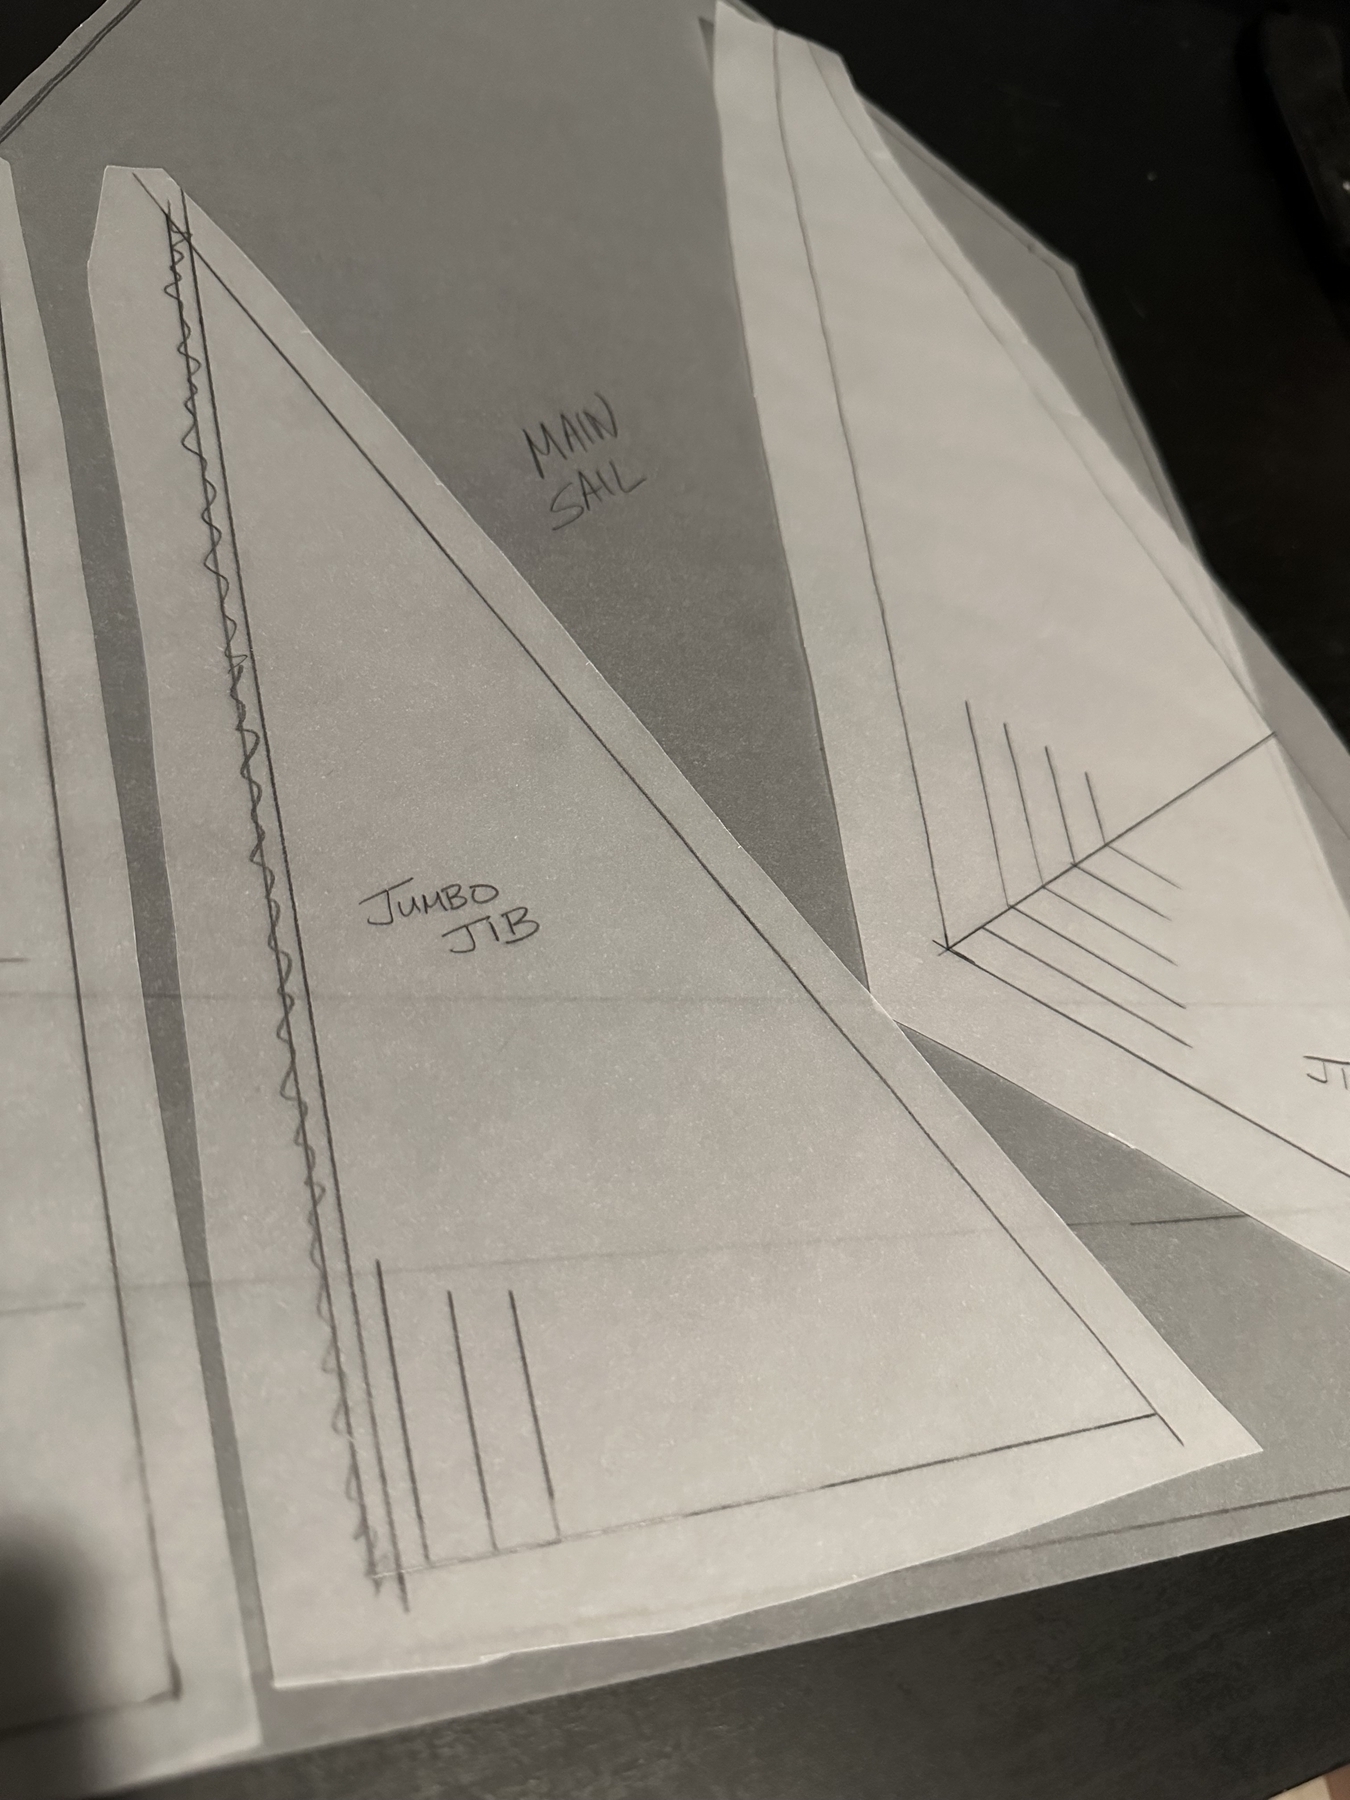
Right behind it is the jumbo jib. Why jumbo when it’s smaller then the jib? I don’t know.
Jib. This one is all the way at the front close to the deck.
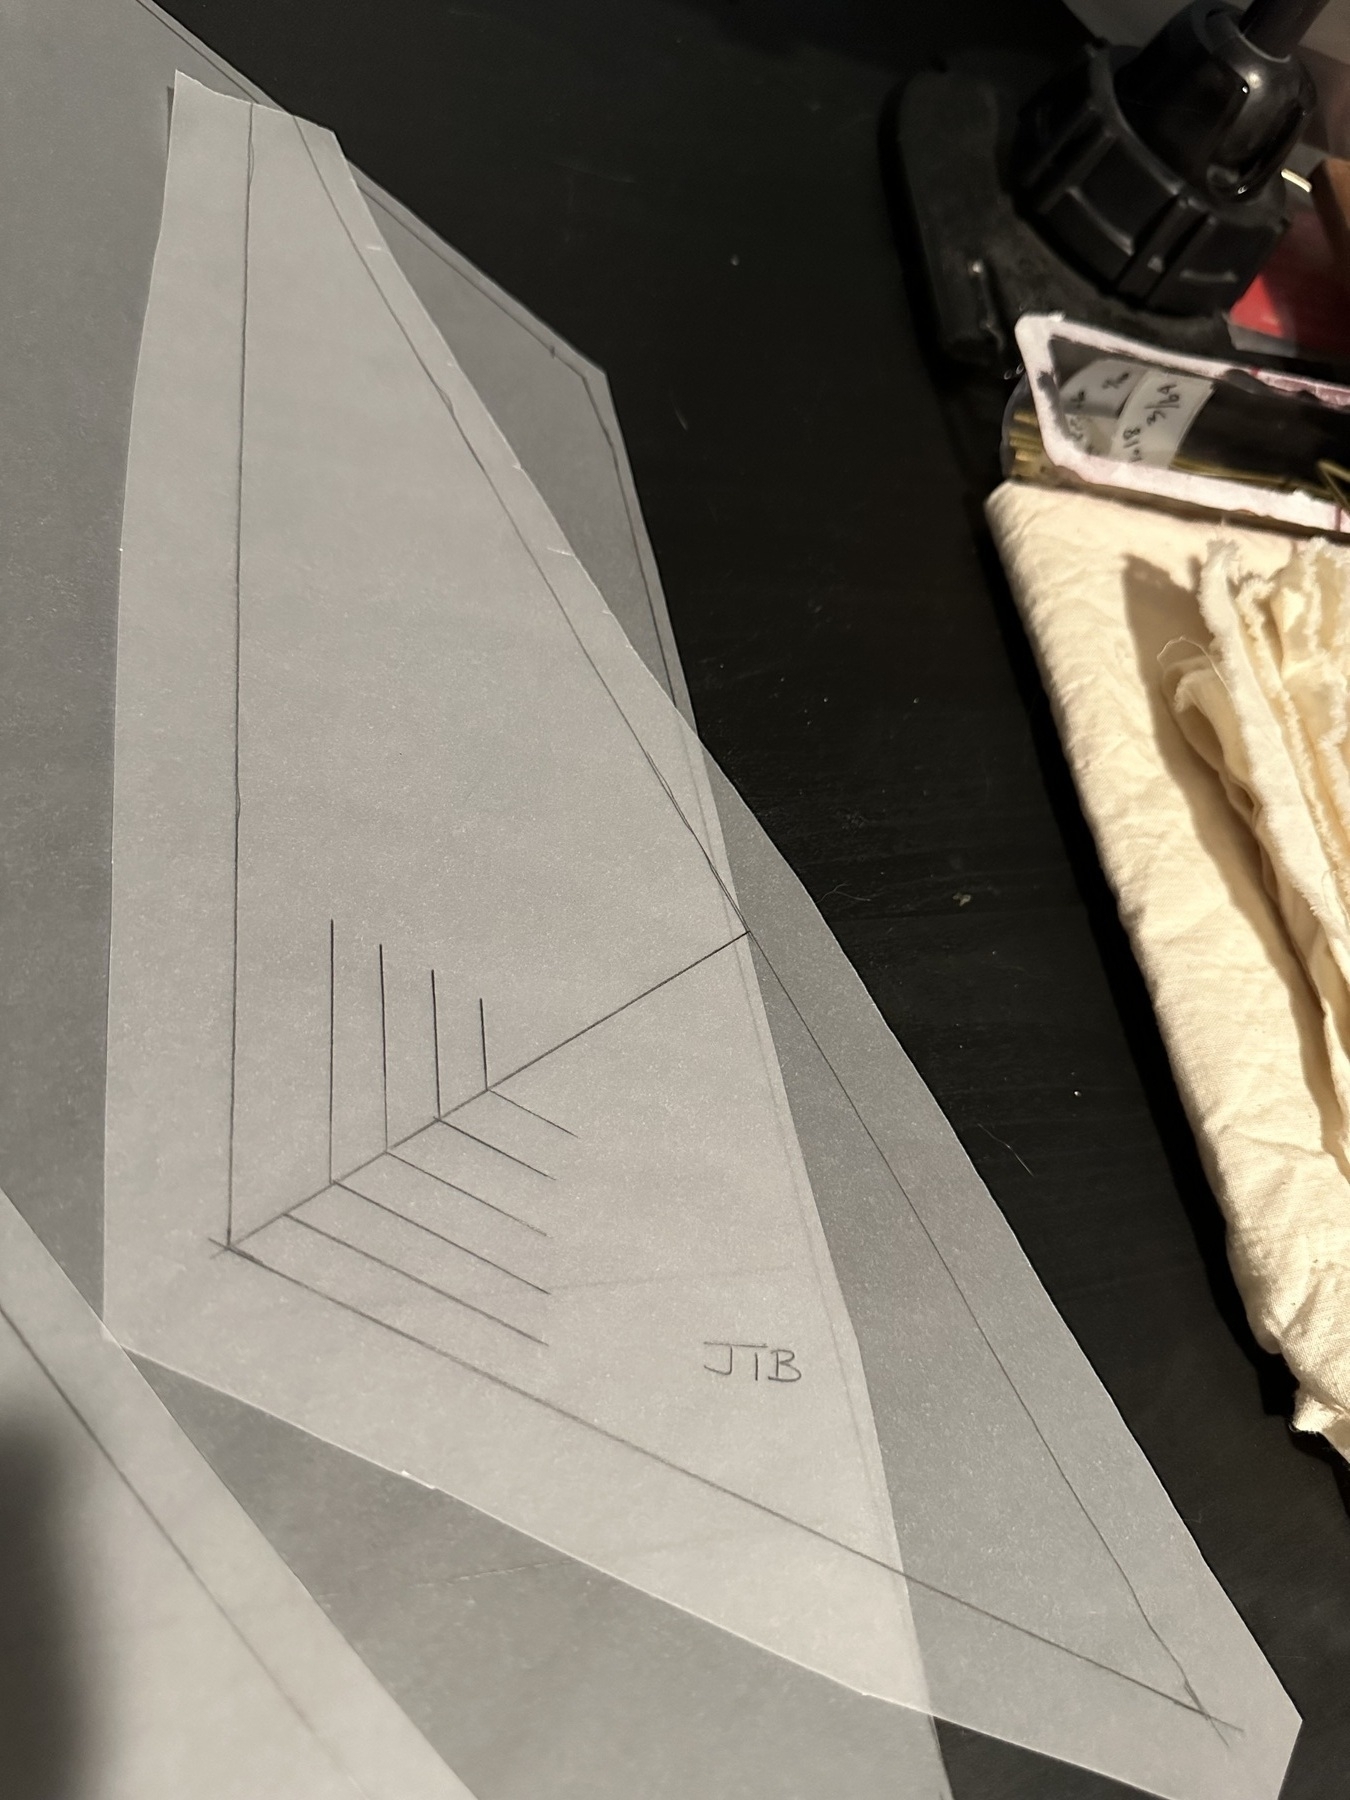
Starting on the sails! I finally realized I don’t have to fully rig things up just to measure up the sails. So I temp rigged the main boom and main gaff and am now on to sail making.
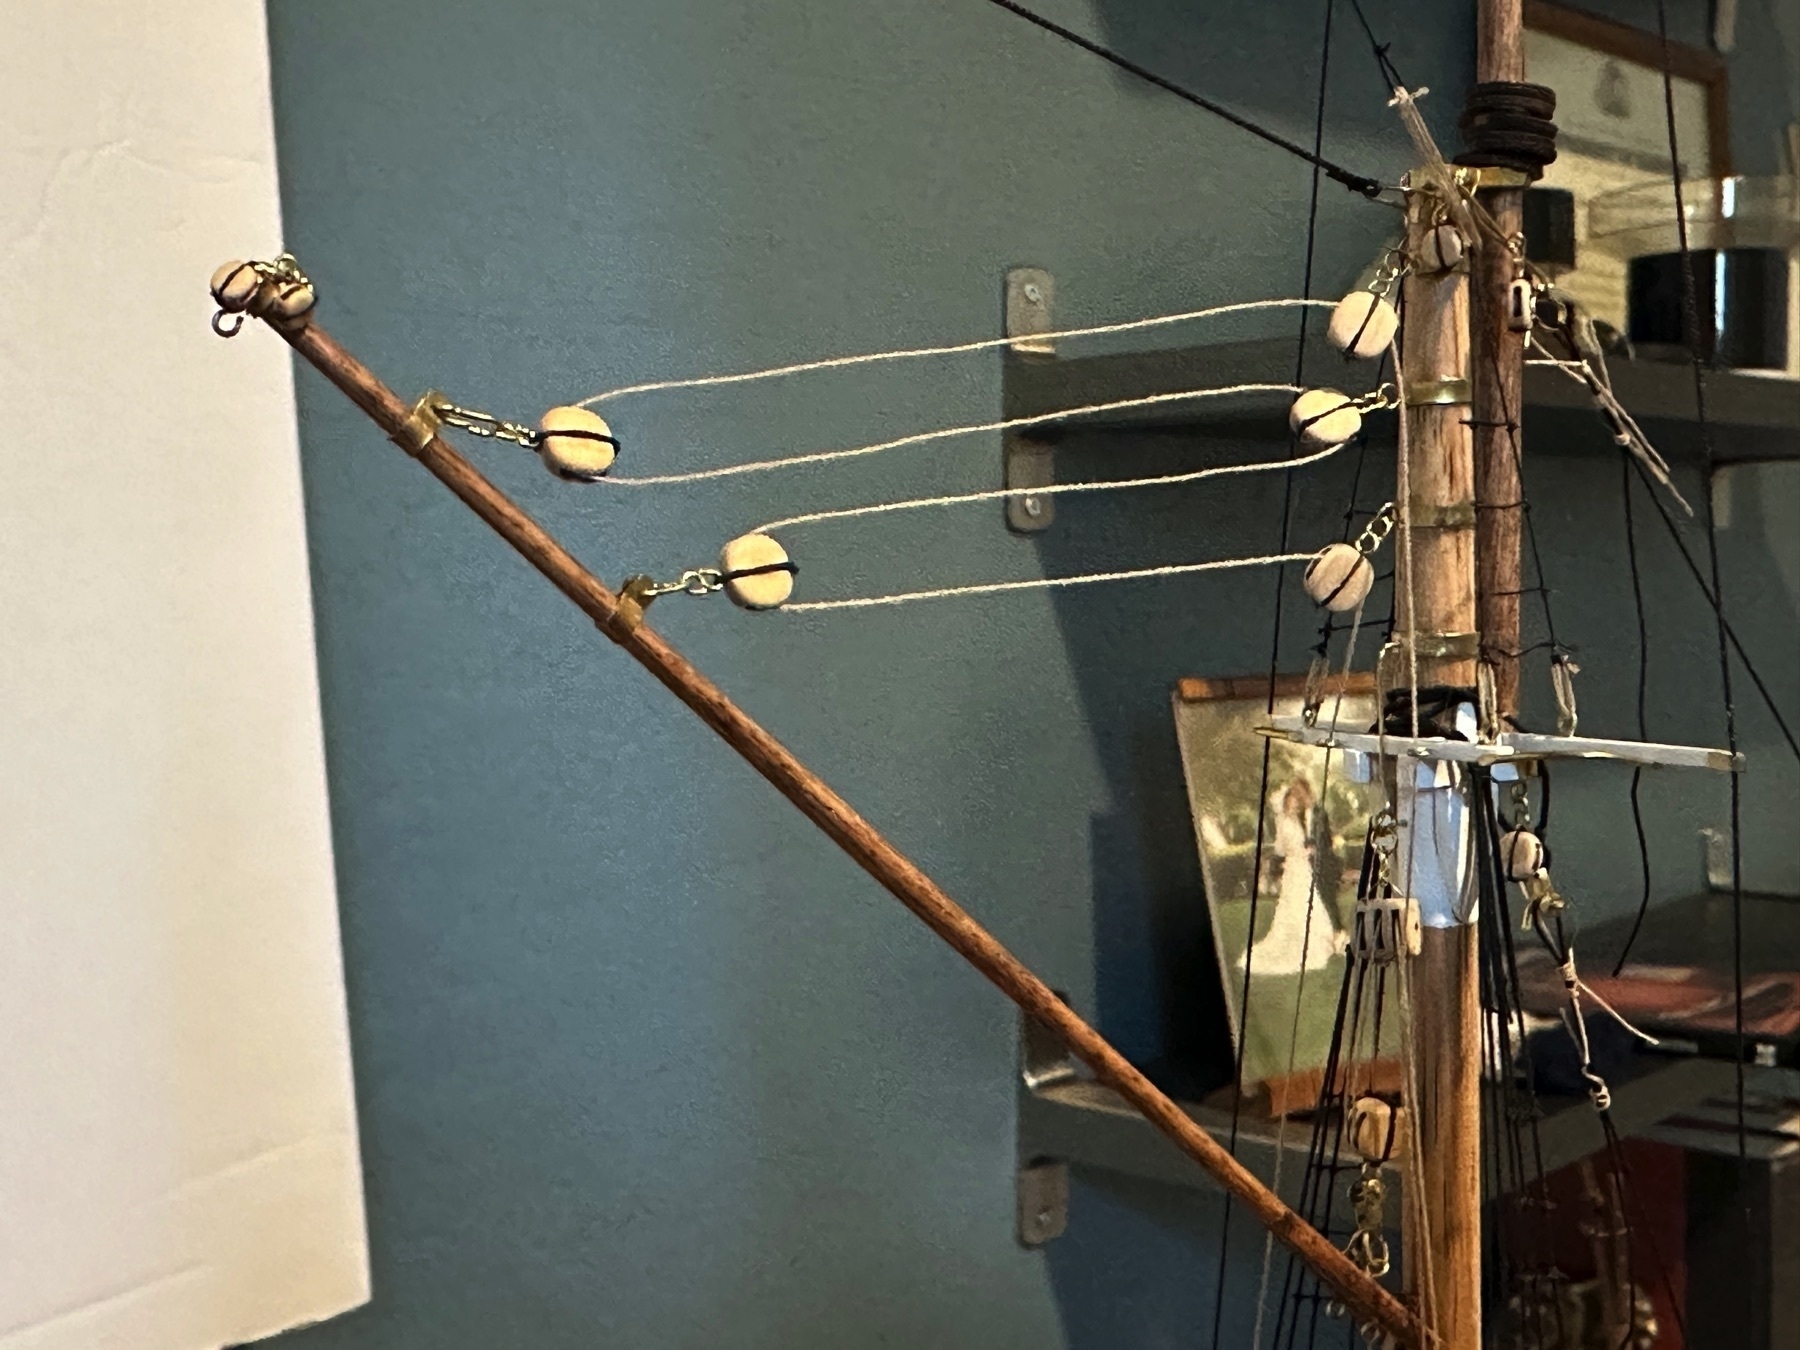
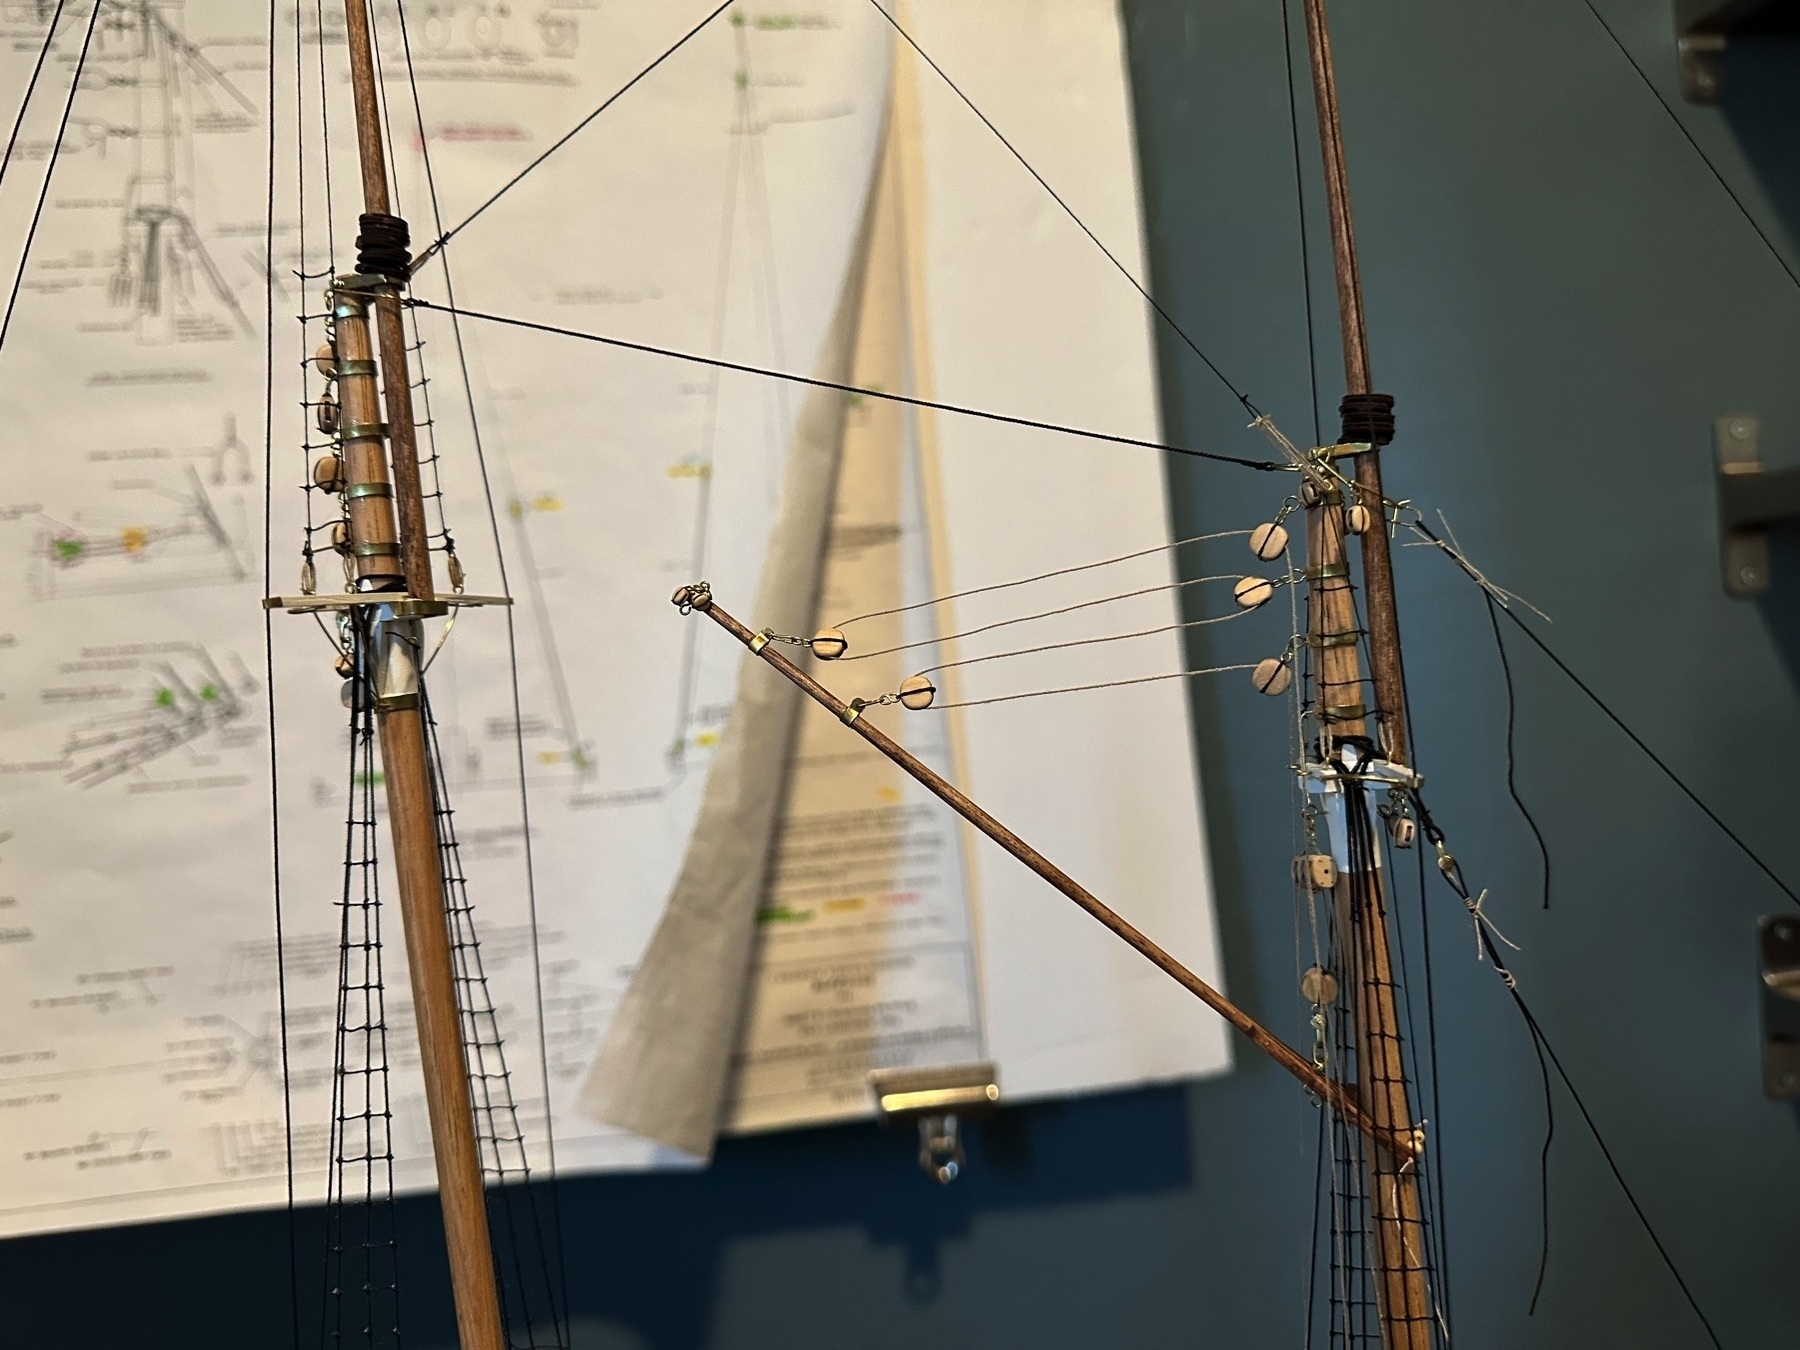
Main boom topping lift belayed to the boom by the main mast.

Main boom topping lift.
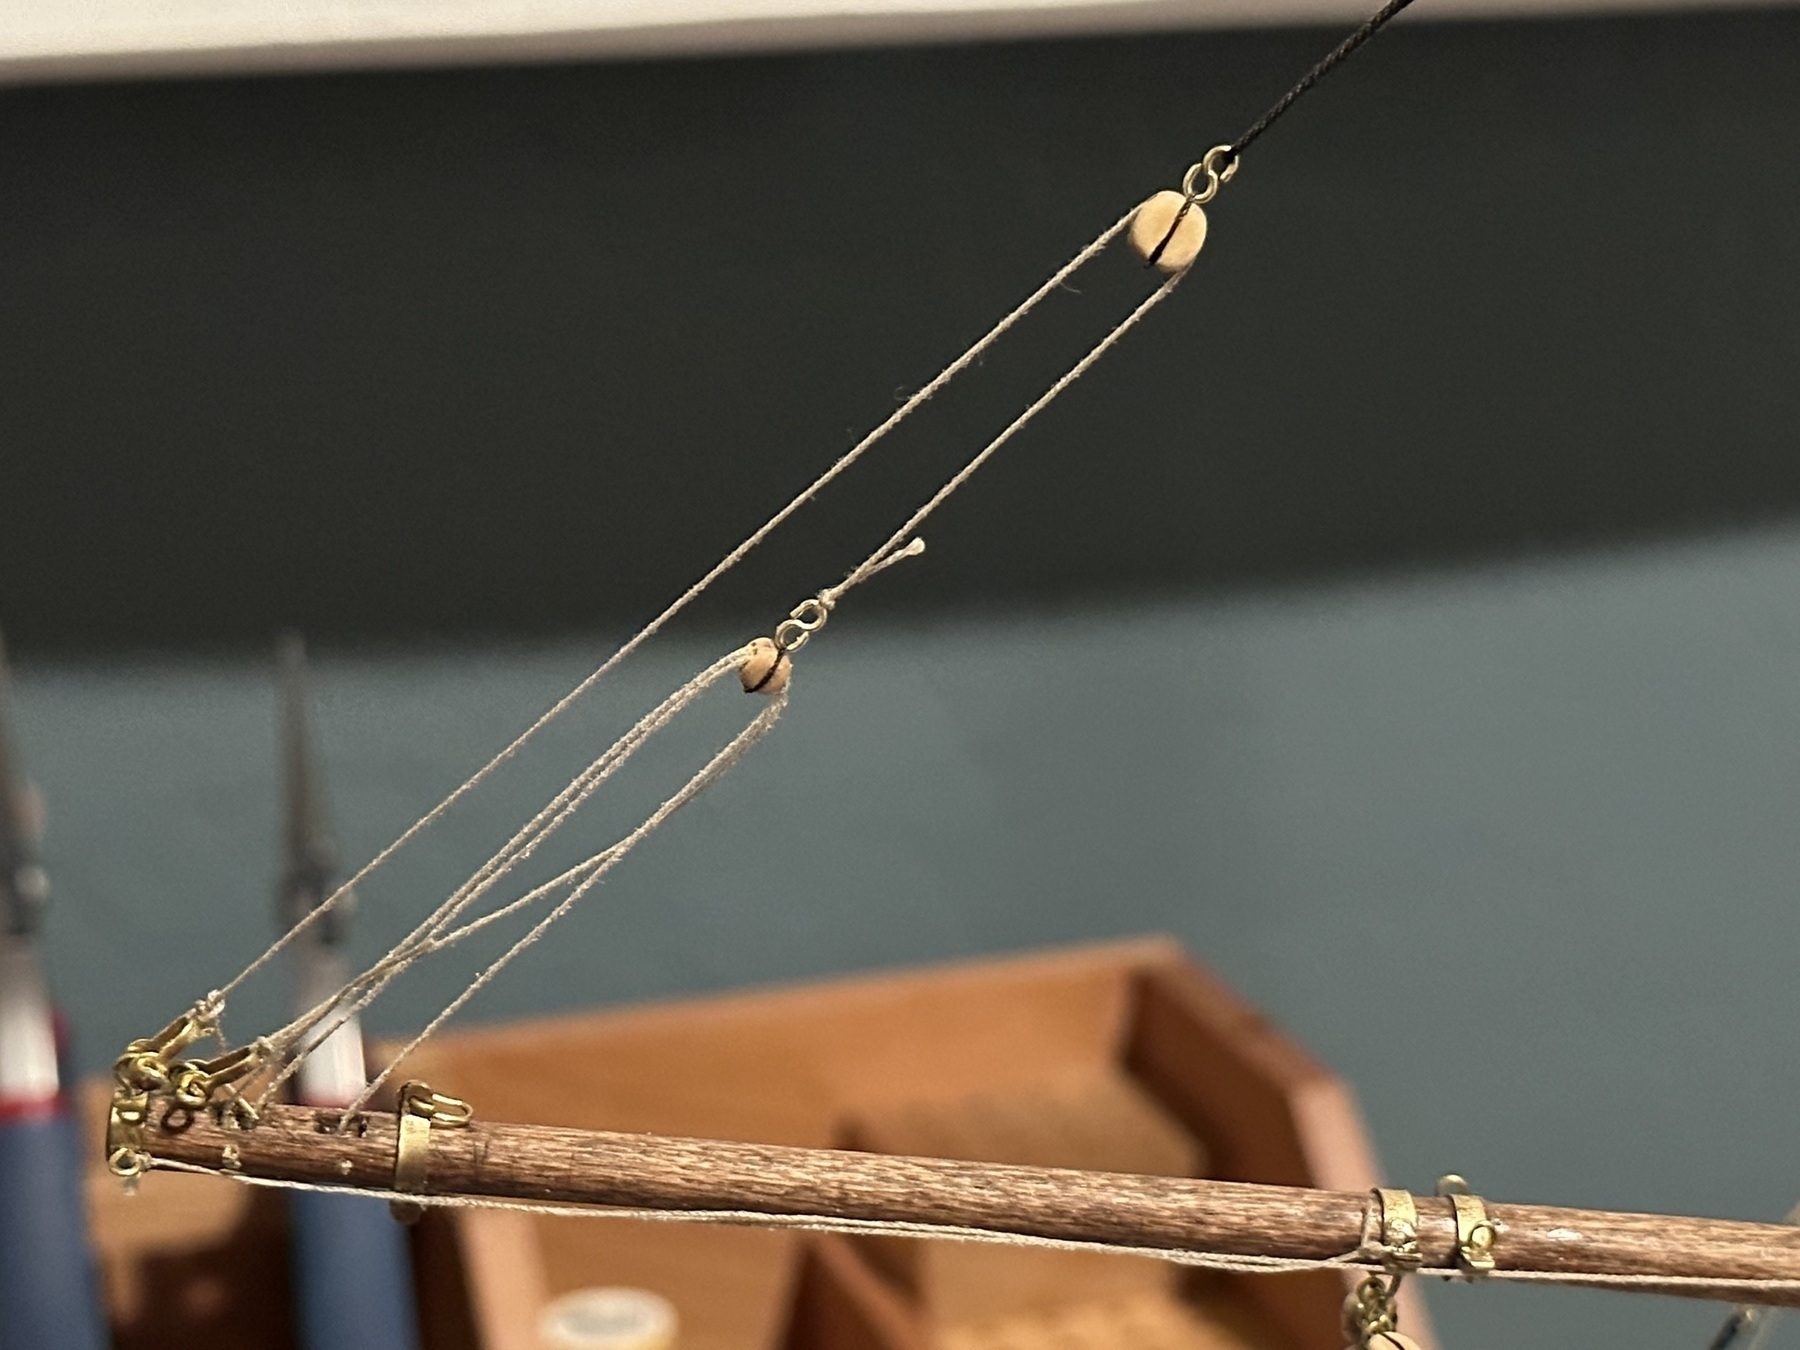
Main boom topping lift belayed to the boom by the main mast.
Main boom topping lift.

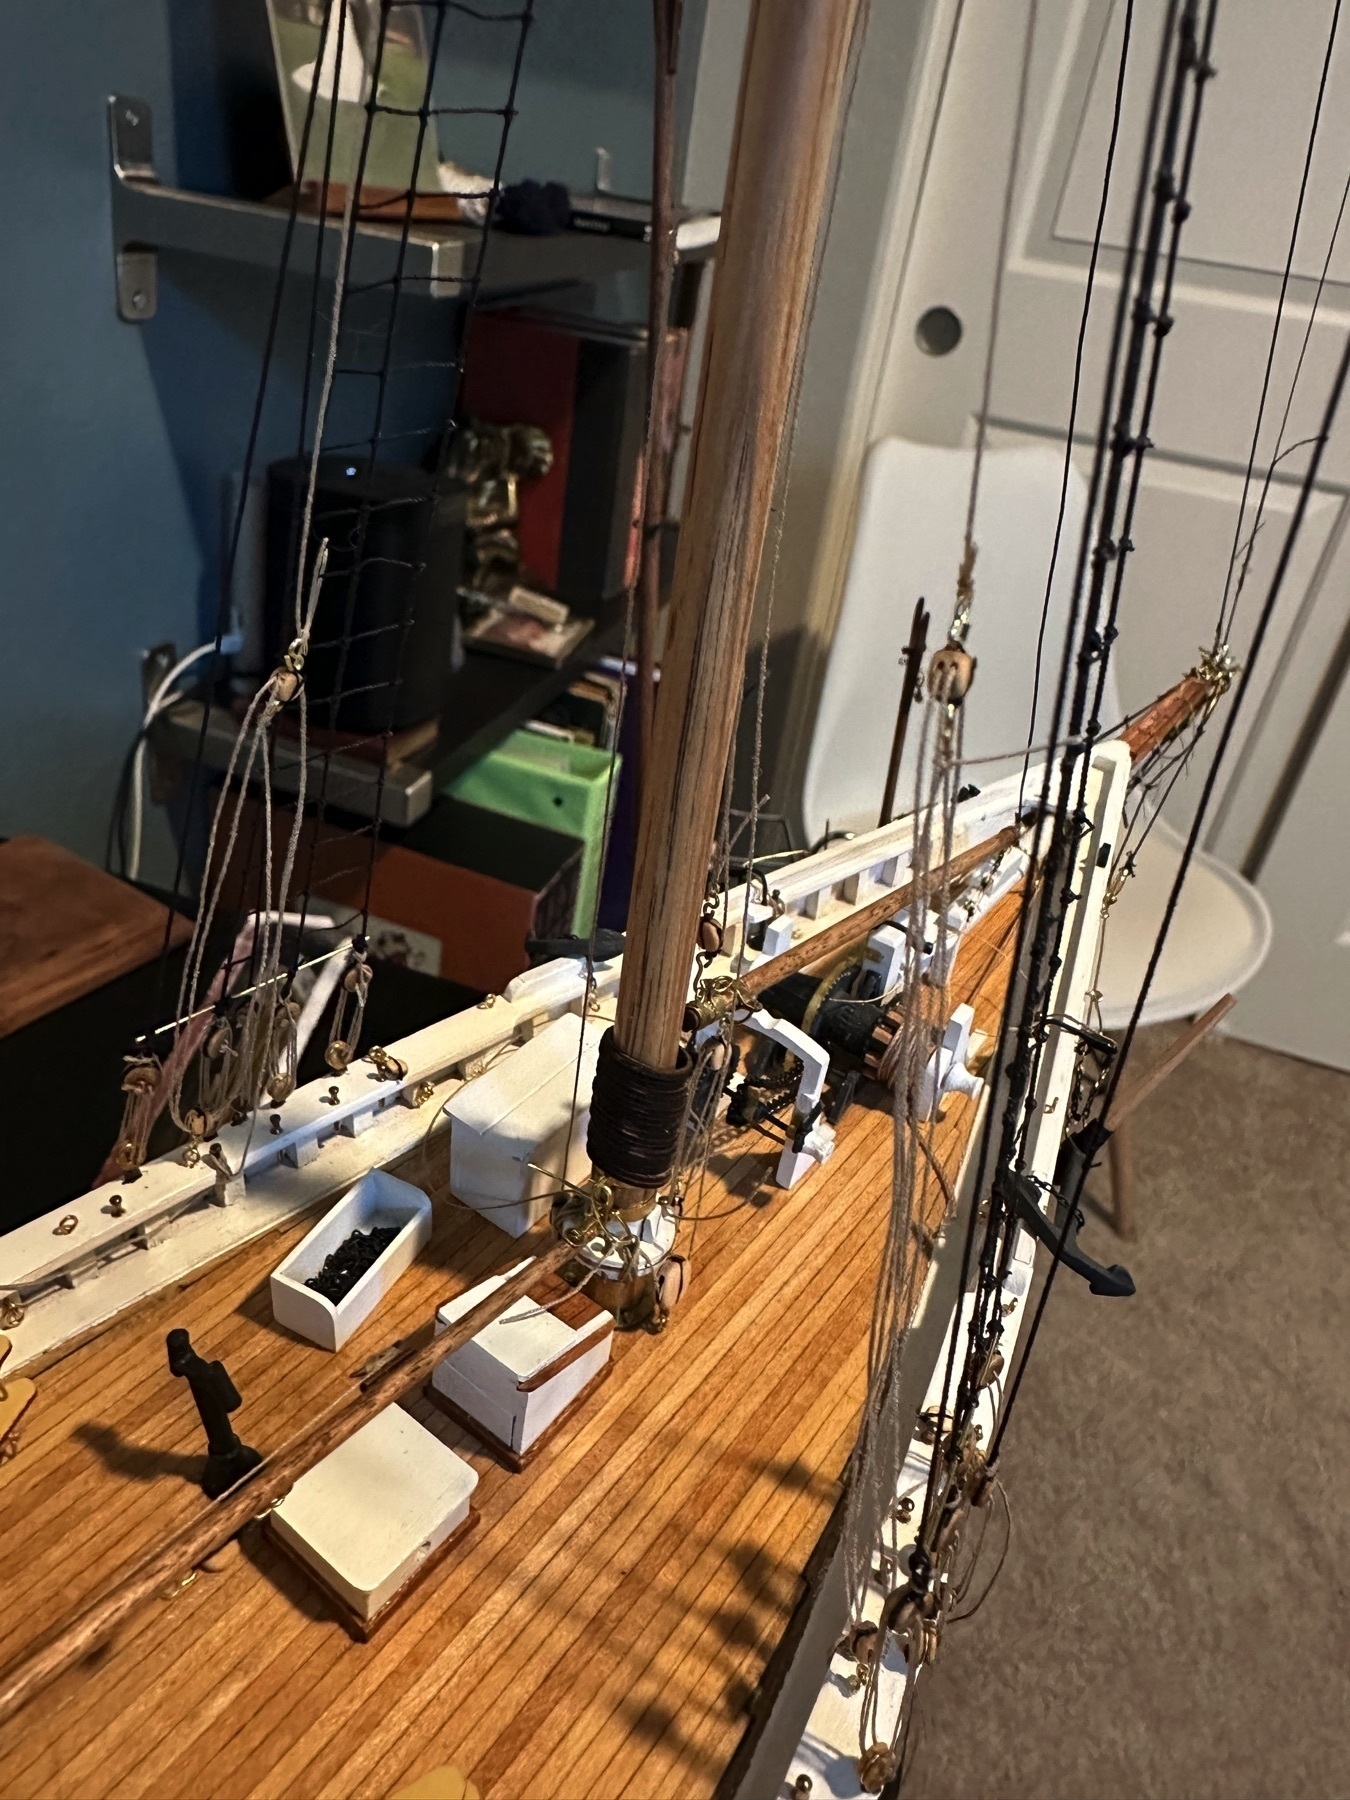
Fore mast rigging is about done (for now).
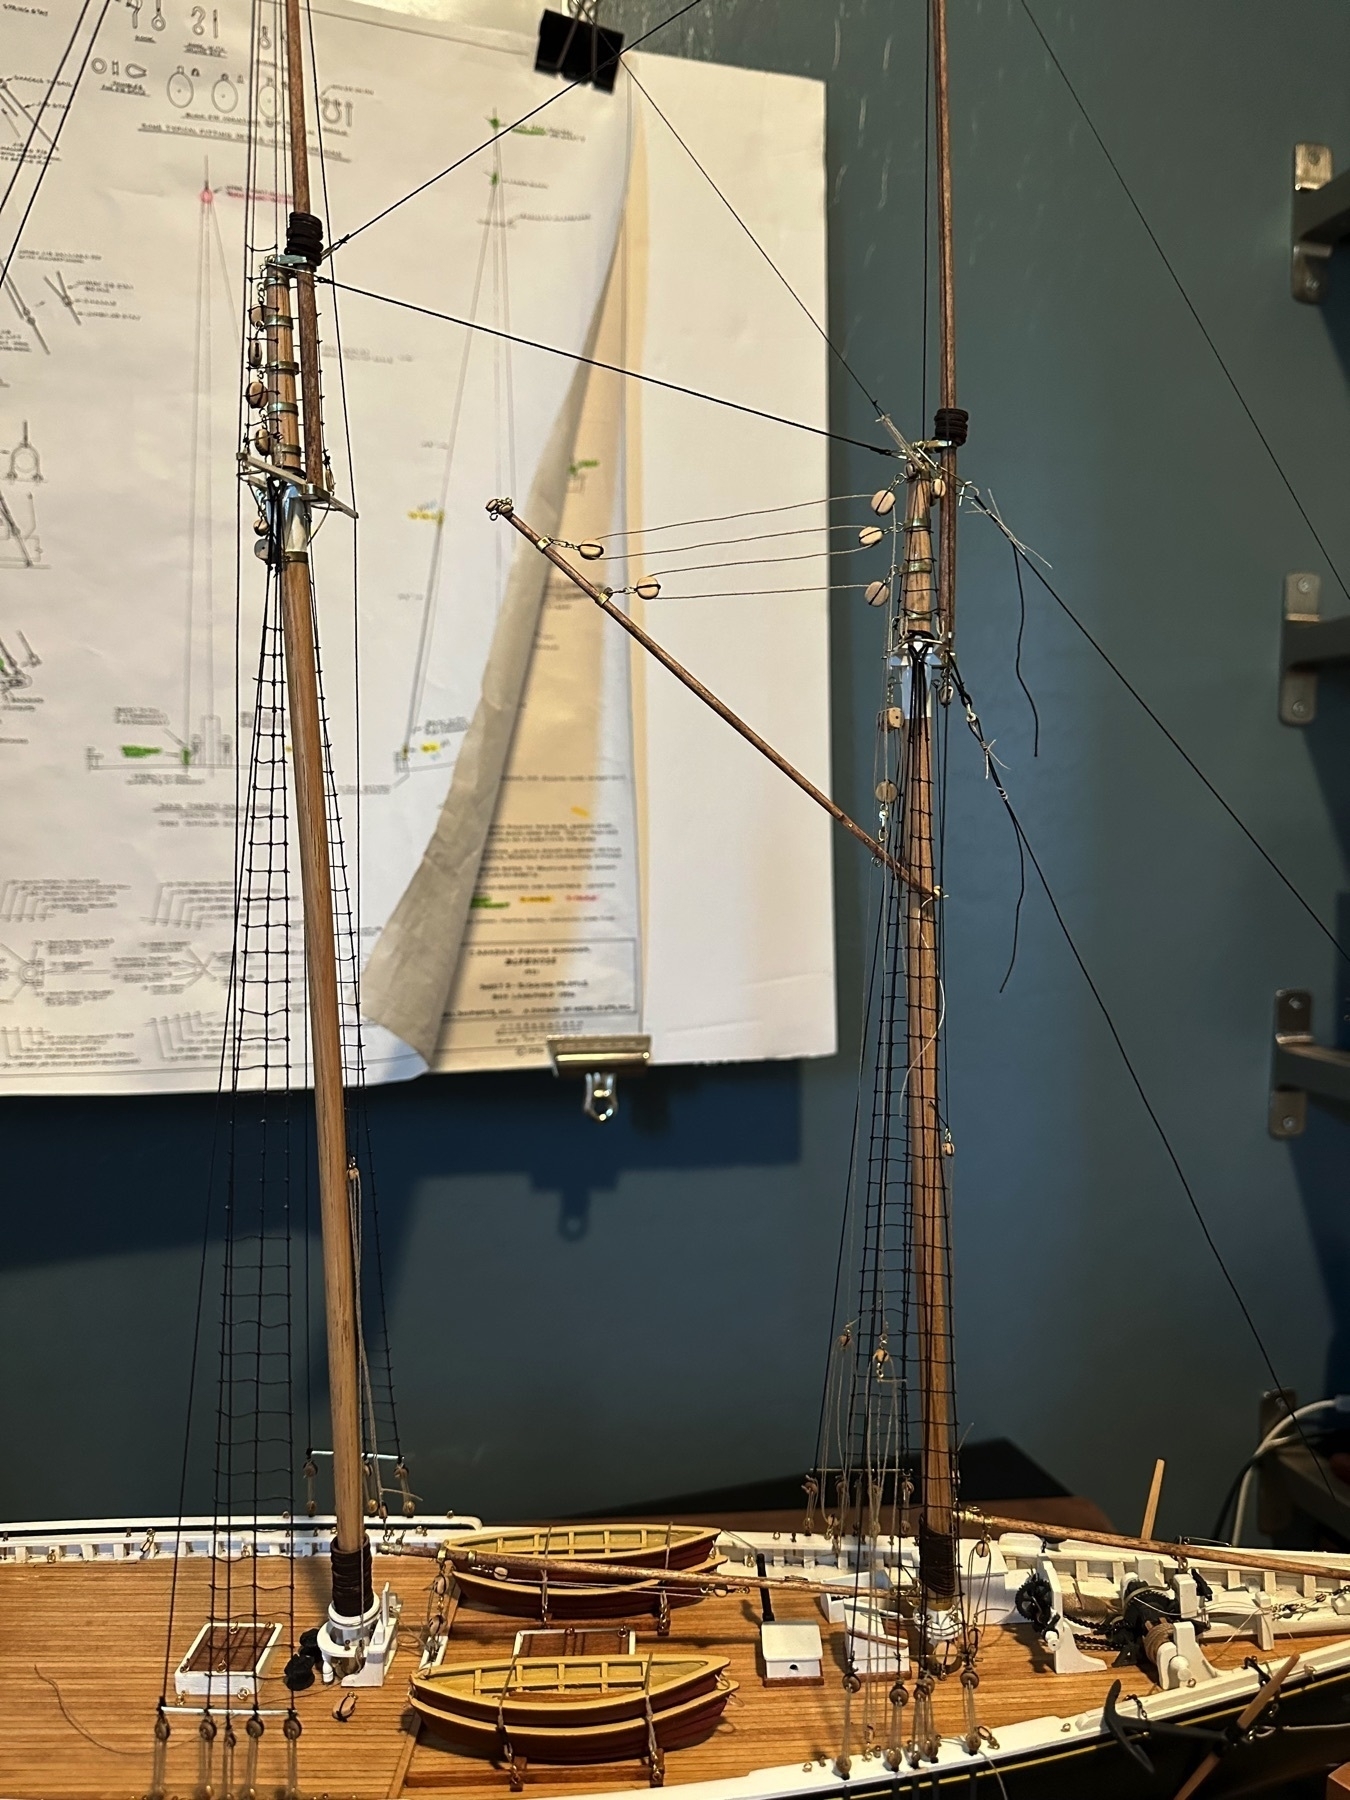
Fore gaff rigging
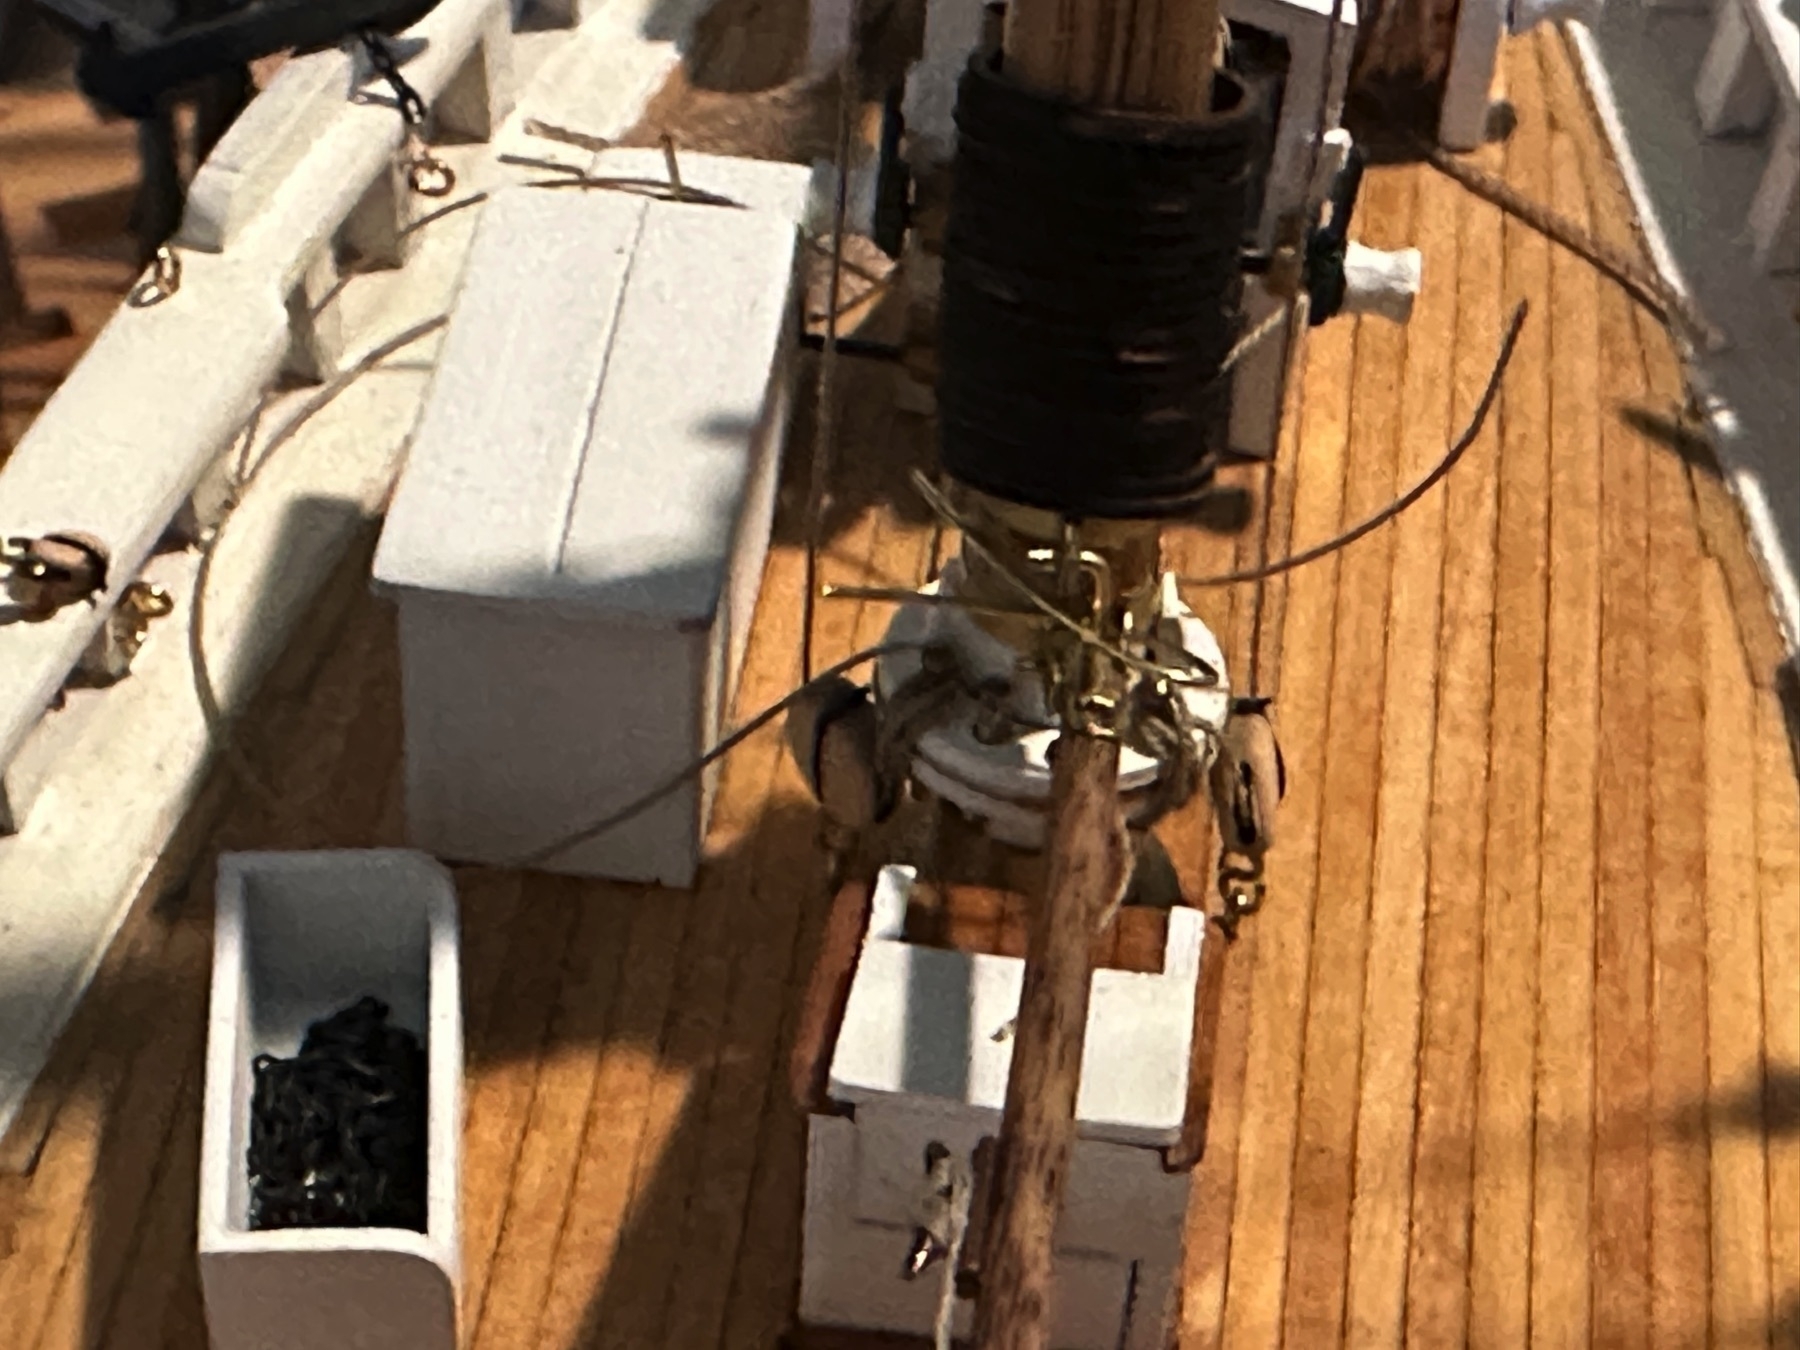
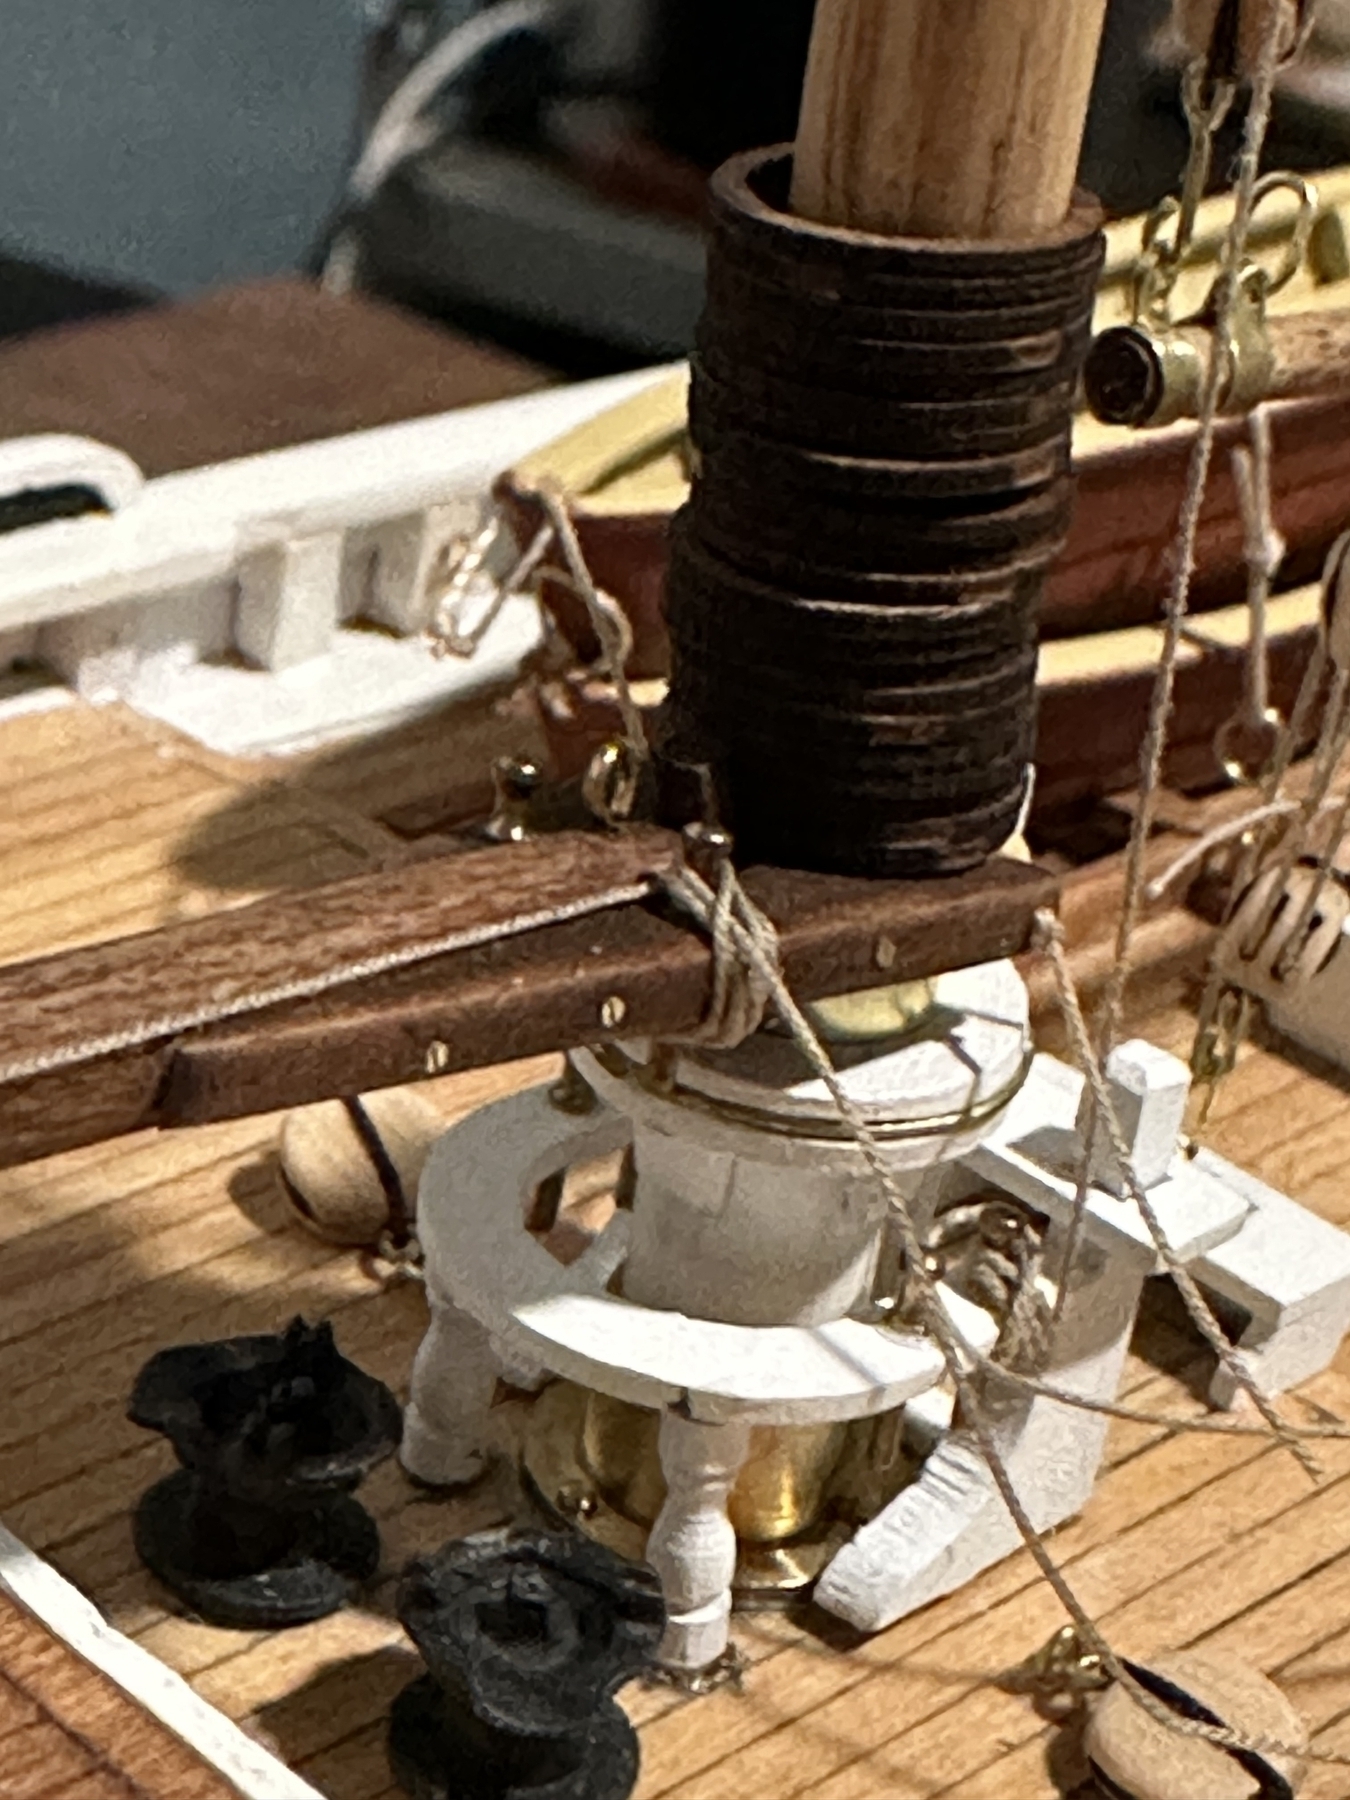
Things are getting messy at the base of the fore mast. To lift the fore gaff lines start here at the base of the mast and go through those big blocks on the deck.
From there, the fore throat halliyard goes up to the triple block and weaves up and down through the double eventually ending up at a block which then weaves through another block on the rail and gets tied off.
Then, the fore peak halliyard does much the same thing, starting at the base of the mast, going up through fairleads and weaving through the blocks on the gaff before coming back down and like the throat halliyard weaves thorough another block on the rail before being tied off.
It’s been hard keeping these lines taut since they actually work and when I pull on them, the gaff moves up and down and since there’s not a lot of weight to them there’s nothing to hold the lines tight.
But, the main mast is rigged enough for now. Time to move on to the main boom and main gaff!