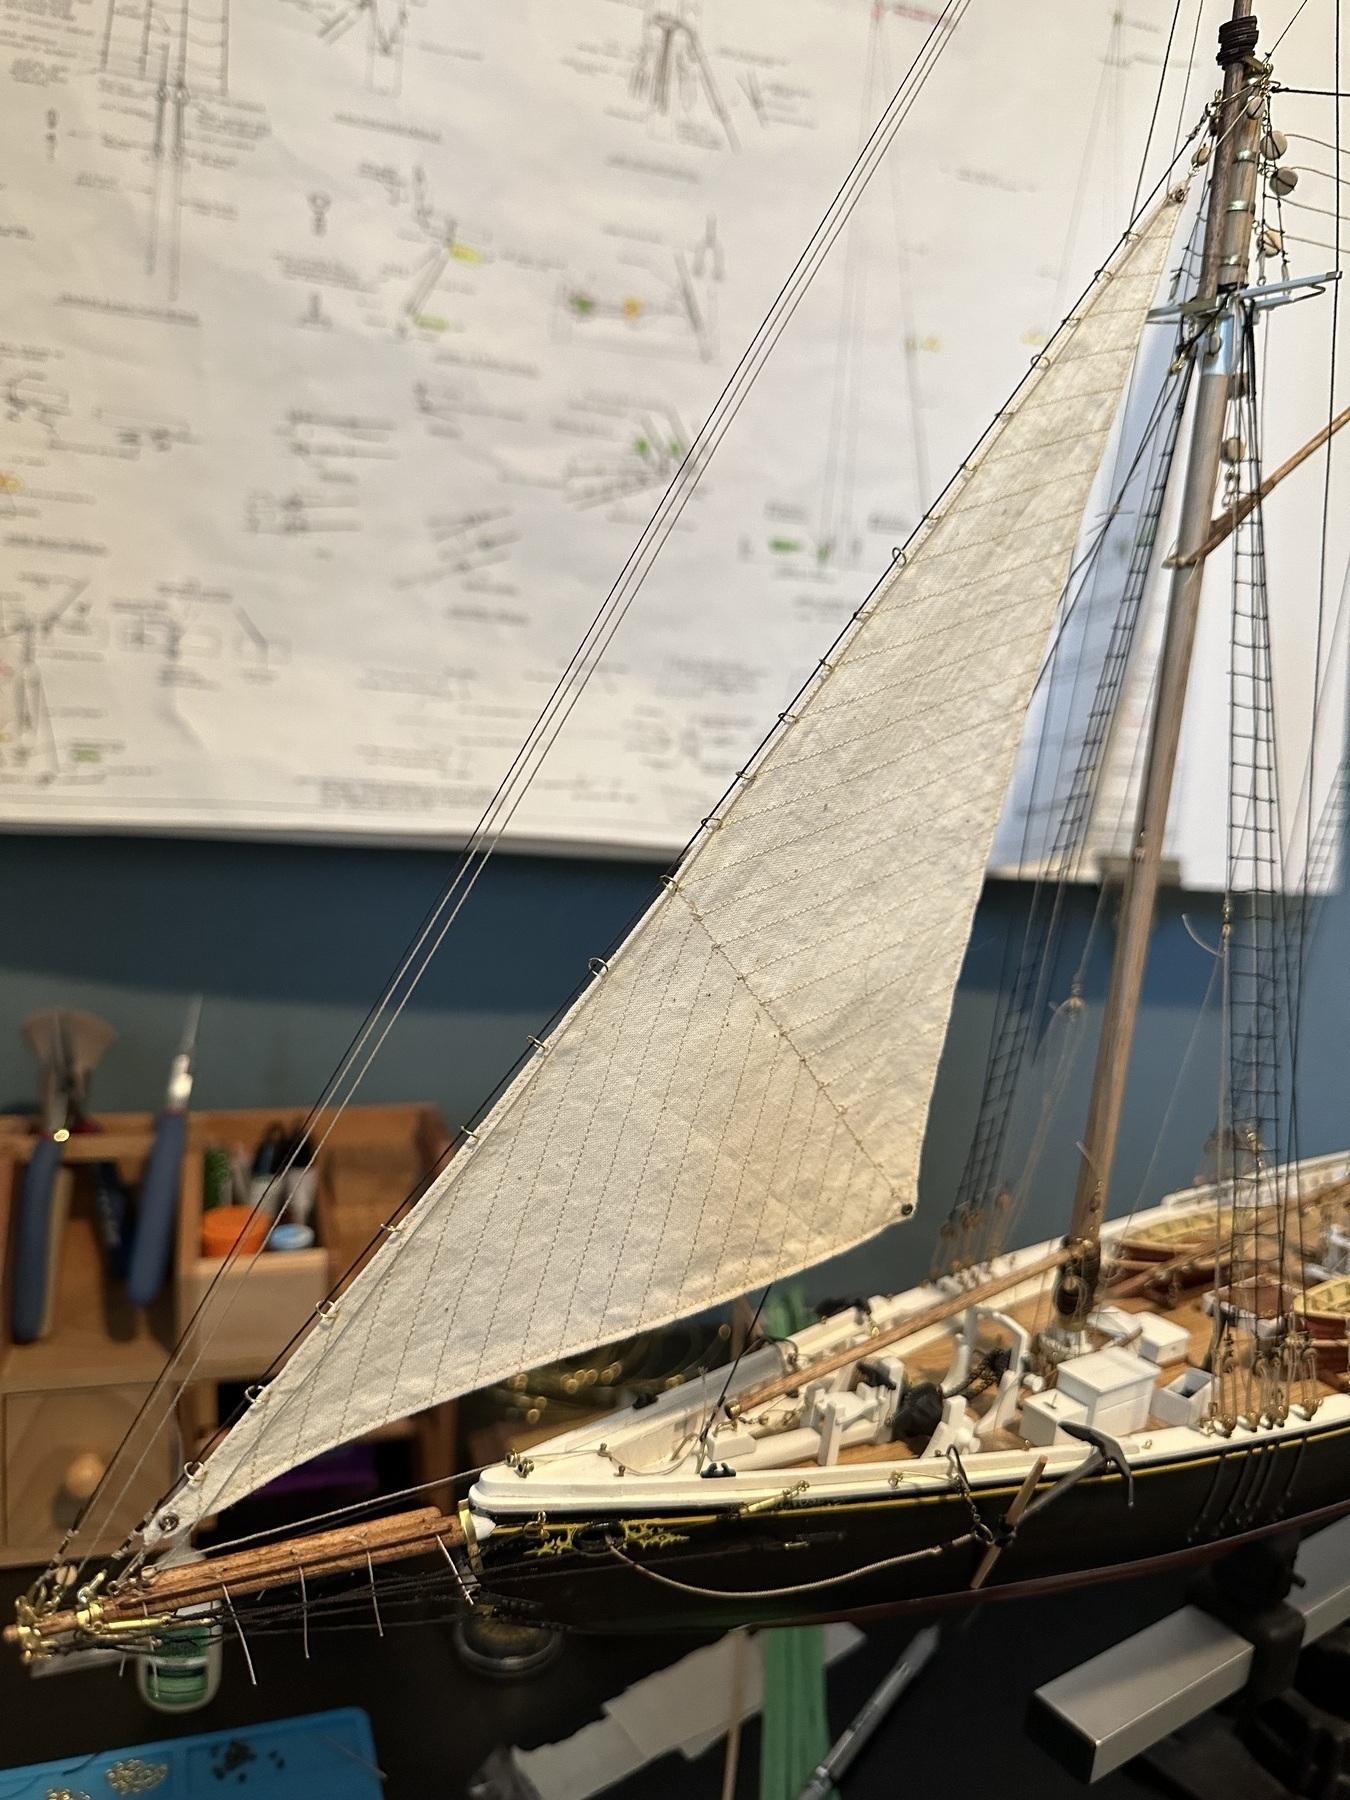
Jib in place
I got the jib all “hung”? My wonderful seamstress wife made it for me and I just got it attached. Still need to do the lower corner but I’ll do that after I get the next one up there, the jumbo jib.
Jib in place
I got the jib all “hung”? My wonderful seamstress wife made it for me and I just got it attached. Still need to do the lower corner but I’ll do that after I get the next one up there, the jumbo jib.
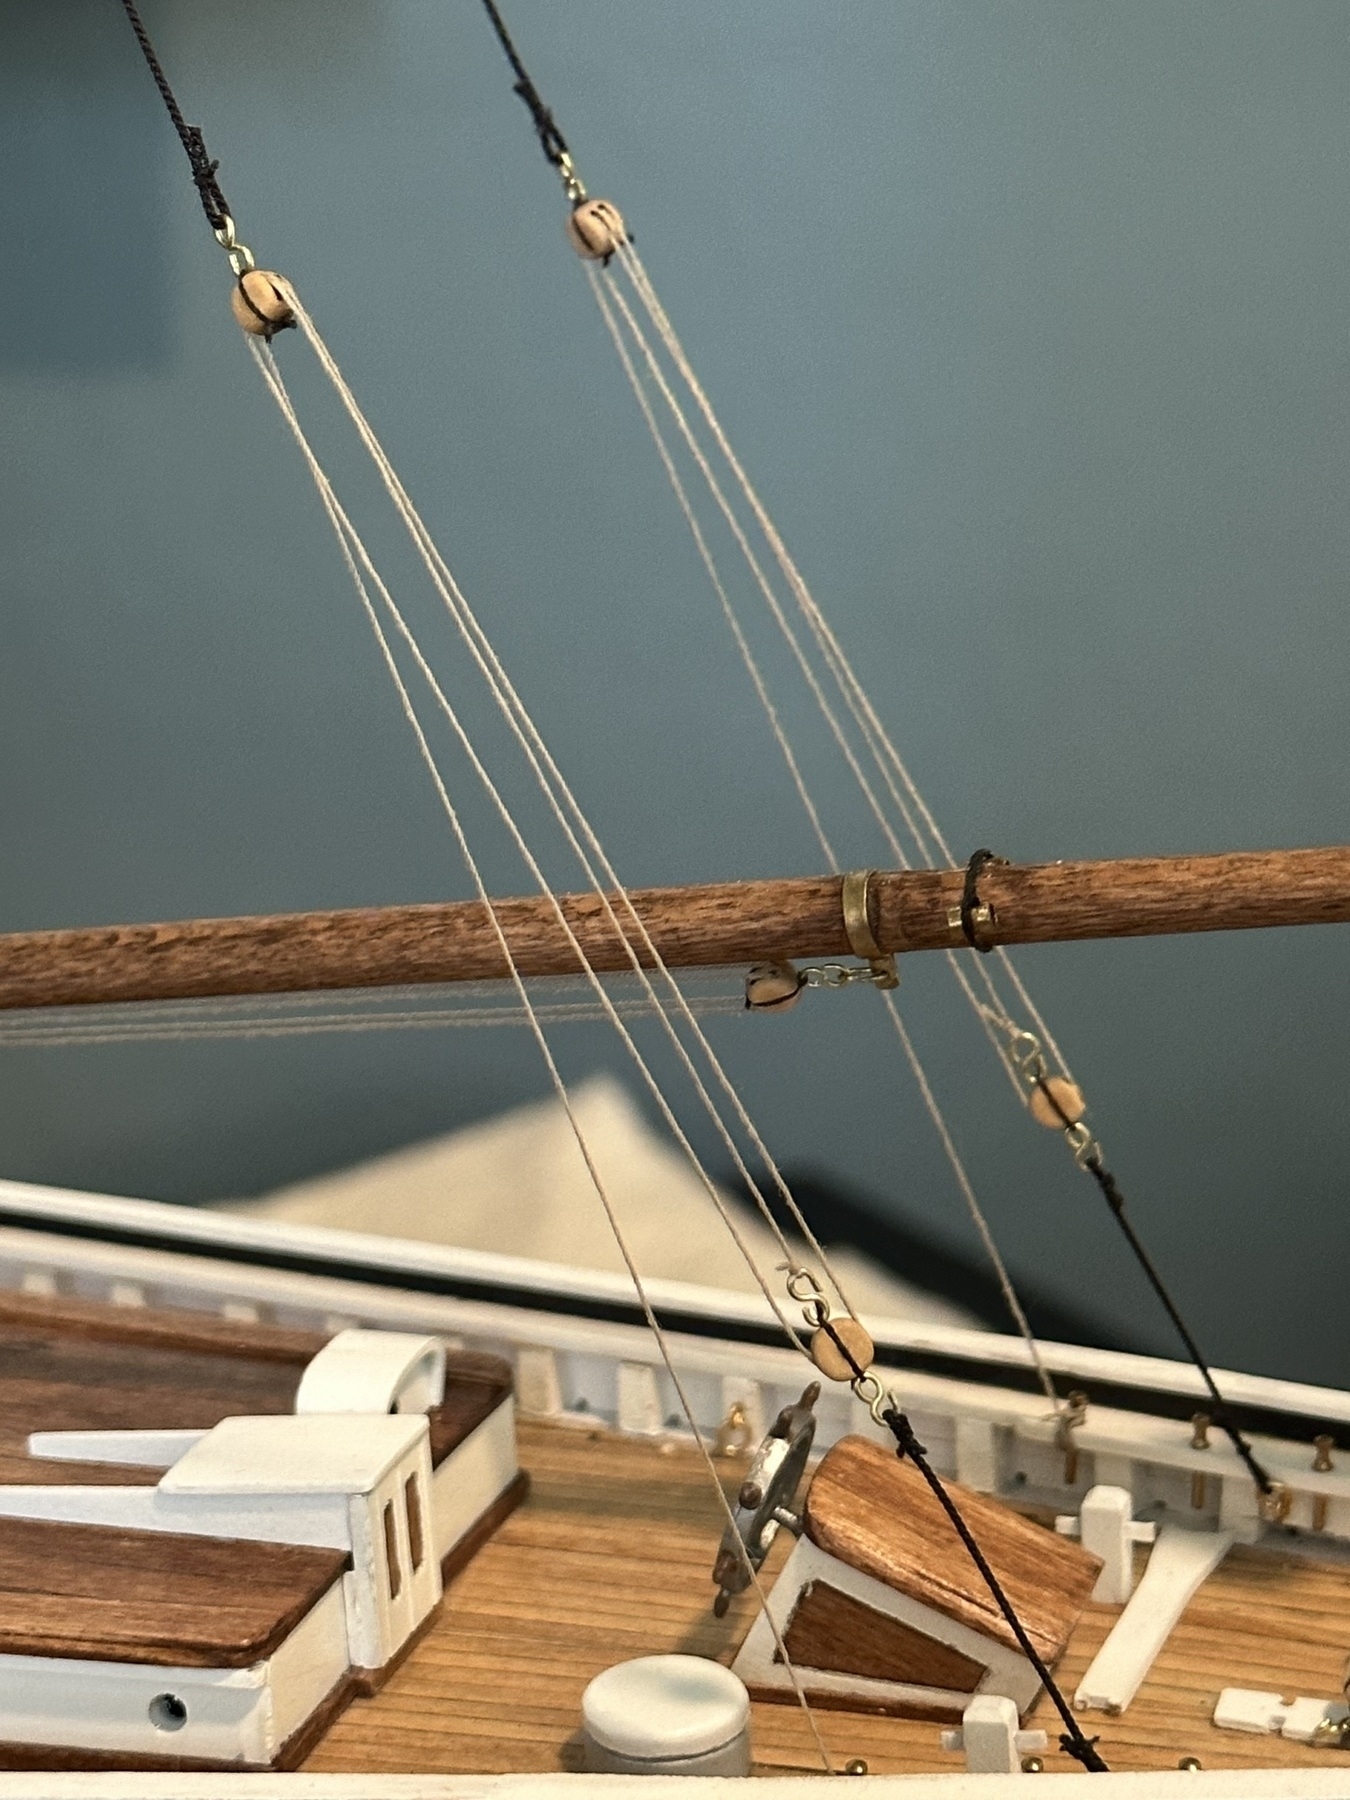
**I got my flying backstays untwisted! **
I had such trouble with them. As soon as I put a little tension on the lines the blocks would twist all around. A little wax, a little weight on the lines, and tying them off to a different place and they look good!

**I got my flying backstays untwisted! **
I had such trouble with them. As soon as I put a little tension on the lines the blocks would twist all around. A little wax, a little weight on the lines, and tying them off to a different place and they look good!
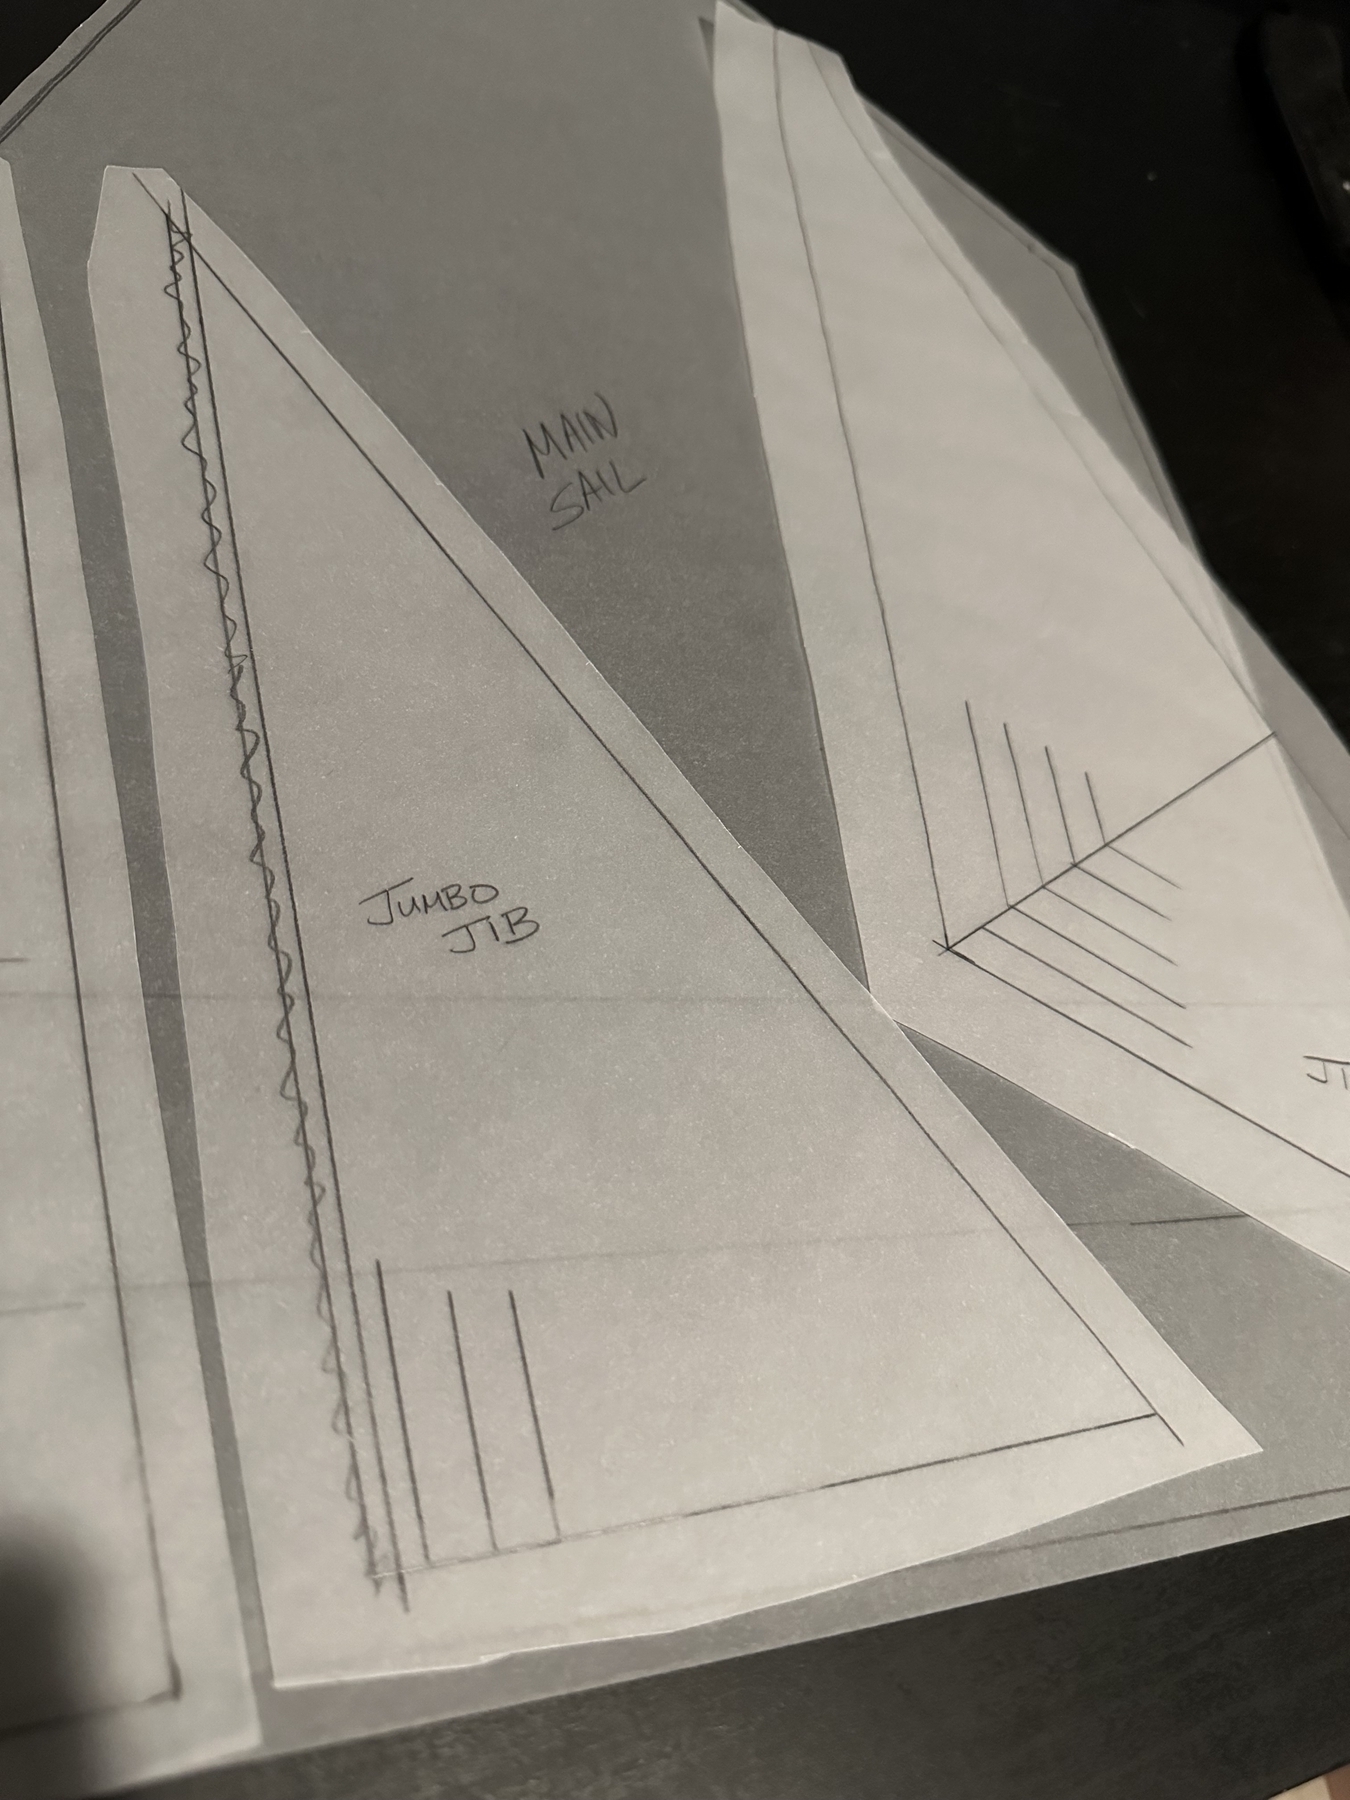
And behind all those templates you saw the main sail. It’s huge! Over 14” at the base where it’s lashed to the main boom. My wife has graciously consented to see them up for me. I’m so lucky!
Source: Micro.blog Feed
Then comes the fore sail. It goes between the fore mast and the main mast.
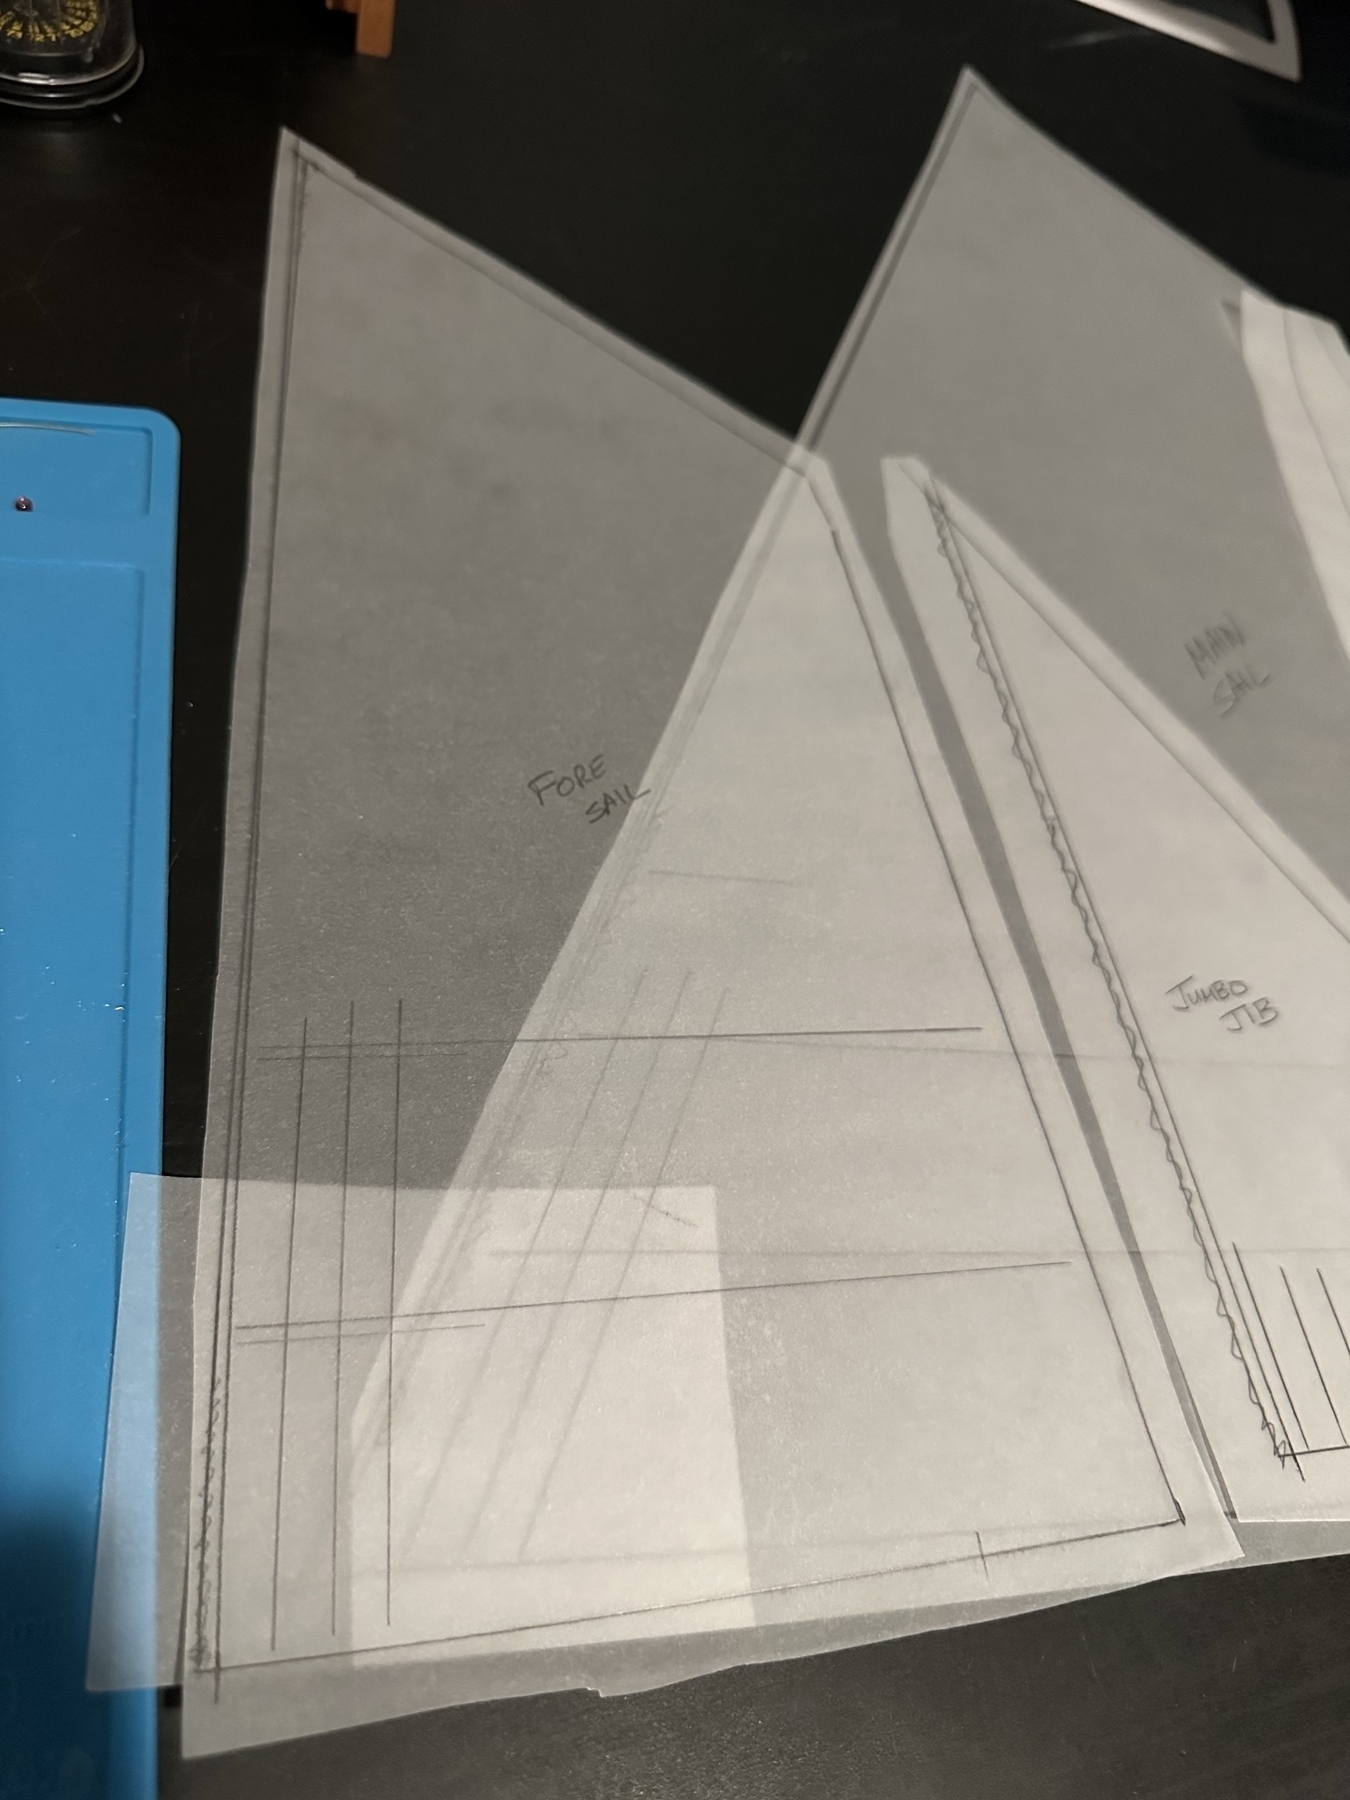
Right behind it is the jumbo jib. Why jumbo when it’s smaller then the jib? I don’t know.
Jib. This one is all the way at the front close to the deck.
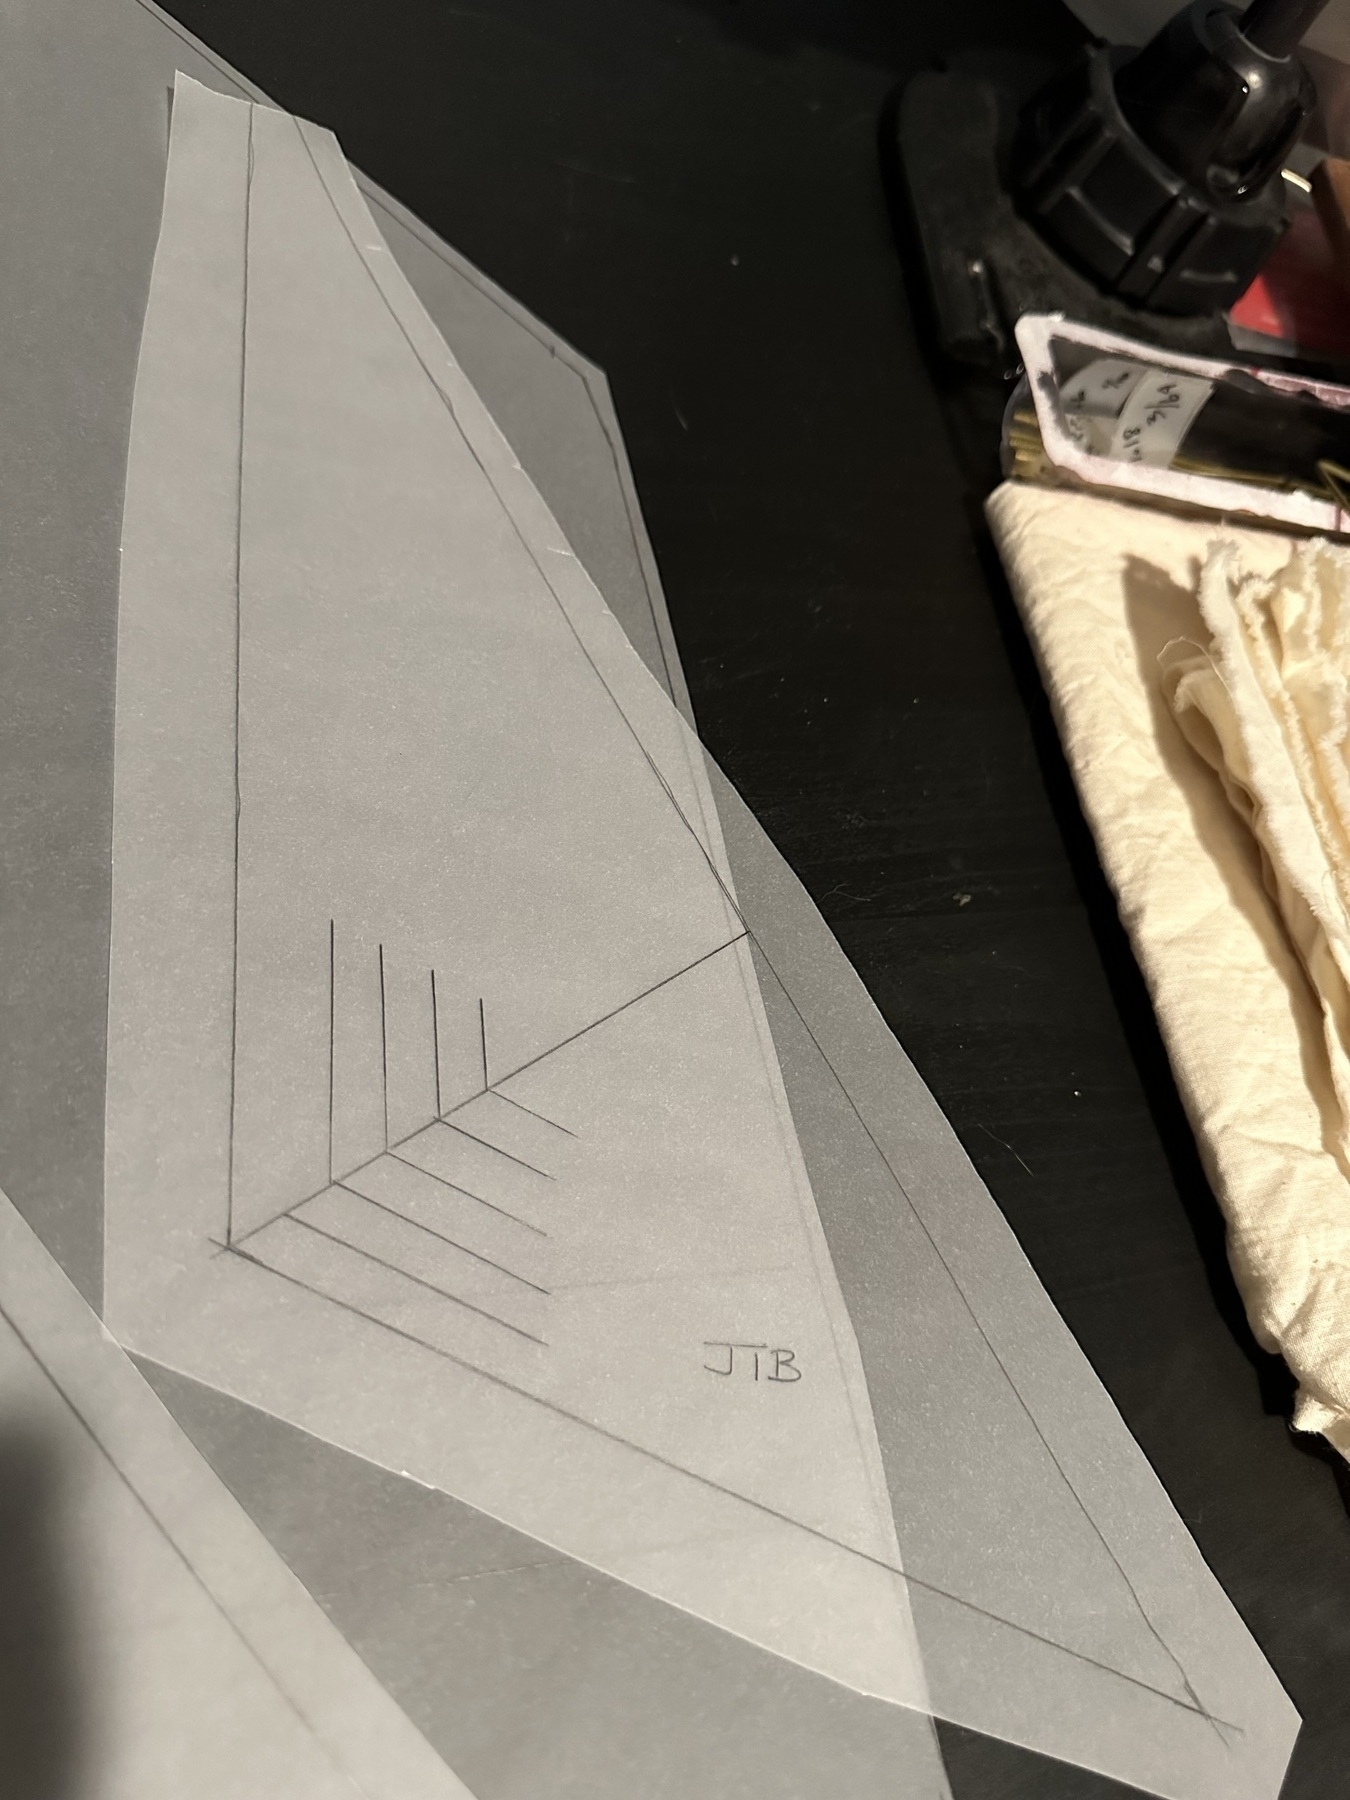
Starting on the sails! I finally realized I don’t have to fully rig things up just to measure up the sails. So I temp rigged the main boom and main gaff and am now on to sail making.
Source: Micro.blog Feed
And behind all those templates you saw the main sail. It’s huge! Over 14” at the base where it’s lashed to the main boom. My wife has graciously consented to see them up for me. I’m so lucky!
Then comes the fore sail. It goes between the fore mast and the main mast.
