Flying Dutchman: Step V
Step V is complete!
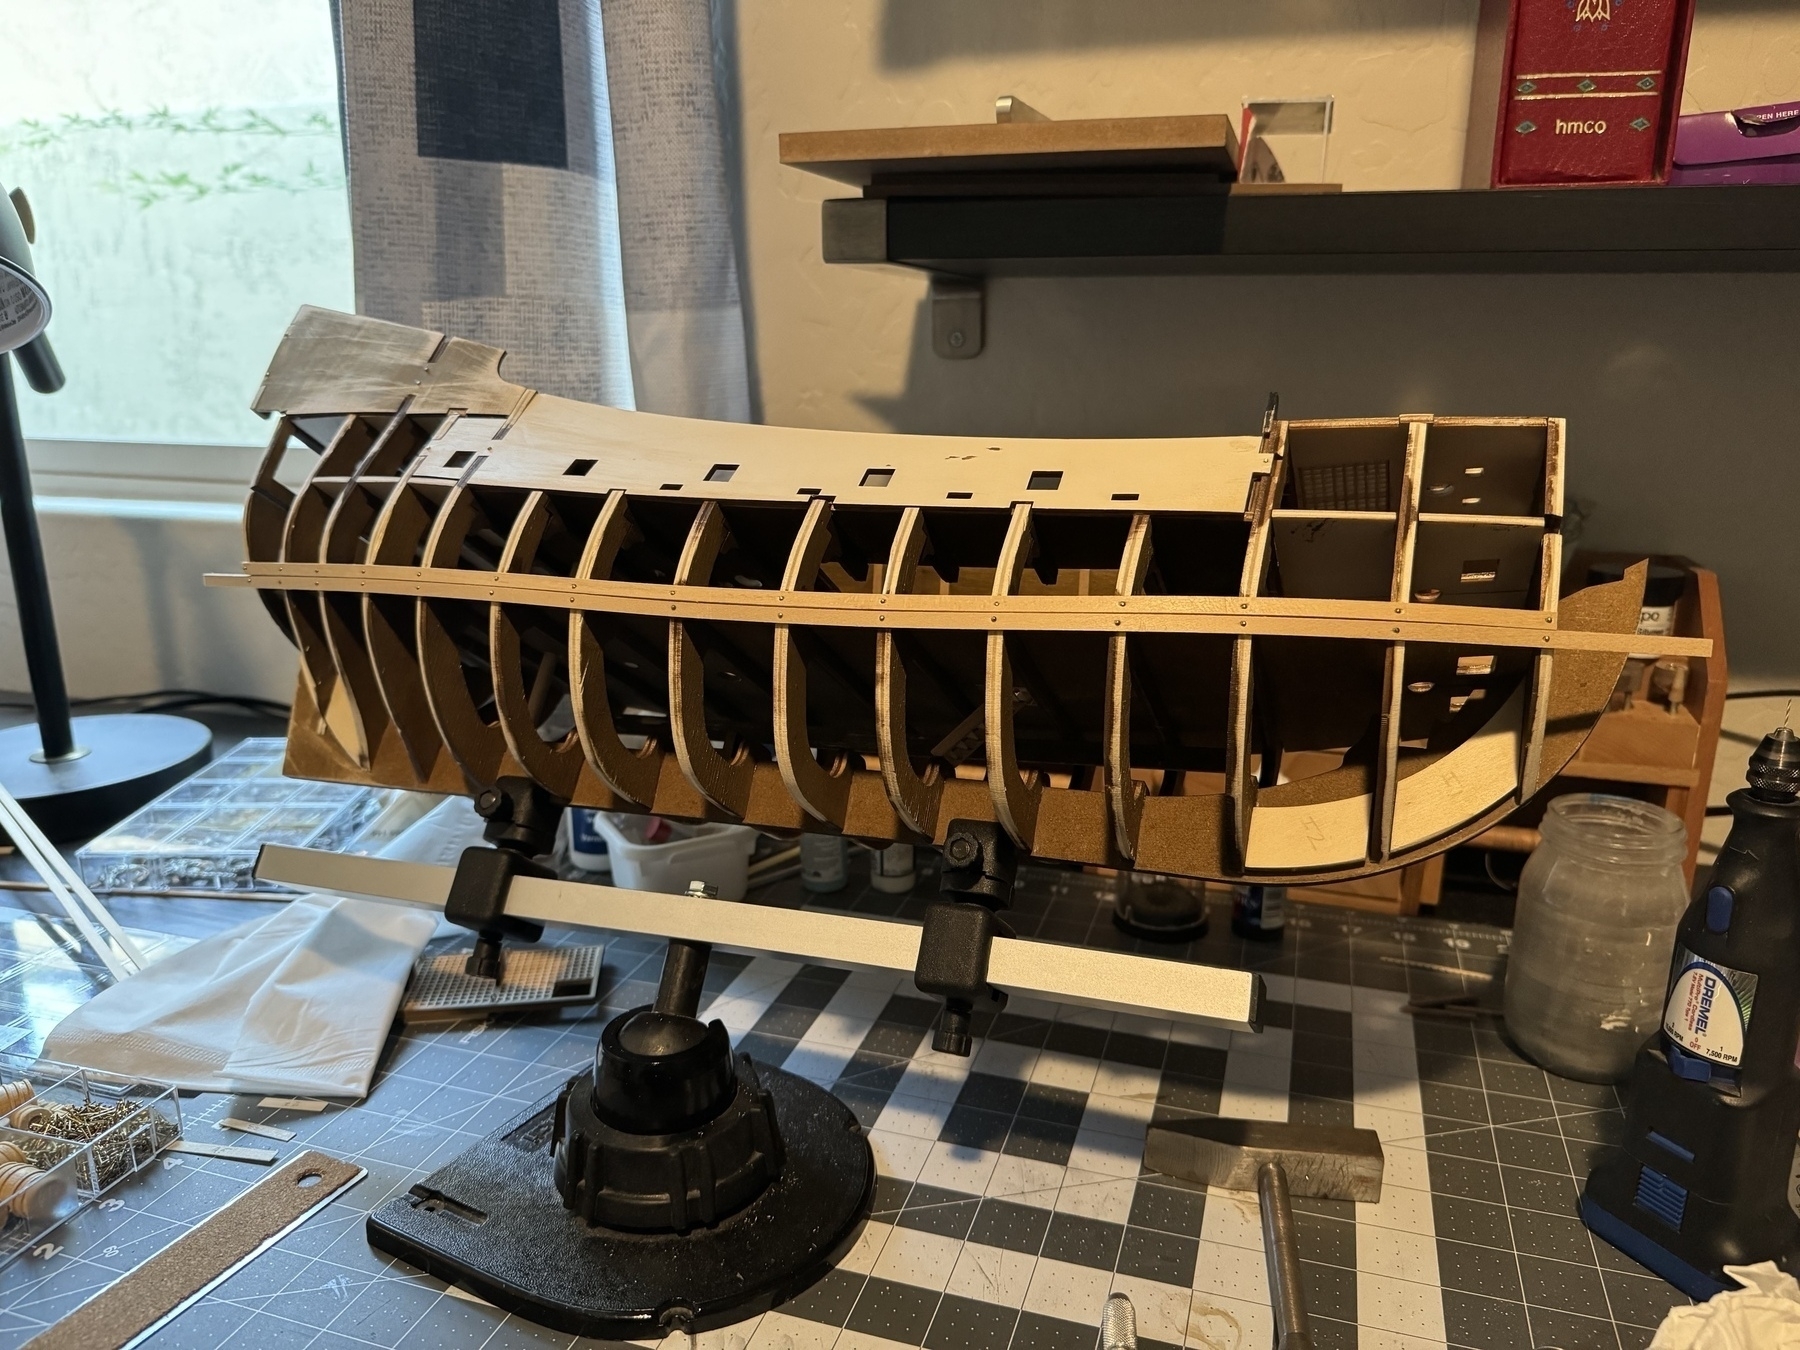
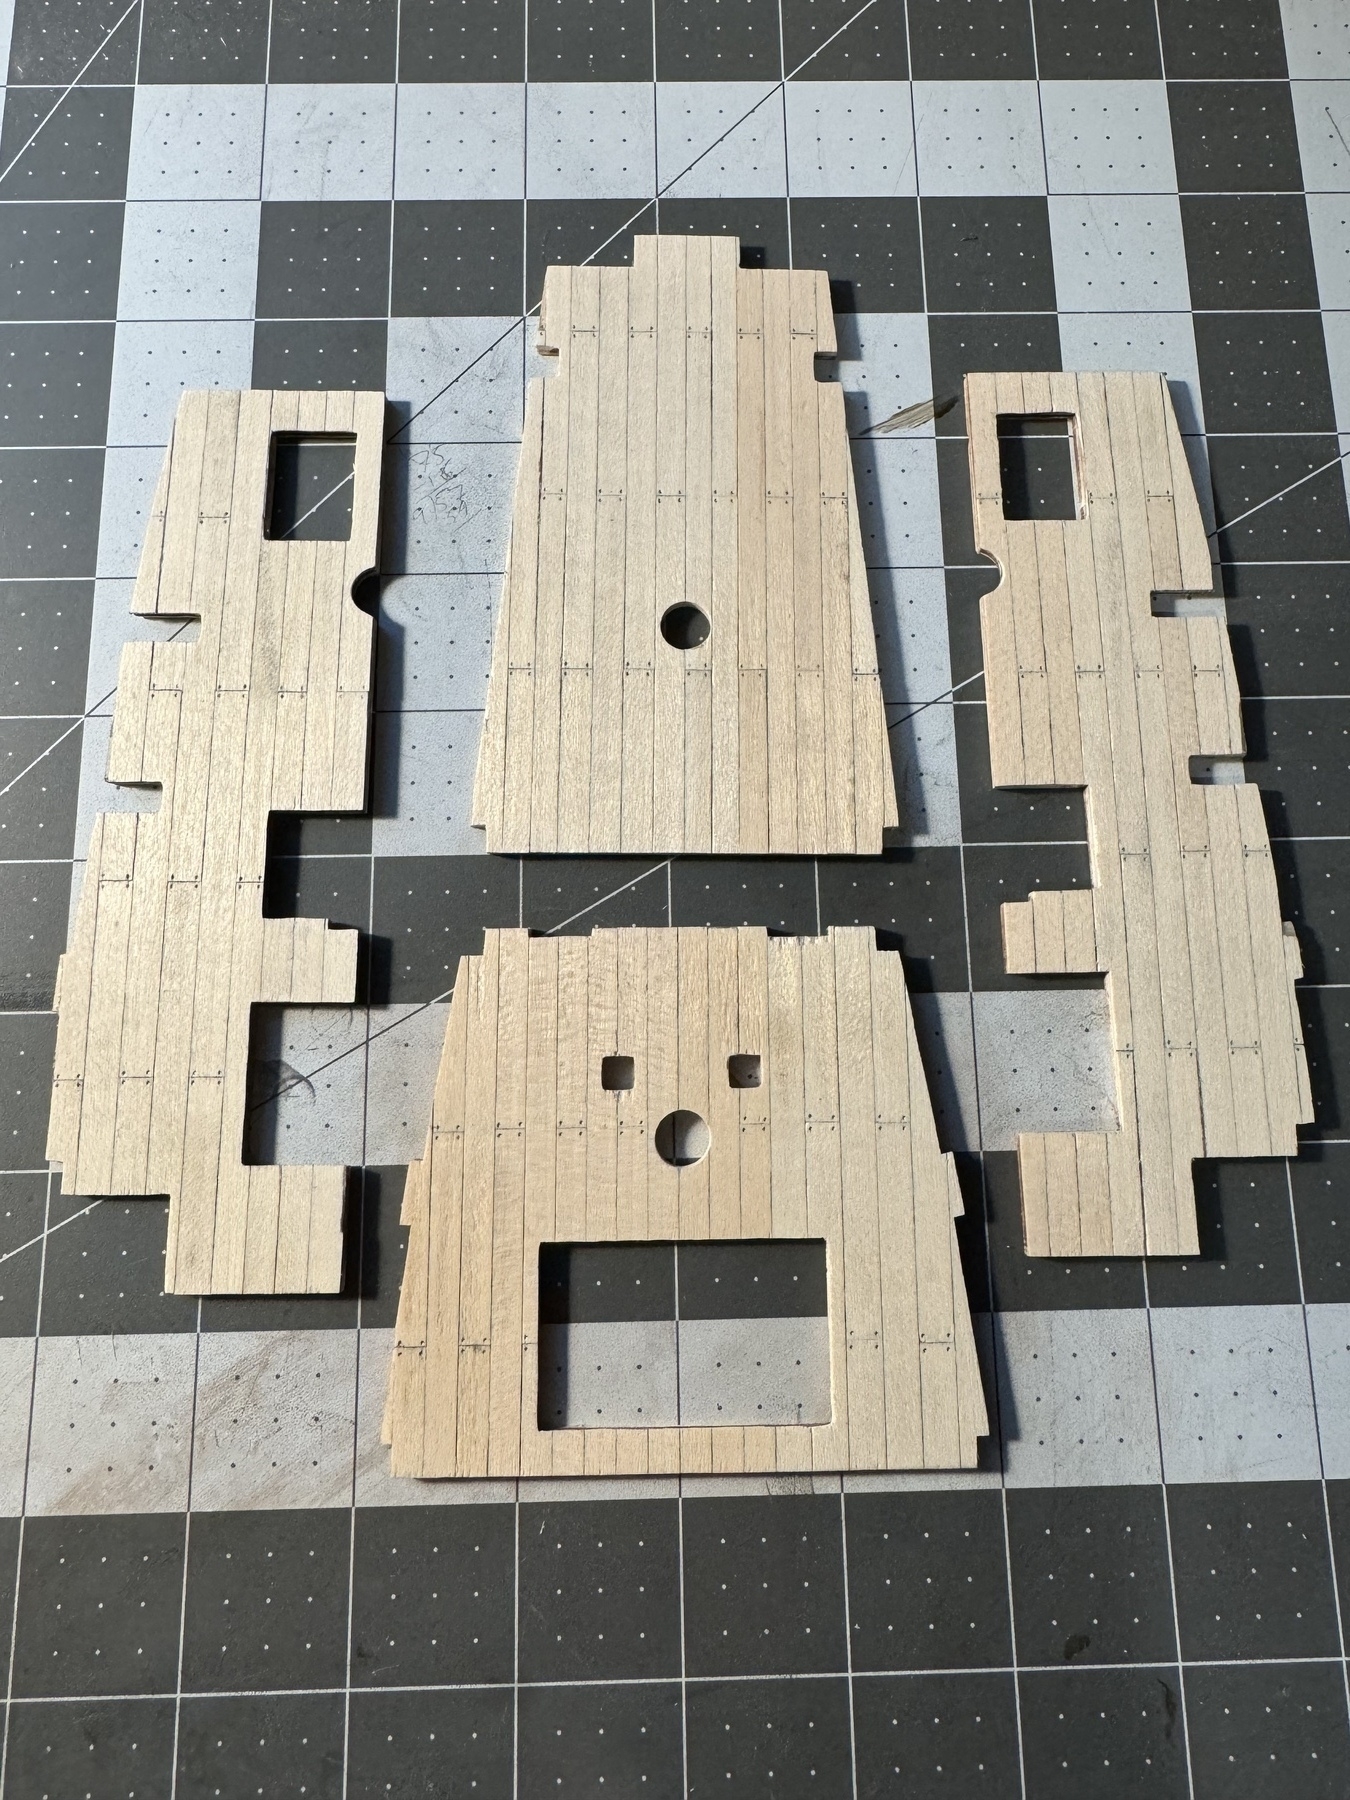
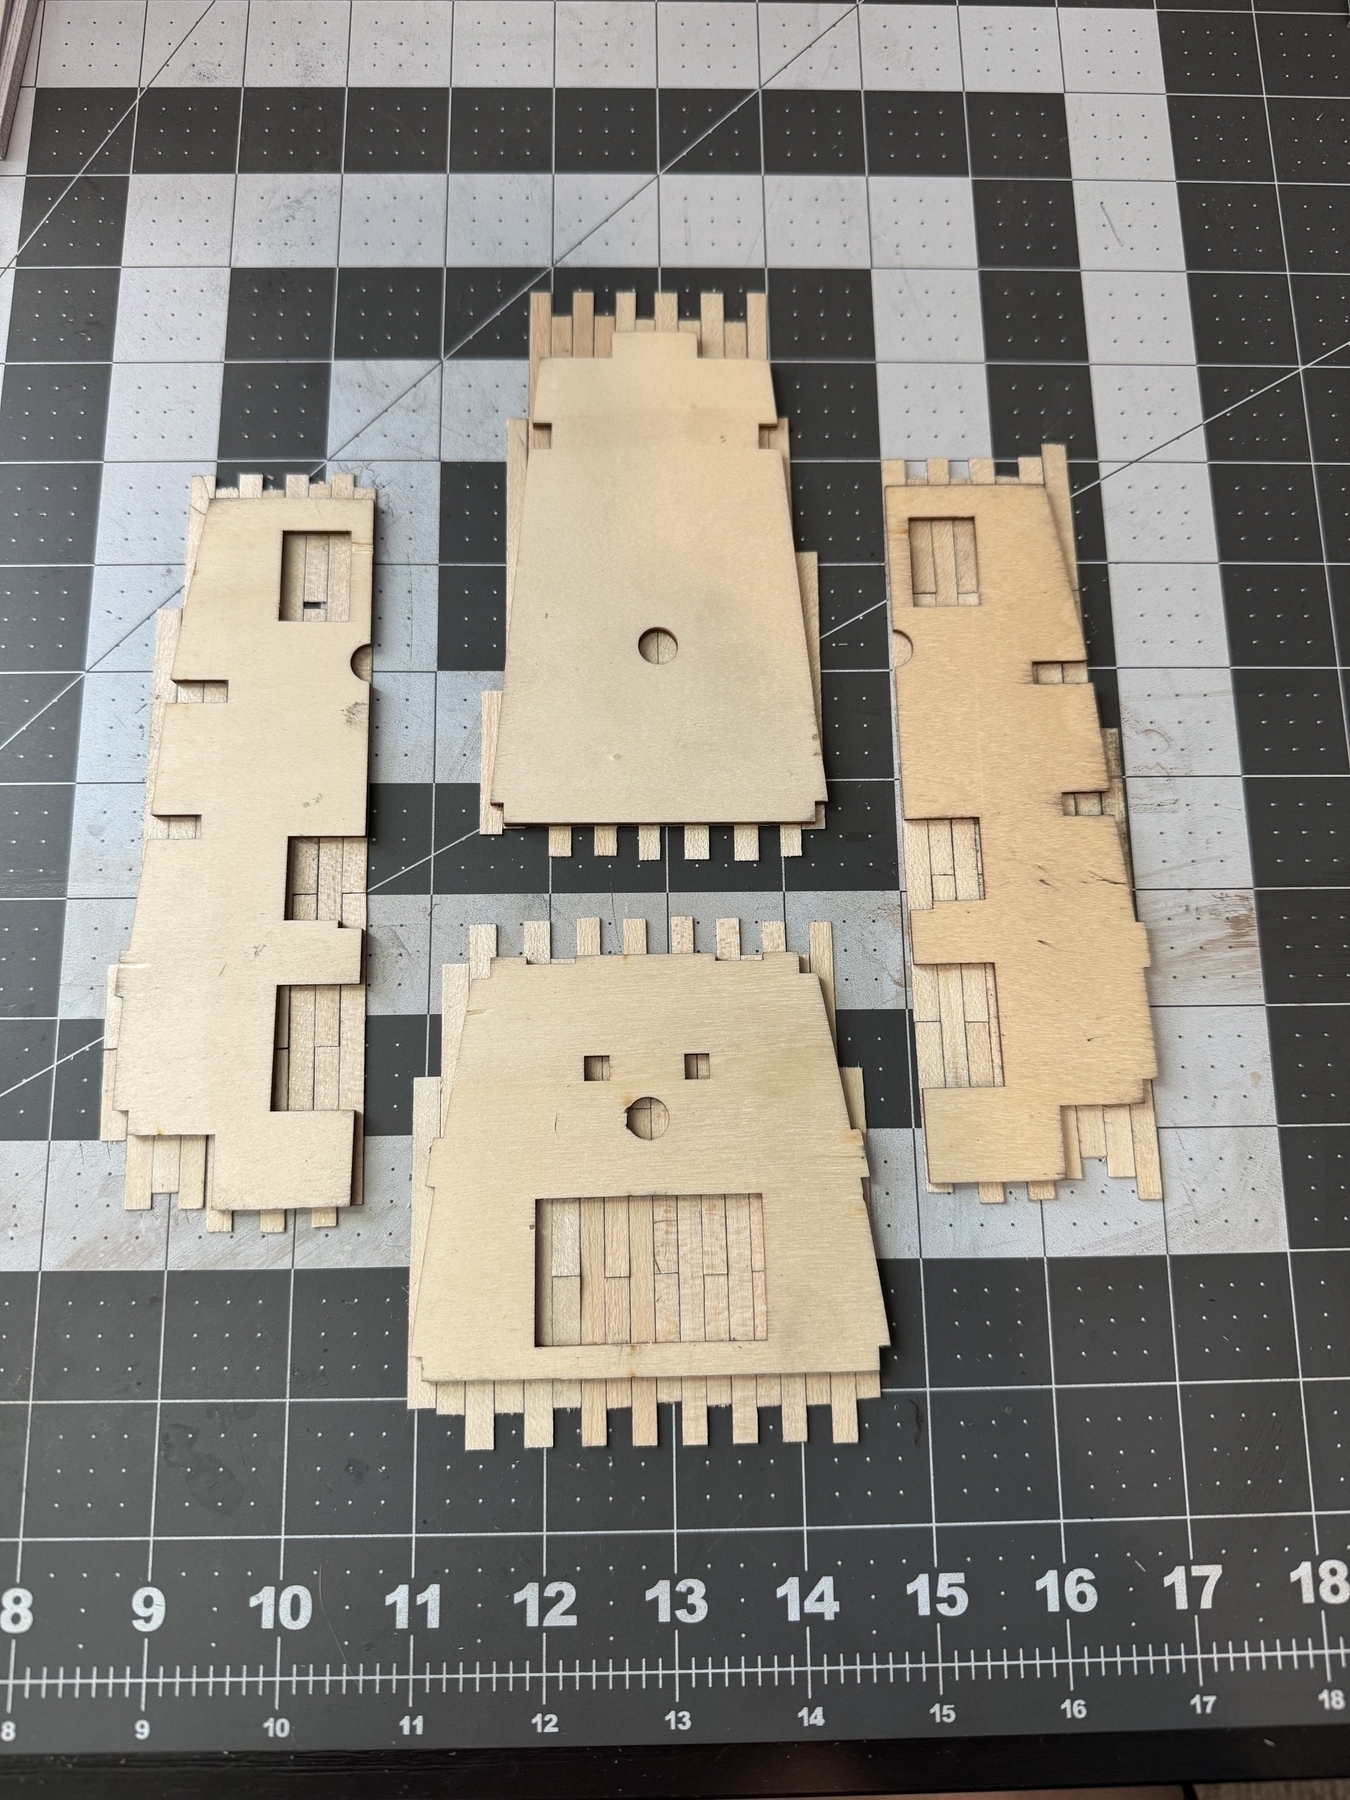
Nearing the end here of building the hull. Once again this step was about building some odds and ends that will go in the lower hold, but not actually putting them in place—that’s for the next step.
First up is a bunch of the stuff that goes in the hold.

The barrels there were all pre-made. I just stained them a that light brown. Same with the buckets. I also had to make the brass handles they have. The “packages” are small blocks of wood covered in cloth then tied around with the dark brown rope. I think they turned out alright.
Next up, I inserted the cannons on the lower deck port side.

This was a bit challenging. I think in a more saner world I would have built and glued them in place long before the upper deck was put in, but silly me, just following the directions and doing things when they tell me to. I had to somehow grab hold of them, put glue on their wheels, then insert them in through the big hole in the hull on the starboard side without touching anything (think of the old Operation game) and get them to stick out properly on the port side. Took me a few tries but I finally figured out a reproducible way of doing it with an alligator clip attached to a long bamboo skewer. It worked. Here is a bit of a closer view of the cannons.

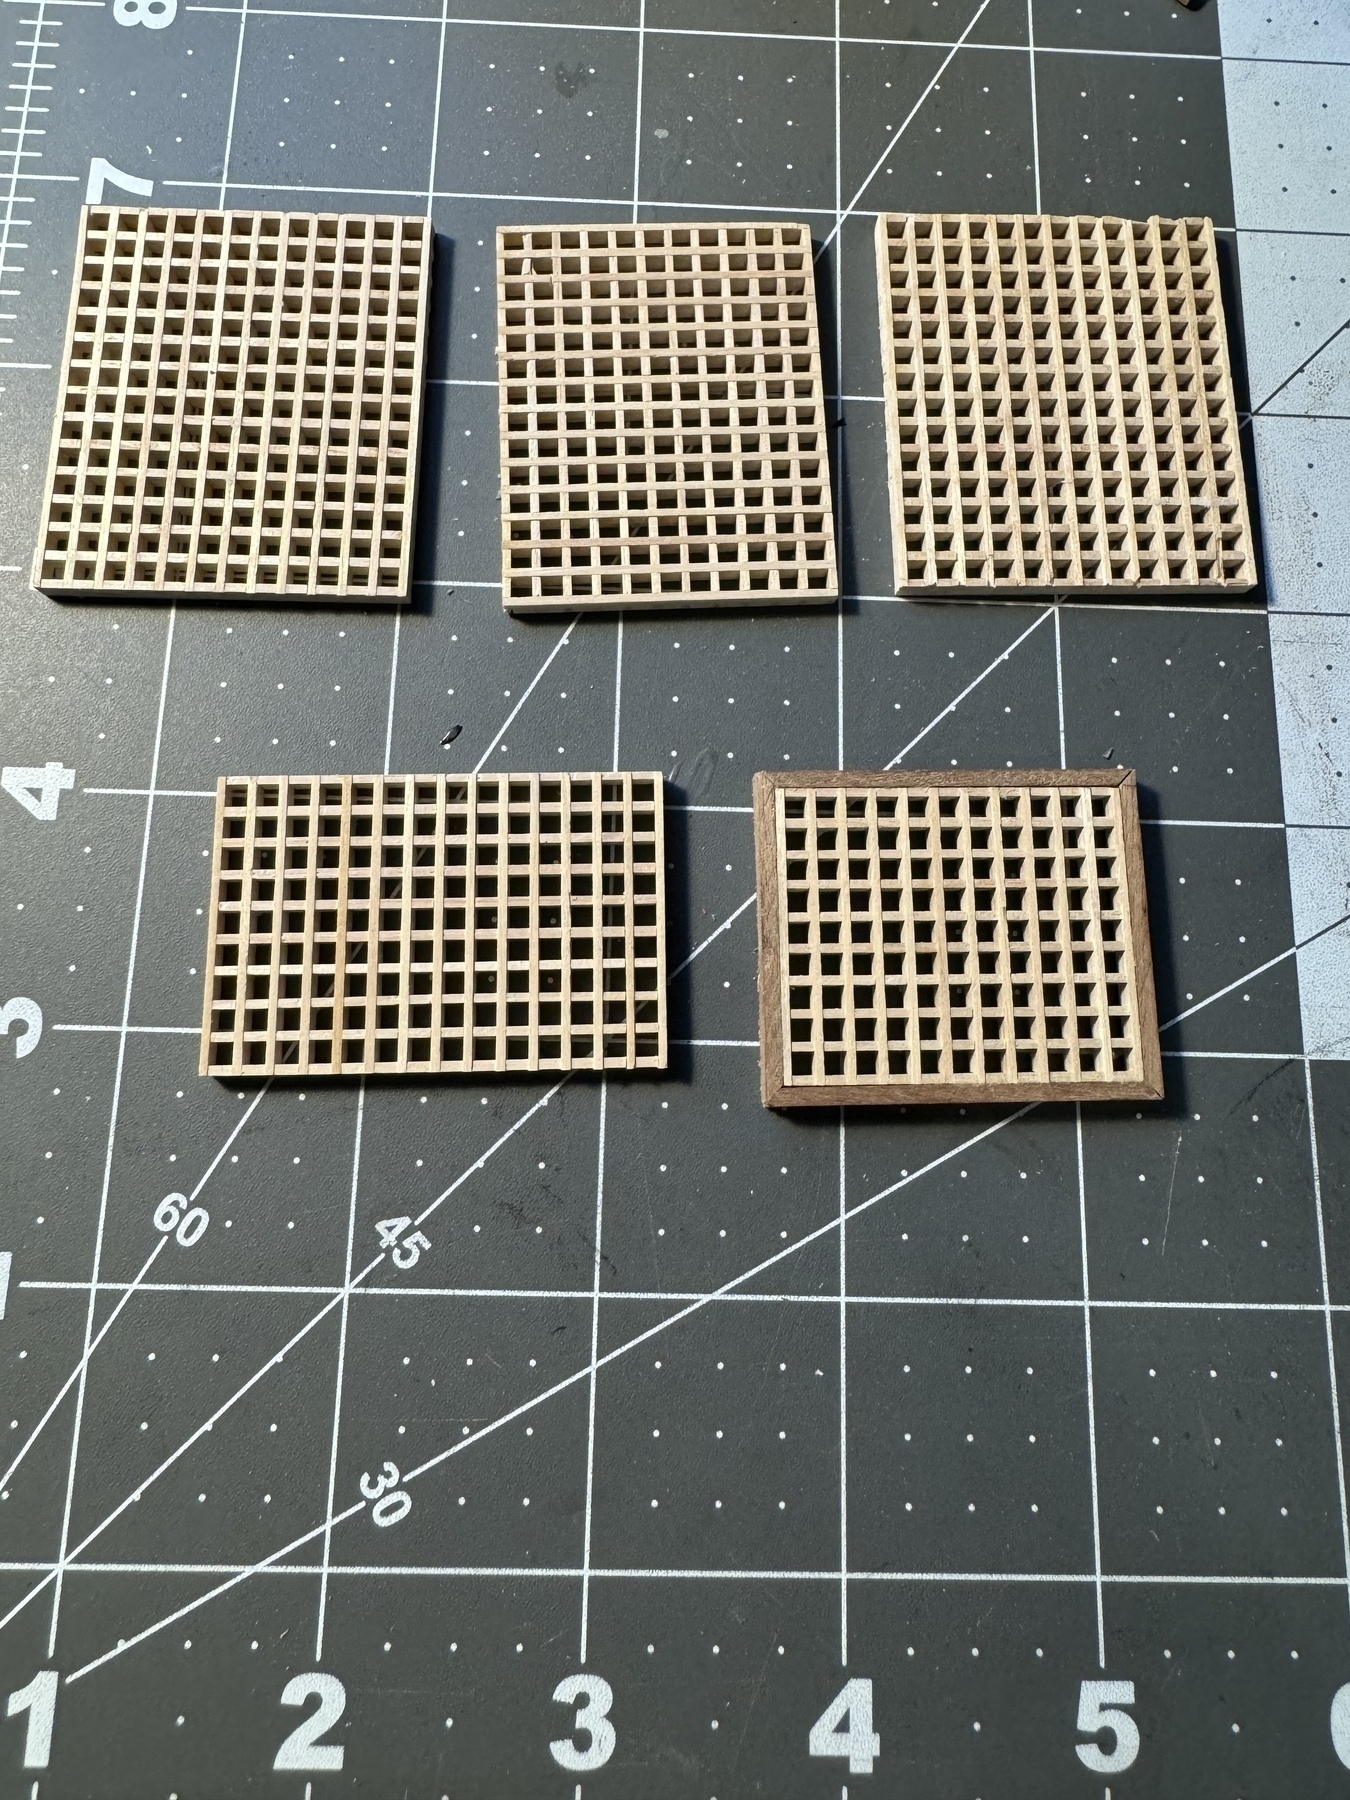
Finally, I made a couple of oars for the skiff and tied it down to the grating that it’s mounted on.

I like the wrapping around the handle end. There are a couple of other things, a capstan and a lid with a coil of rope inside it. I’ll show those in the next step.
That’s it for Step V. Next step is putting all those things in place inside the ship and then I’m about done. With the hull work that is. Then I get to start masts and rigging. yay. ;-)
JIm