And the topping lift and sheet
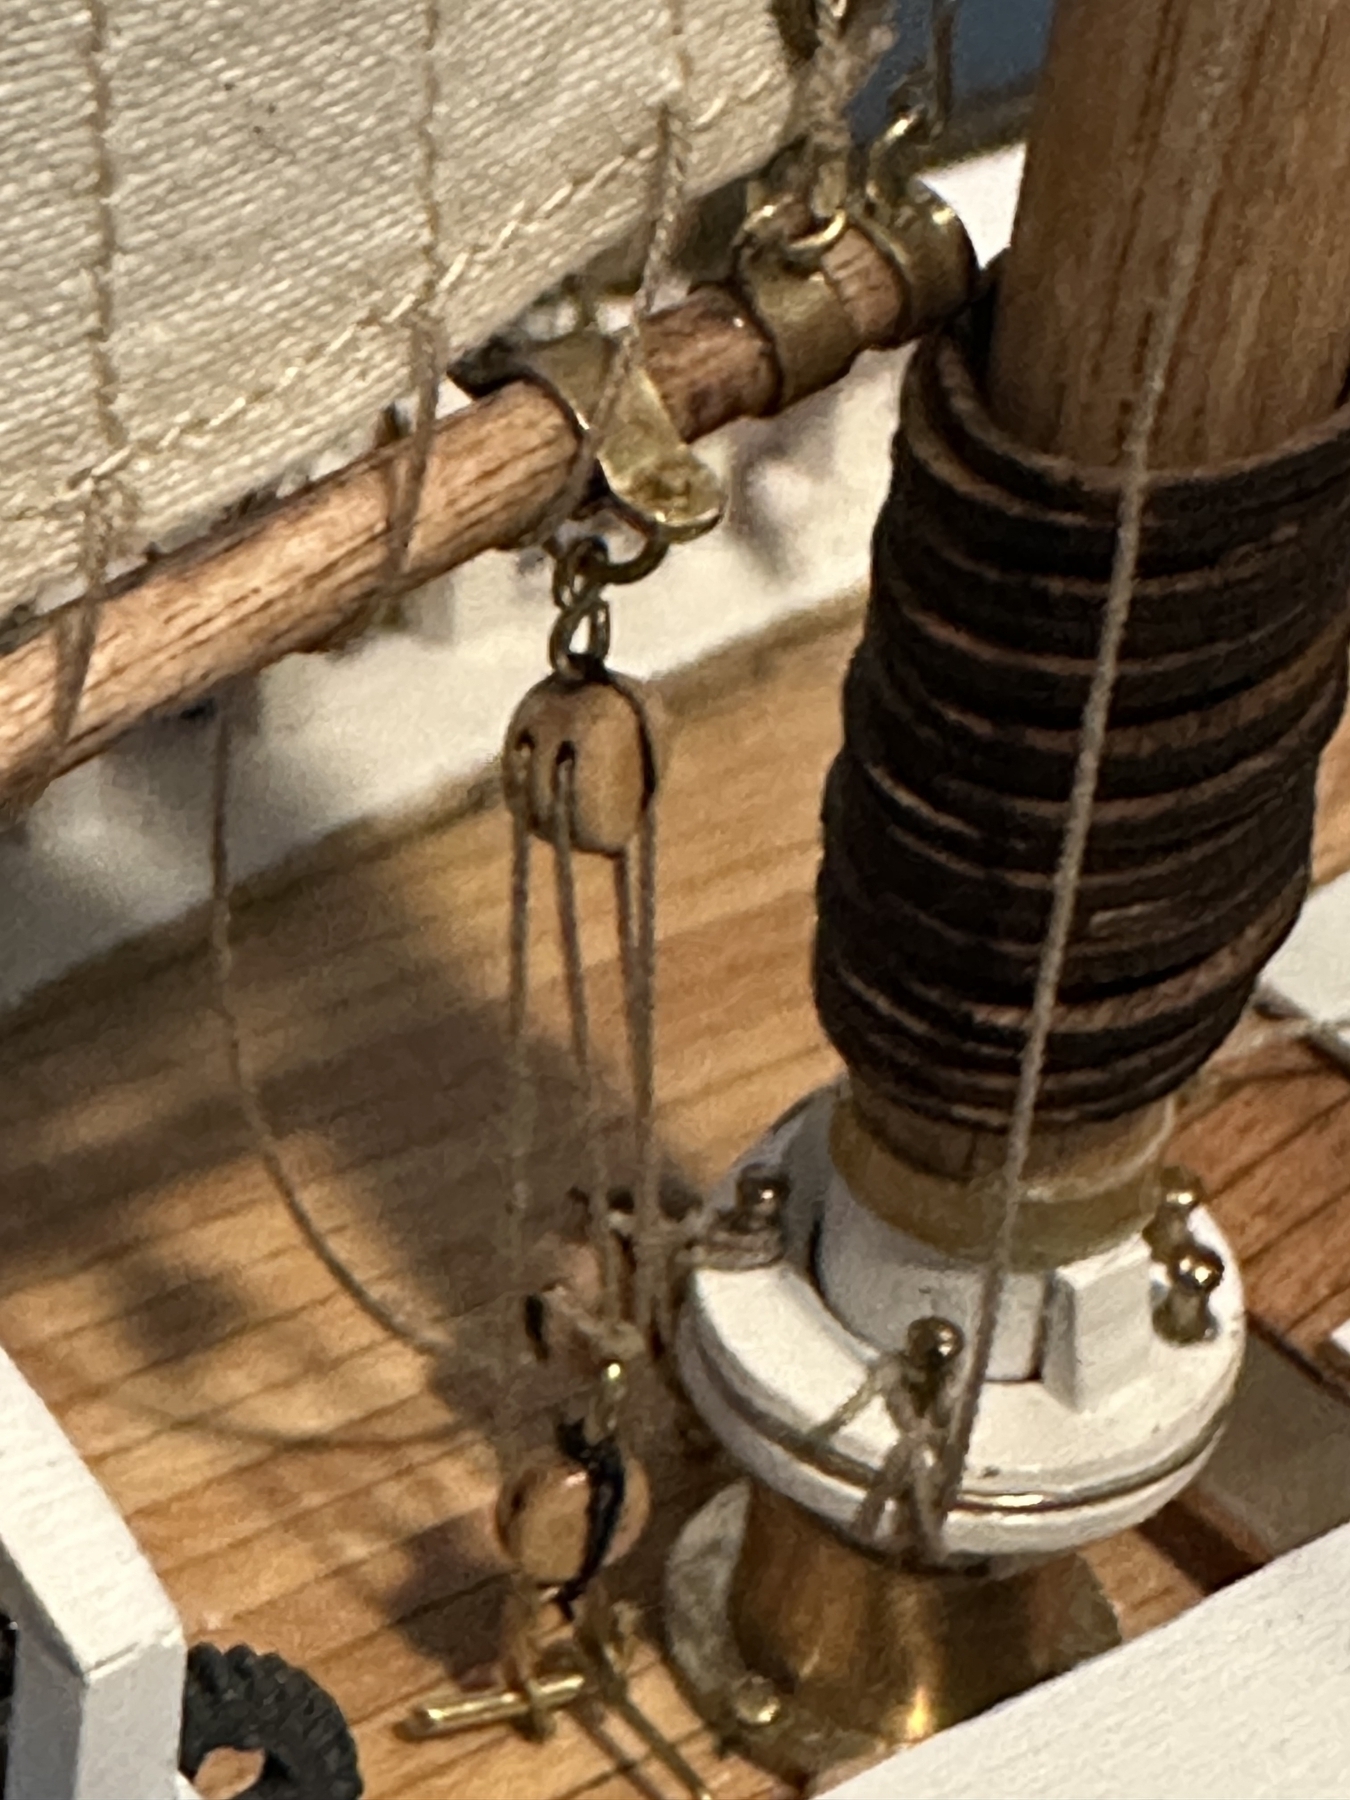
And the topping lift and sheet
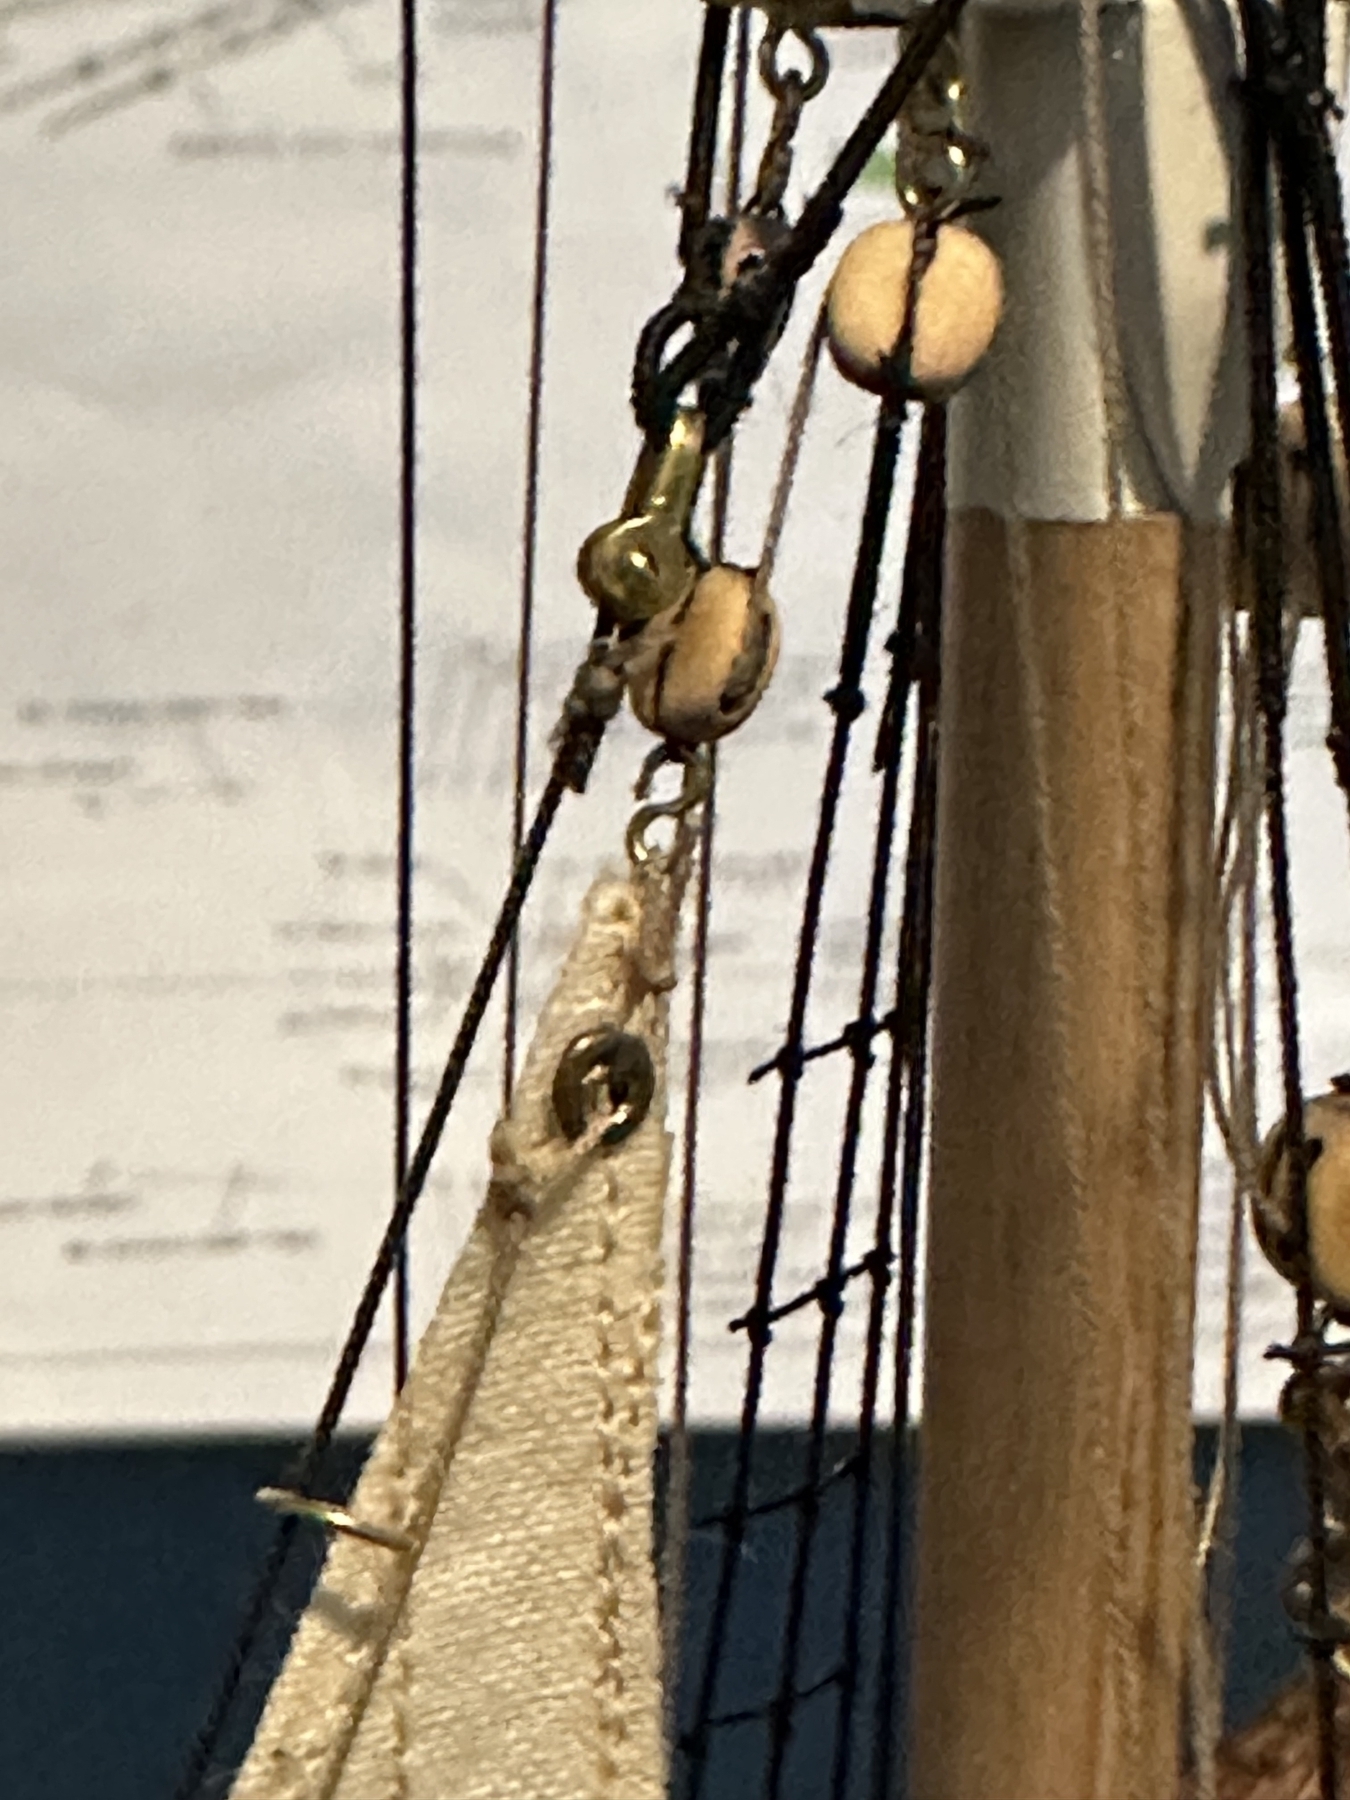
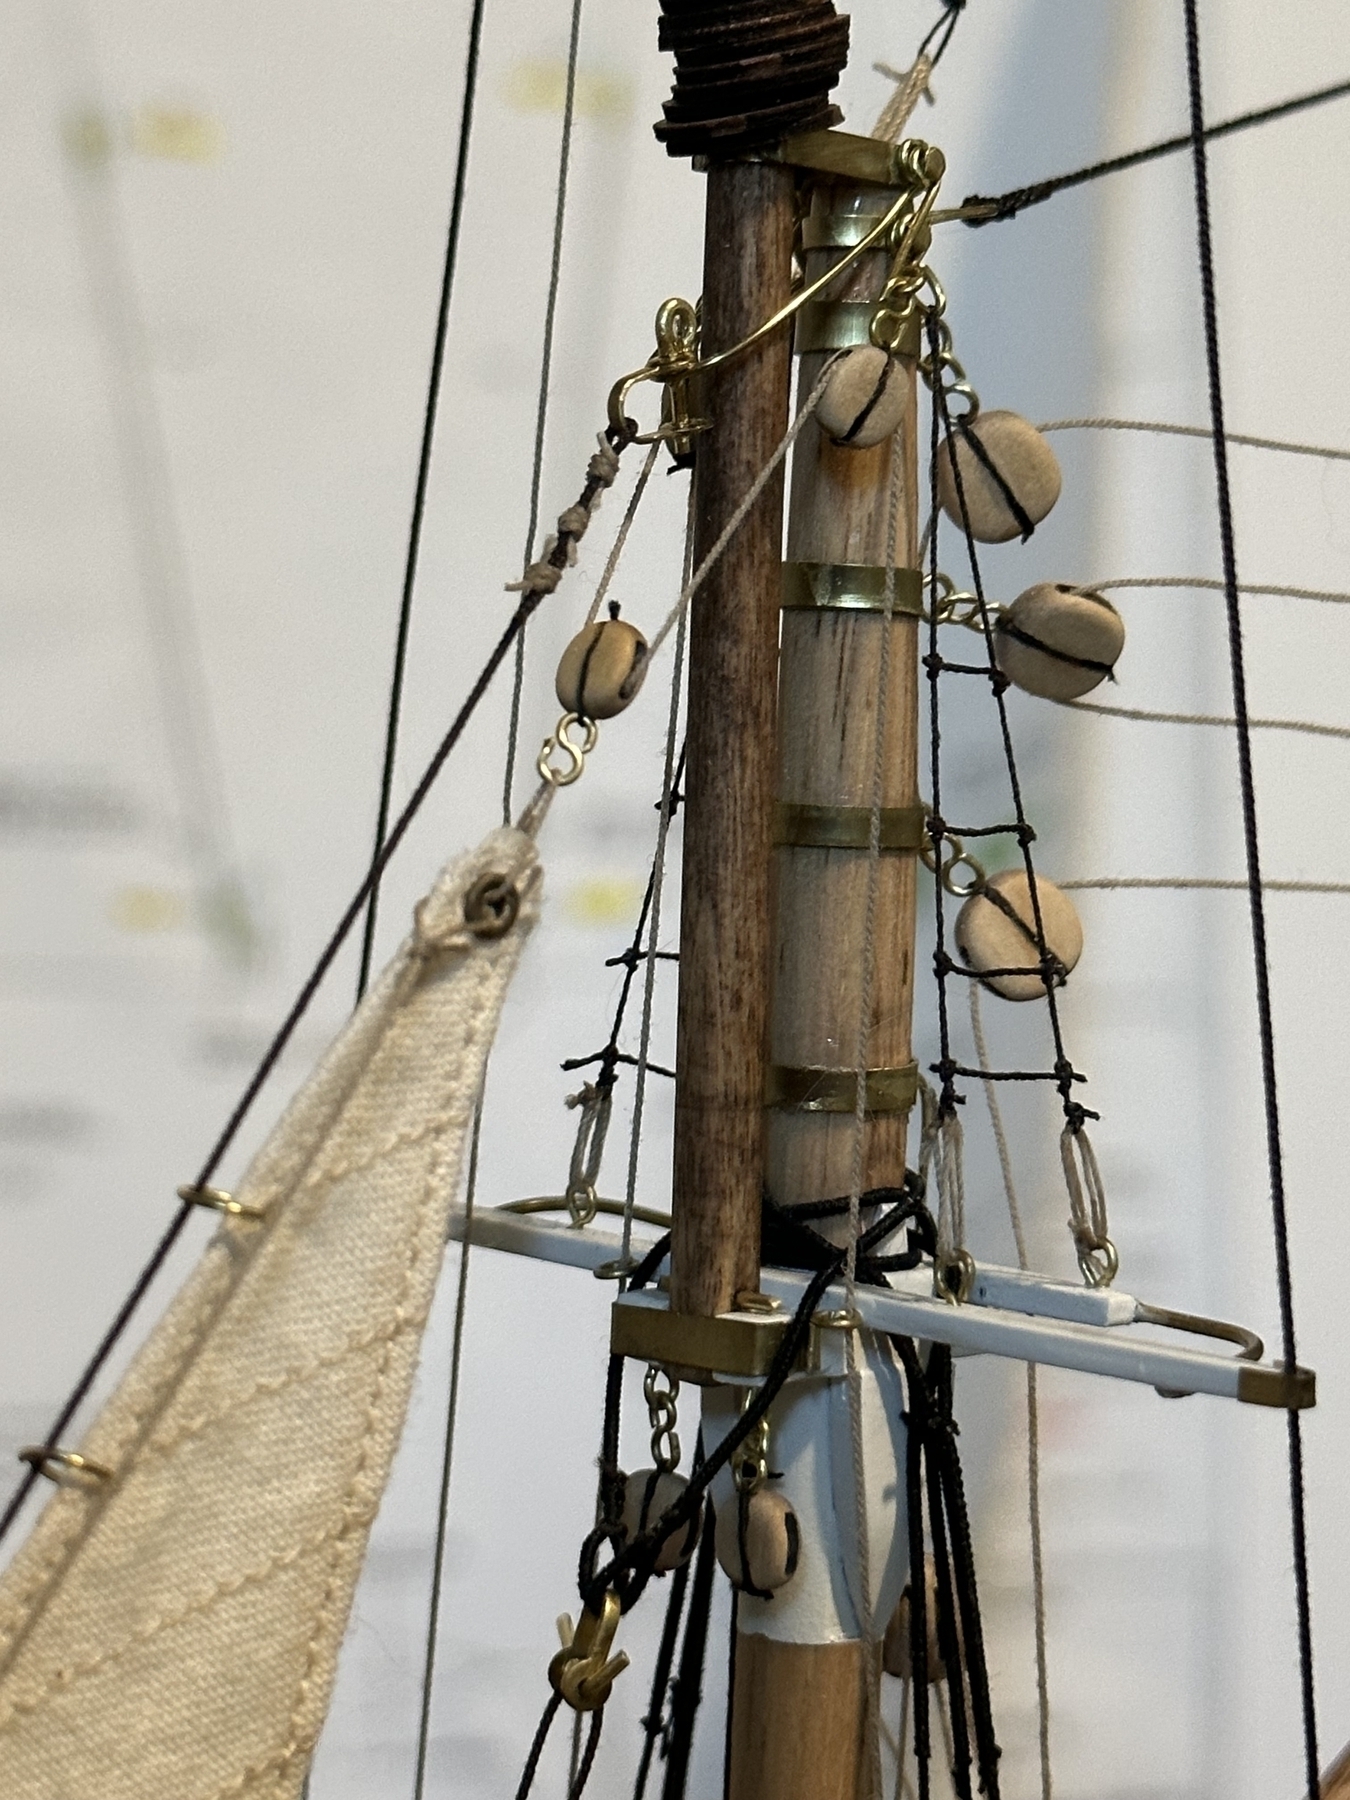
Close up of the halyards at the top
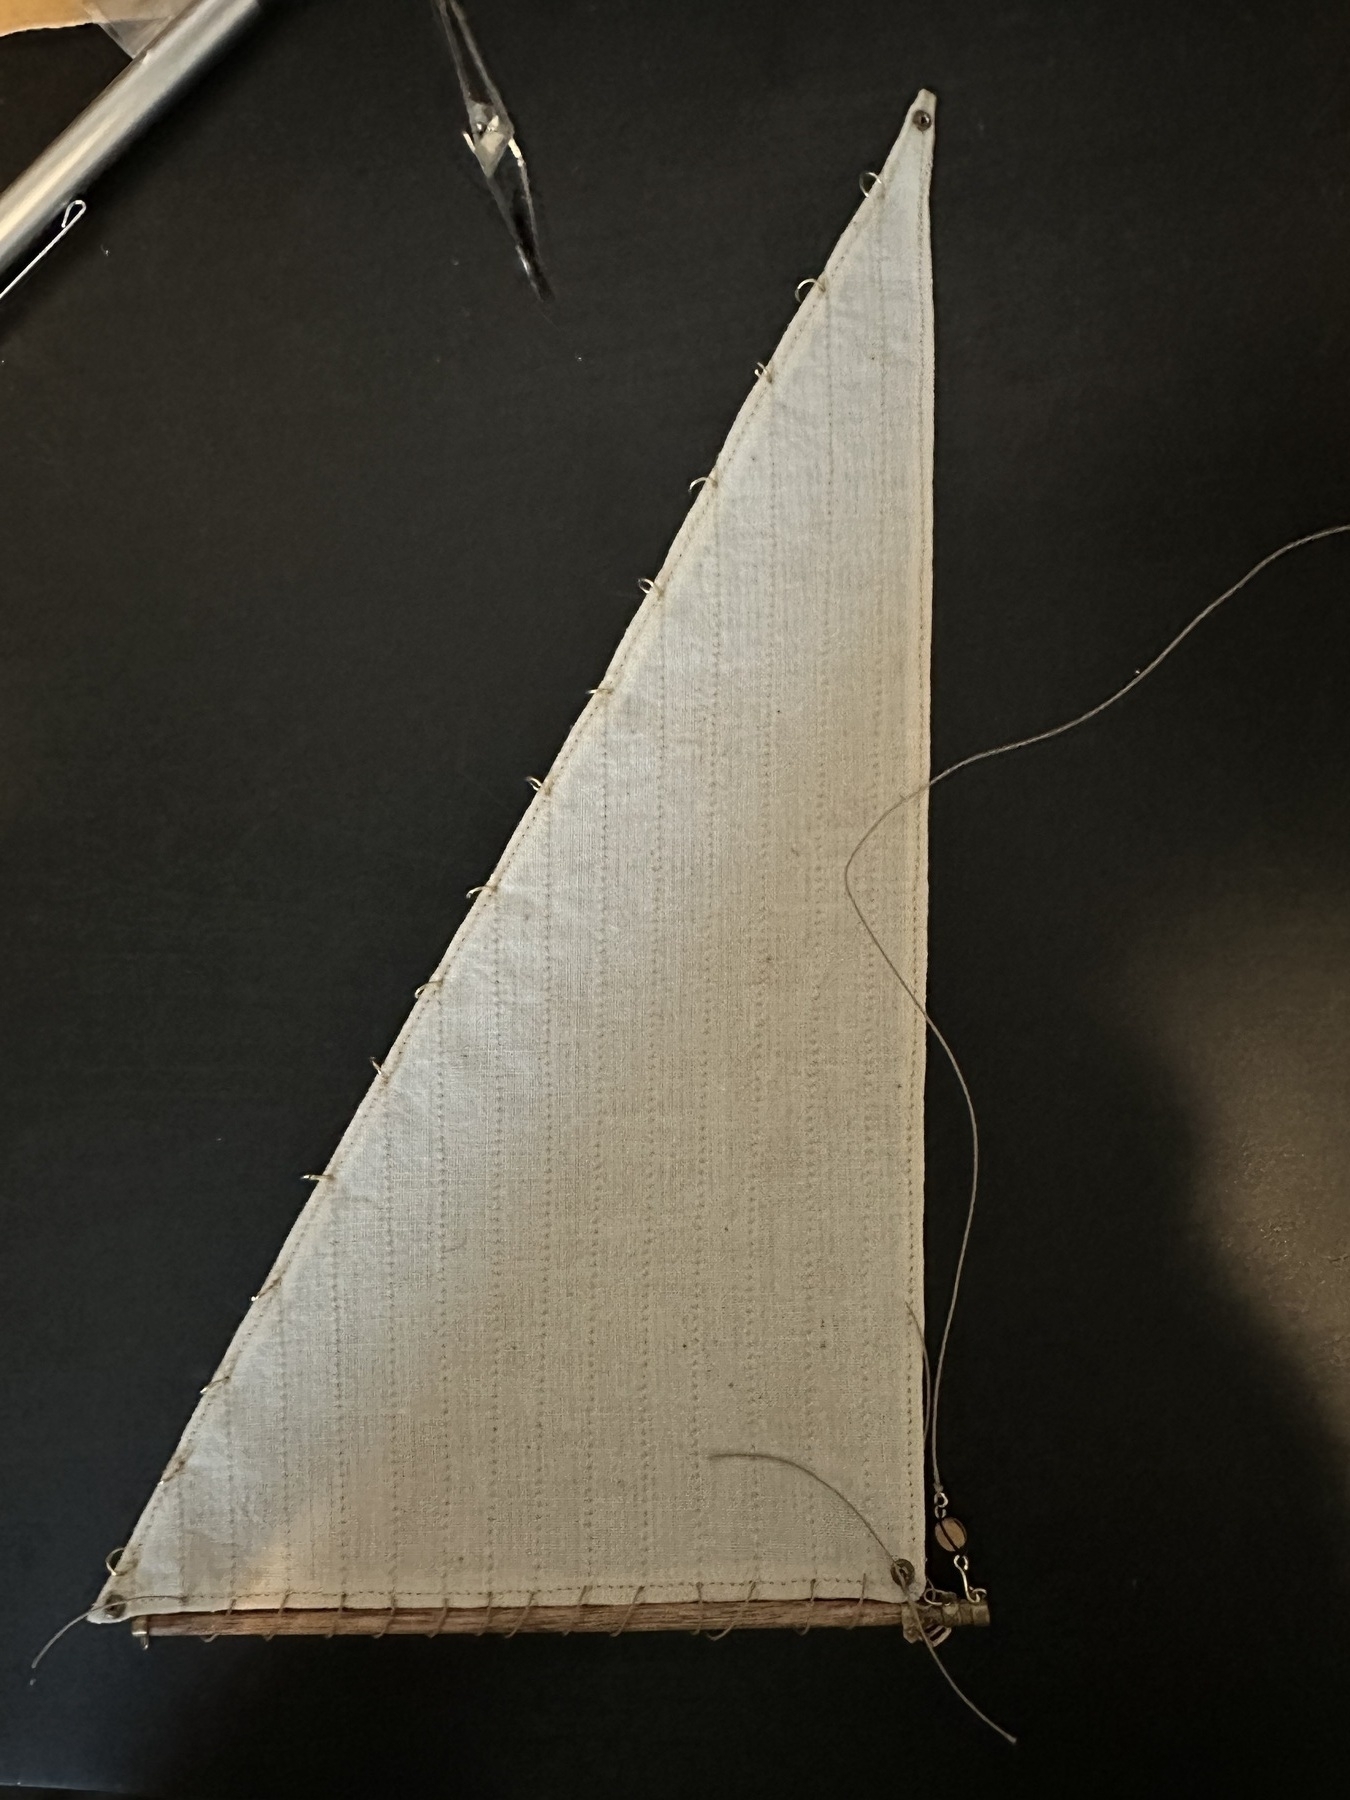
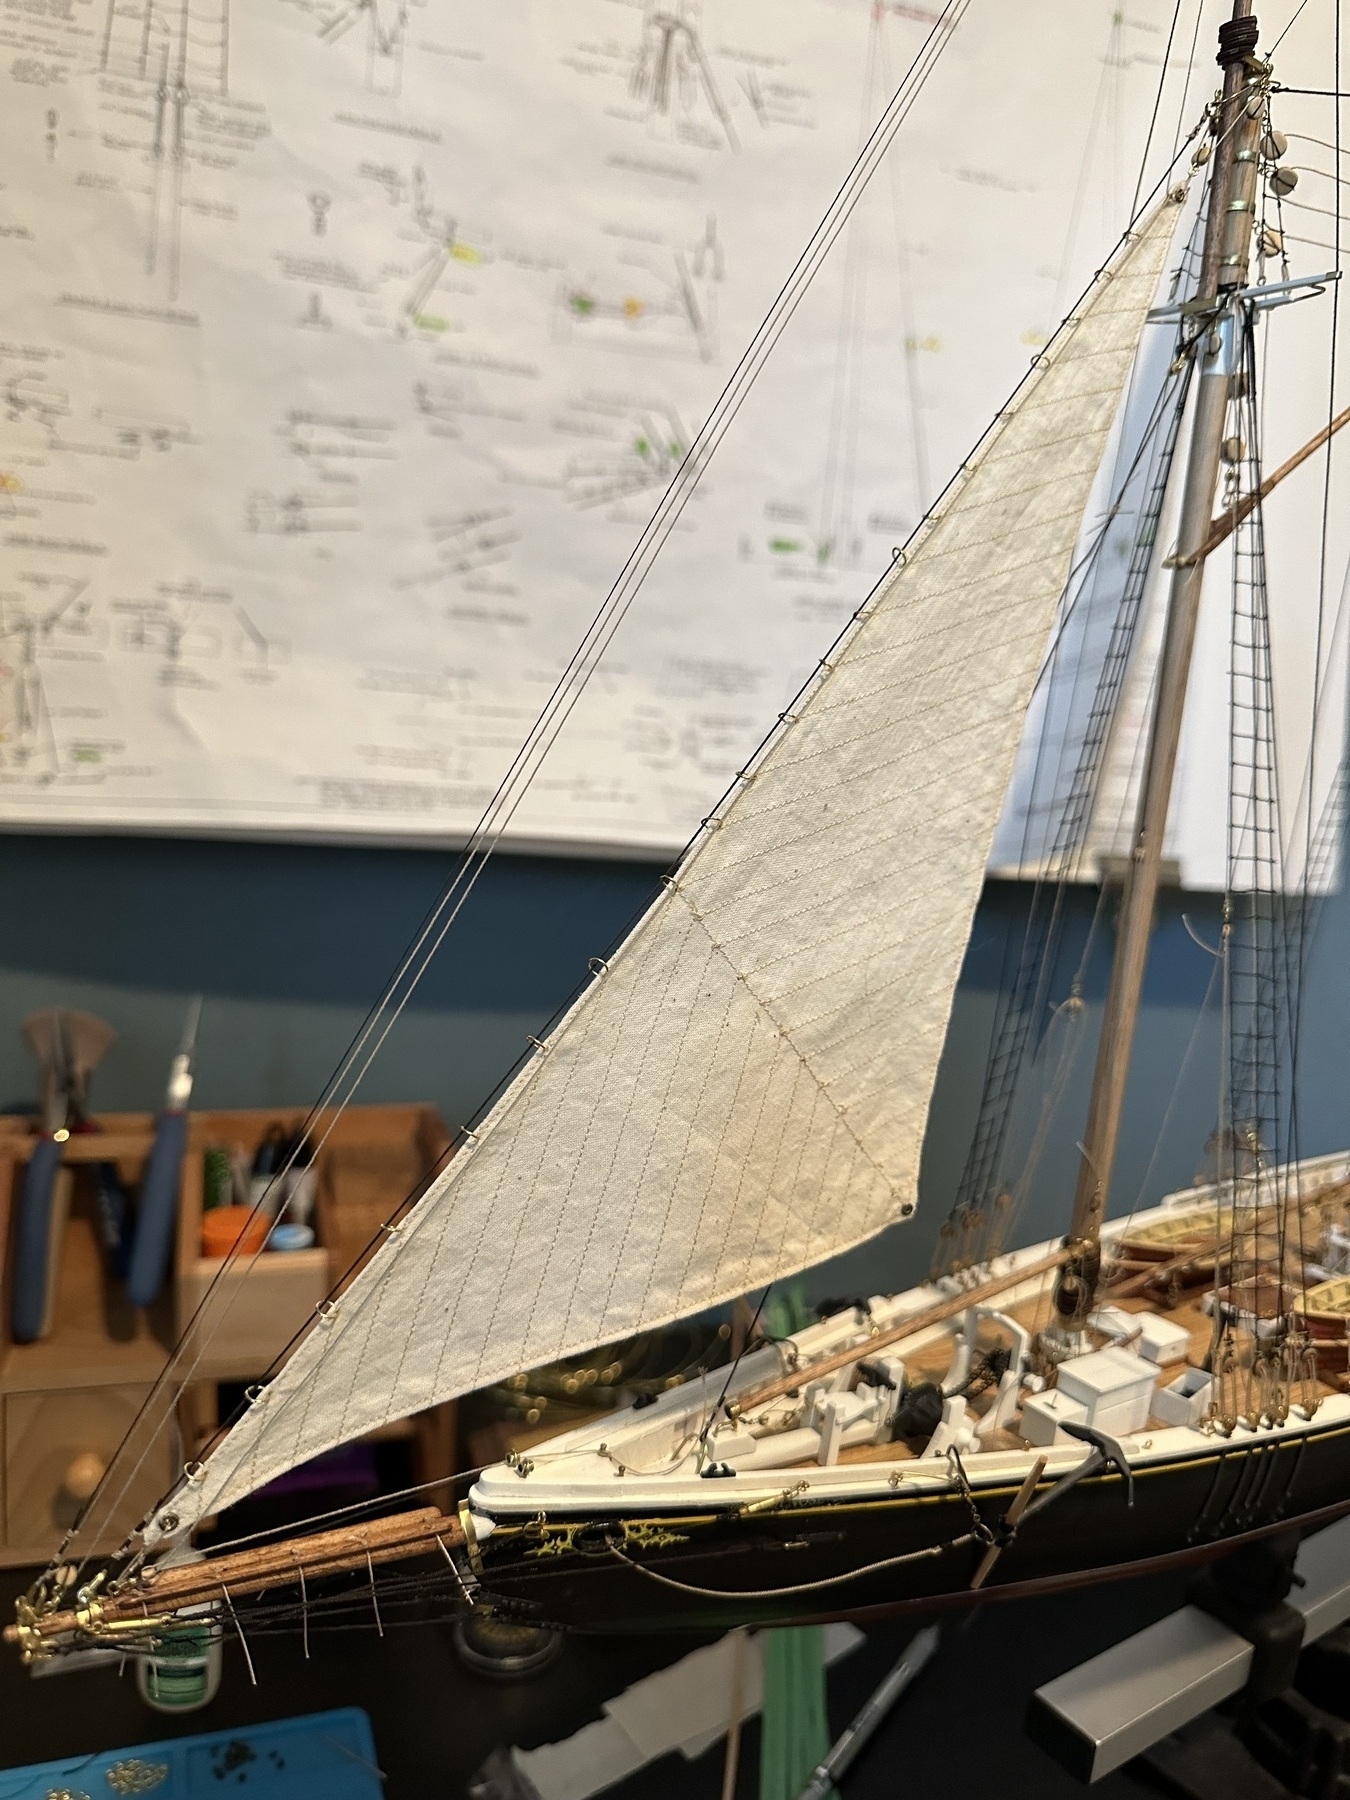
Jumbo Jib is Finished
Brief hiatus while Dena and I were off on a little vacation for the last couple of weeks. More on that later. Now back to the boat and was able to finish off rigging the Jib
Working on the jumbo jib. Had to remove the jumbo jib boom so I could lace the sail to it. Now I get to reattach it and re-rig it.
Working on the jumbo jib. Had to remove the jumbo jib boom so I could lace the sail to it. Now I get to reattach it and re-rig it.

Up top showing the blocks for the jib halyard. I think this is so cool looking.

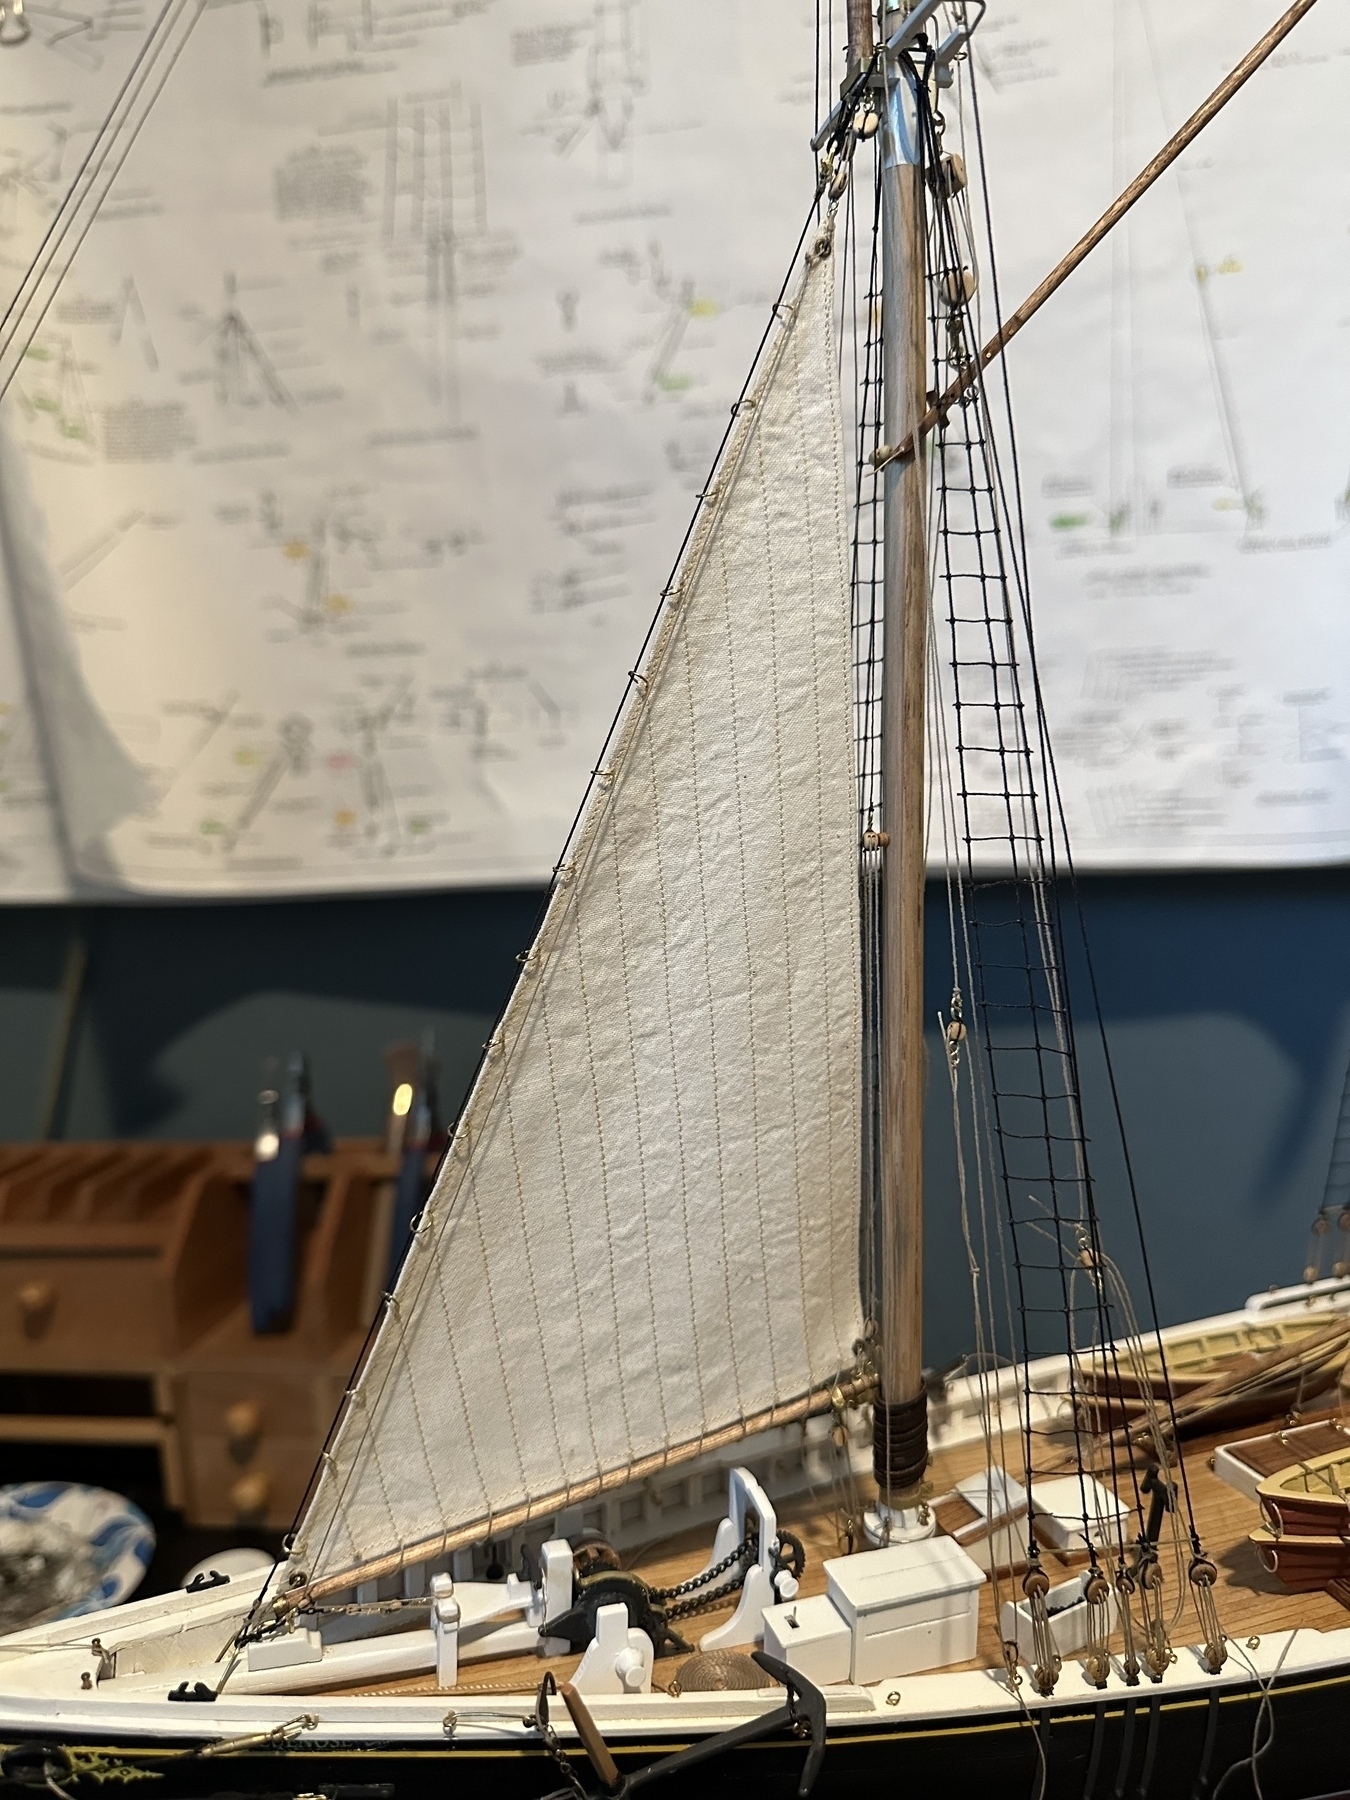
Where it attaches to the bowsprit.

Jib in place
I got the jib all “hung”? My wonderful seamstress wife made it for me and I just got it attached. Still need to do the lower corner but I’ll do that after I get the next one up there, the jumbo jib.
Up top showing the blocks for the jib halyard. I think this is so cool looking.
Where it attaches to the bowsprit.
